Introduction: A Memorial Day Tribute
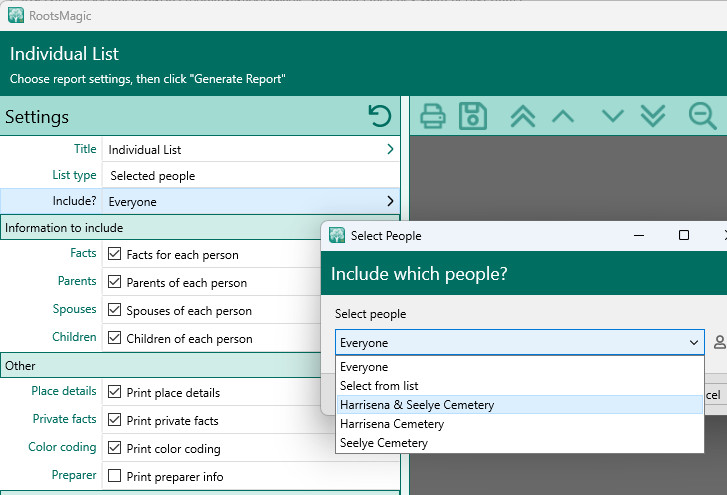
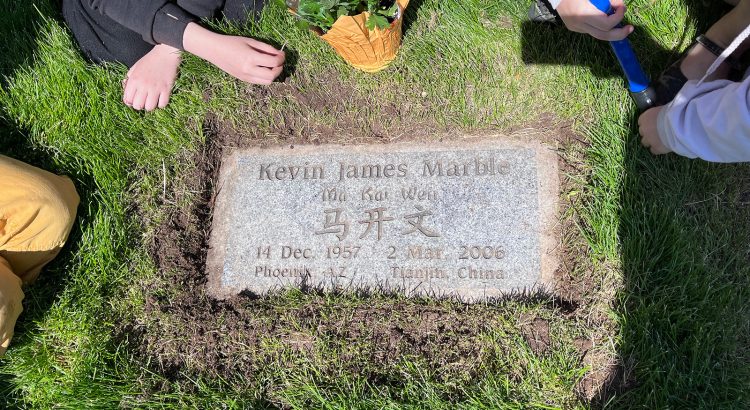
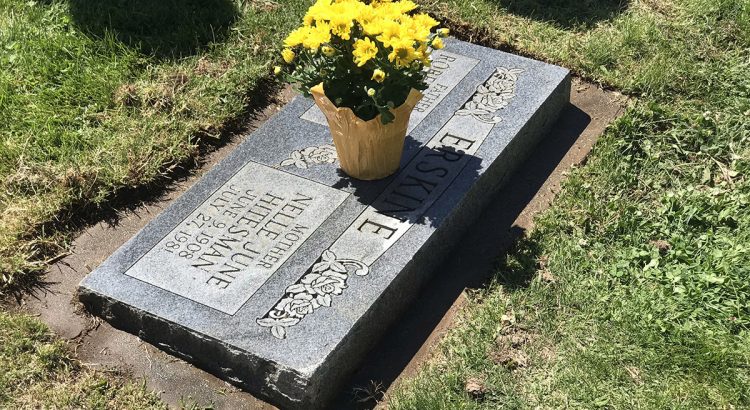
To wrap things up for Memorial Day, I’m returning to the original objective of creating this new RootsMagic 10 database for two family cemeteries. I wanted to discover how everyone was related to my family—if not by blood, then probably by marriage. These family cemeteries are my FAN club: Family, Associates, and Neighbors. Their stories shape my story.
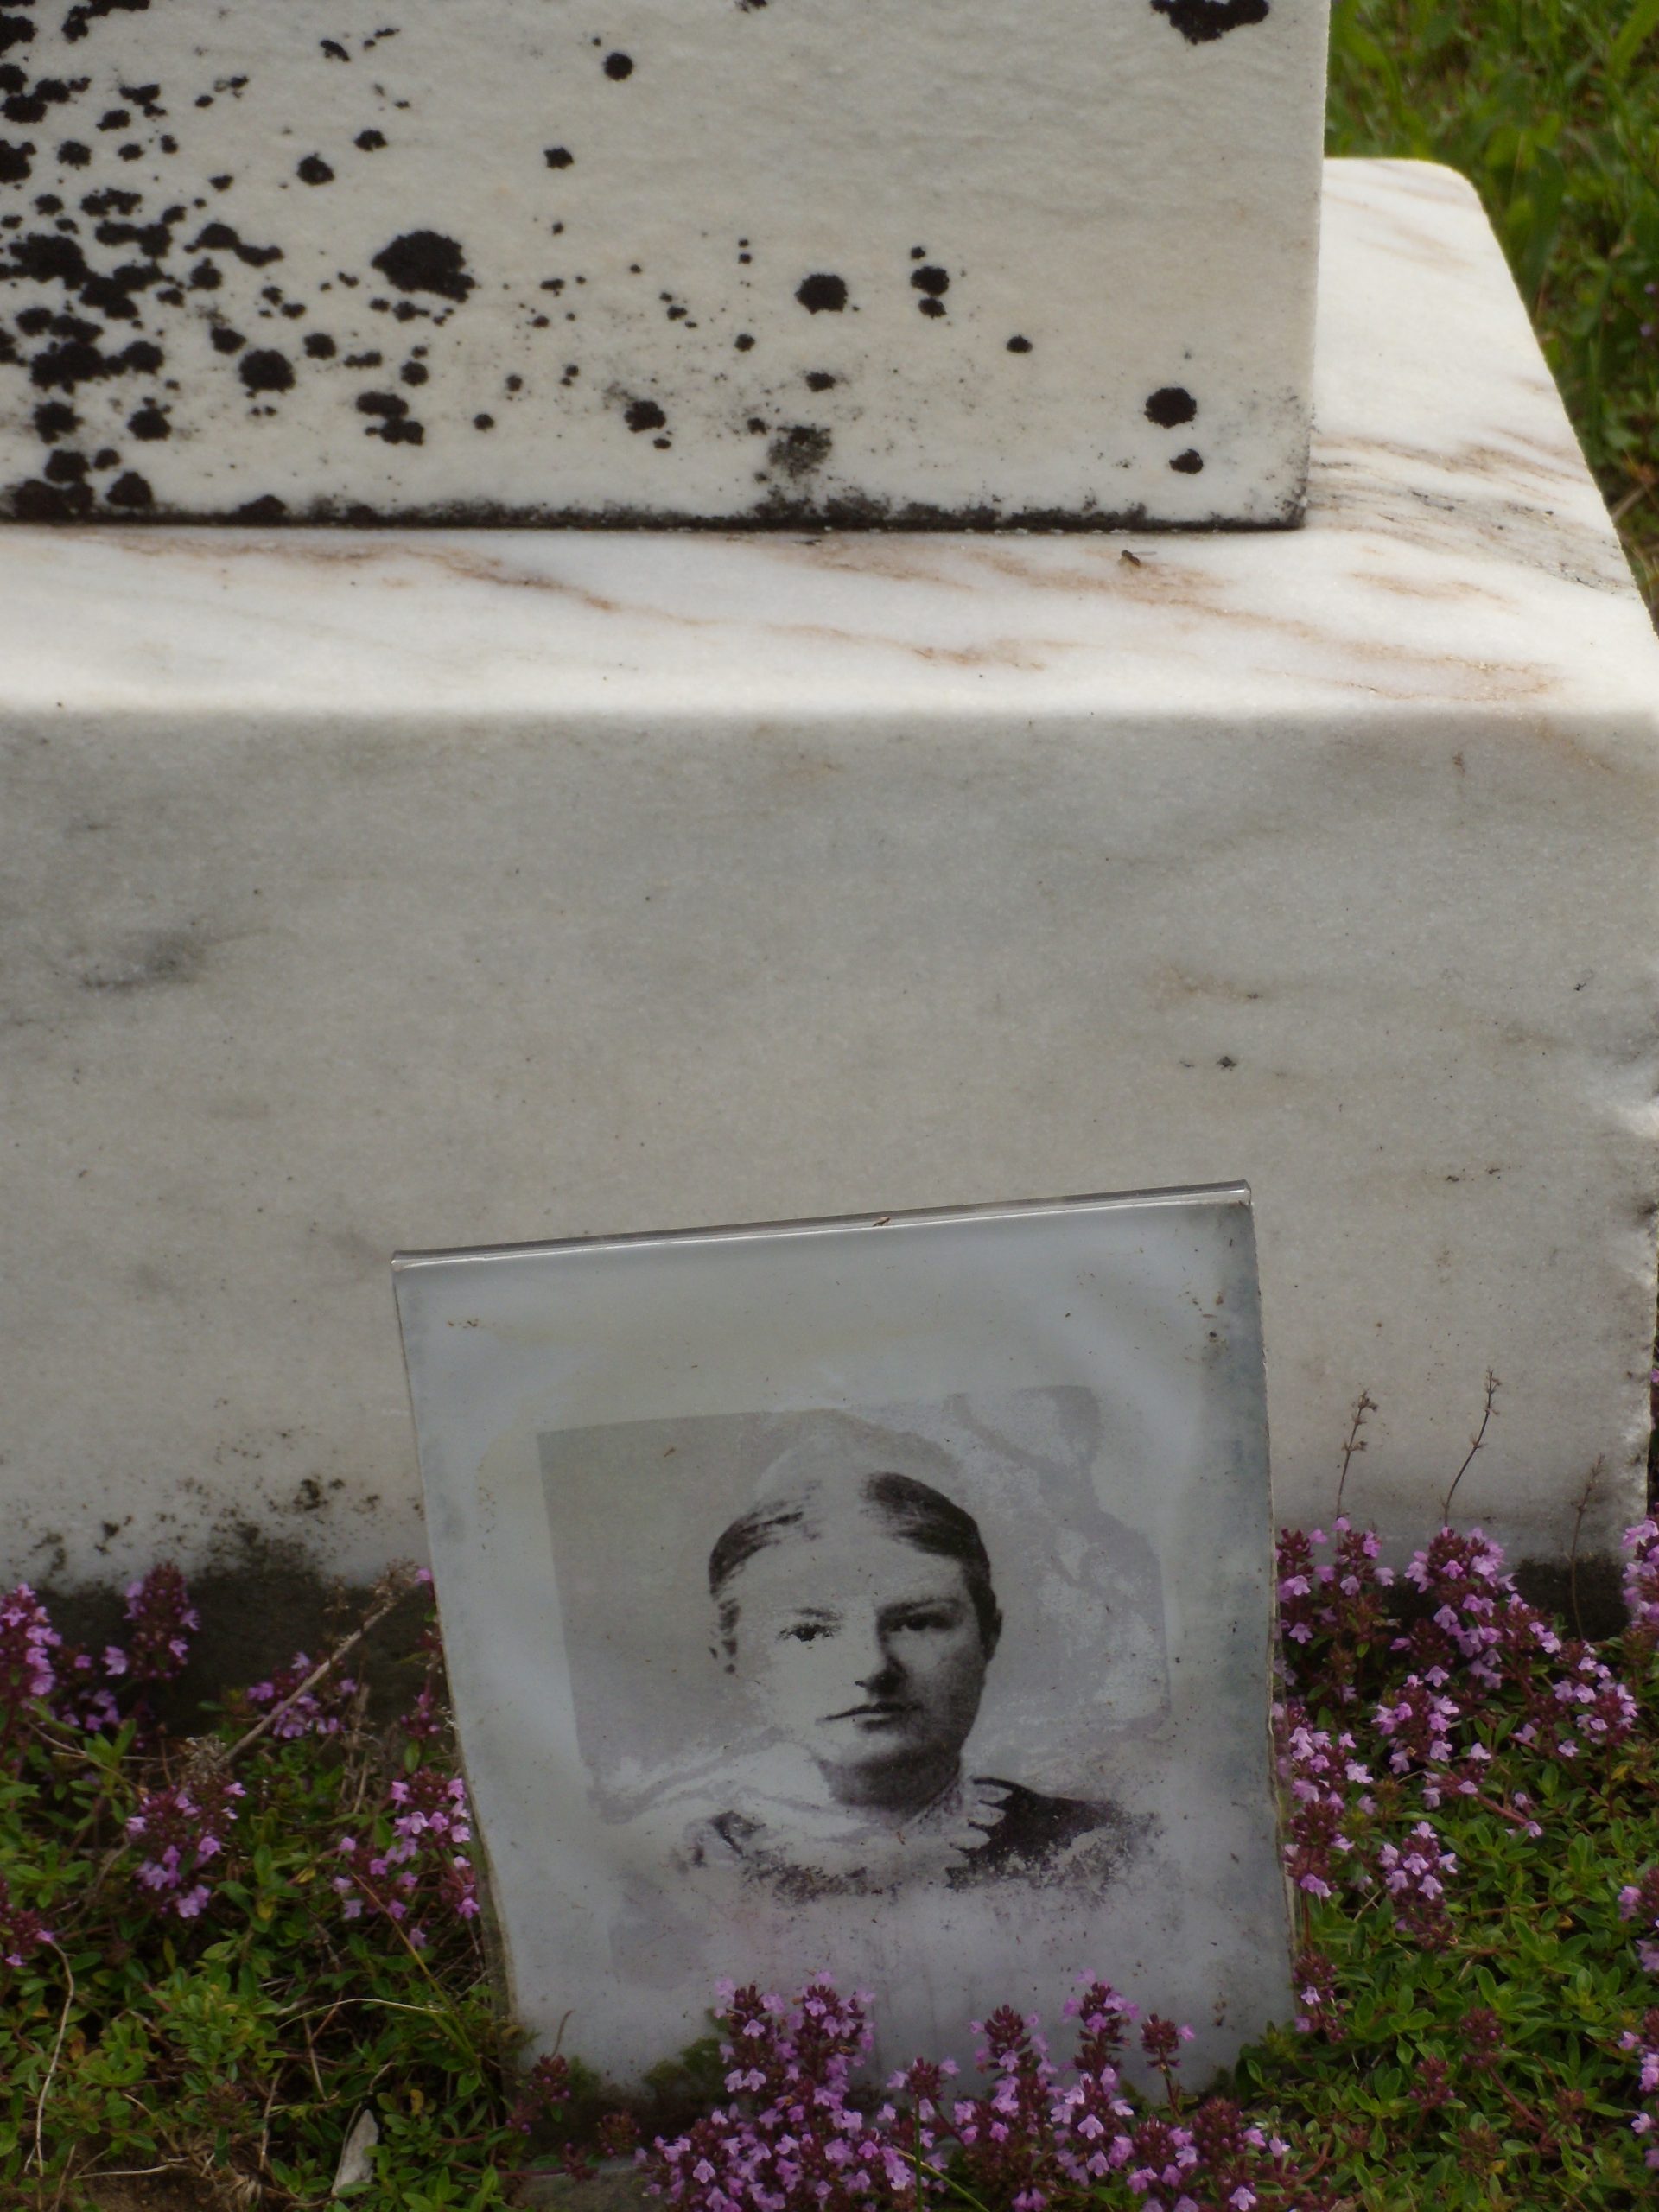
As a child, I found refuge and comfort among their stones. They were there for all the ebbs and flows of my youth. I could feel their love and knew I had a purpose. That feeling sparked my lifelong pursuit of family history. This project is to honor them.
The Database: A Starting Point
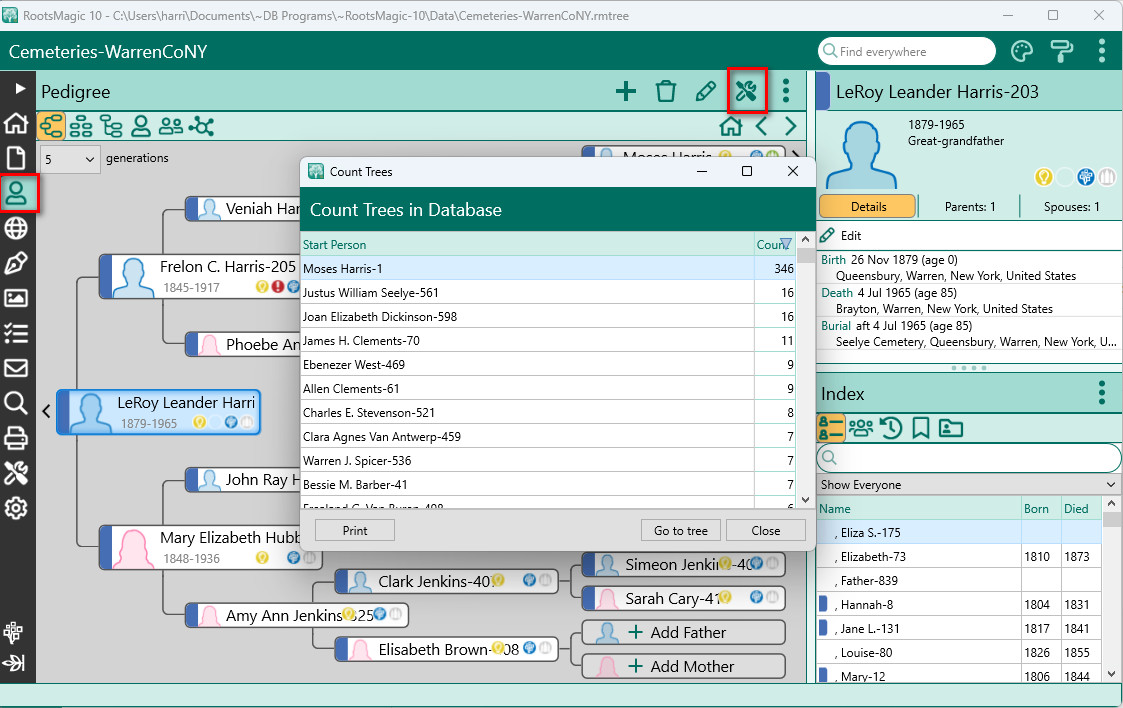
There are 843 people in my database, but only 346 are currently linked as family. That leaves 497 individuals needing further research. I’m taking this opportunity to record who is buried next to whom, looking for potential associations through grave neighbors.
Unfortunately, there are no sexton records for these old cemeteries, and the town’s index lacks information on lot numbers or owners. The best clues may come from proximity in burial.
Using Set Relationships and Color Coding
From the beginning, I used Set Relationships and Color Coding in RootsMagic 10 to identify those connected to my main tree. As I uncover new links, I re-run the tools to recalculate relationships and update colors.
How to Set Relationships
- Go to the People page.
- Highlight yourself.
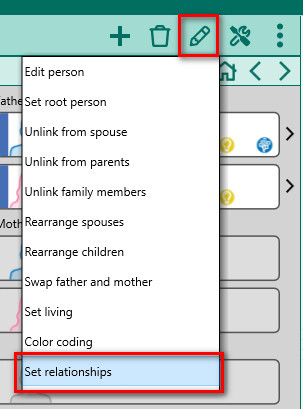
- Click Edit > Set Relationships.
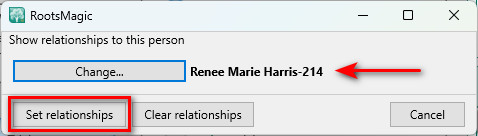
- Make sure your name appears next to the “Change” button, or click to change it.
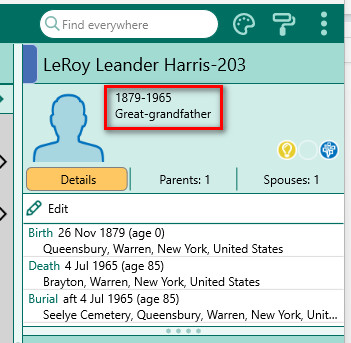
- Click “Set Relationship”—relationships will show in the Info box at the top of the sidebar.
Thankfully, RootsMagic 10 now includes half-relationships and spouses.
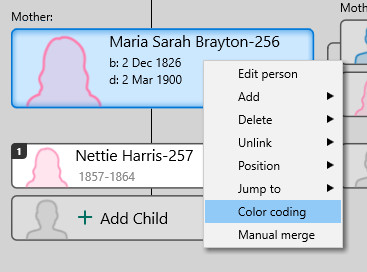
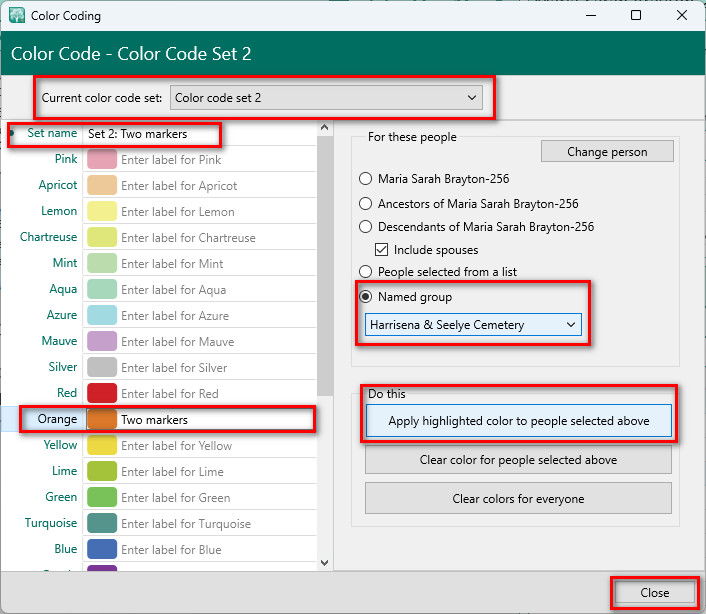
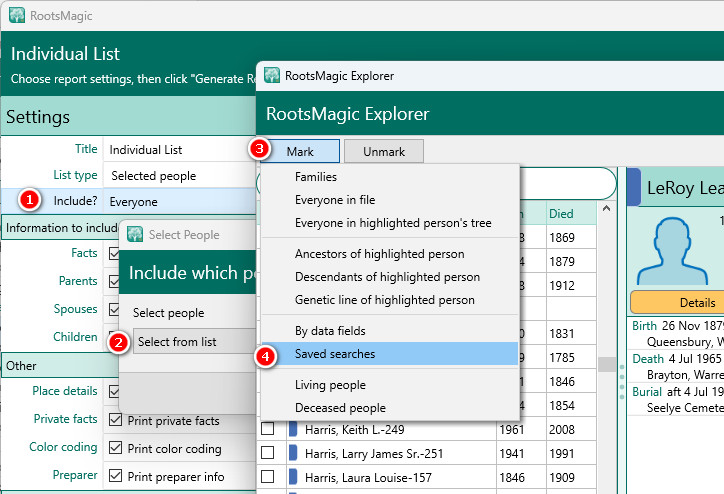
How to Apply Color Coding
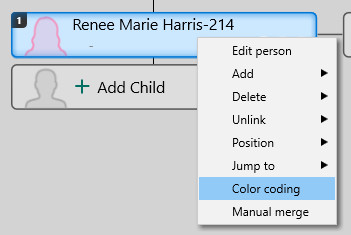
- Right-click on yourself and select Color Coding.
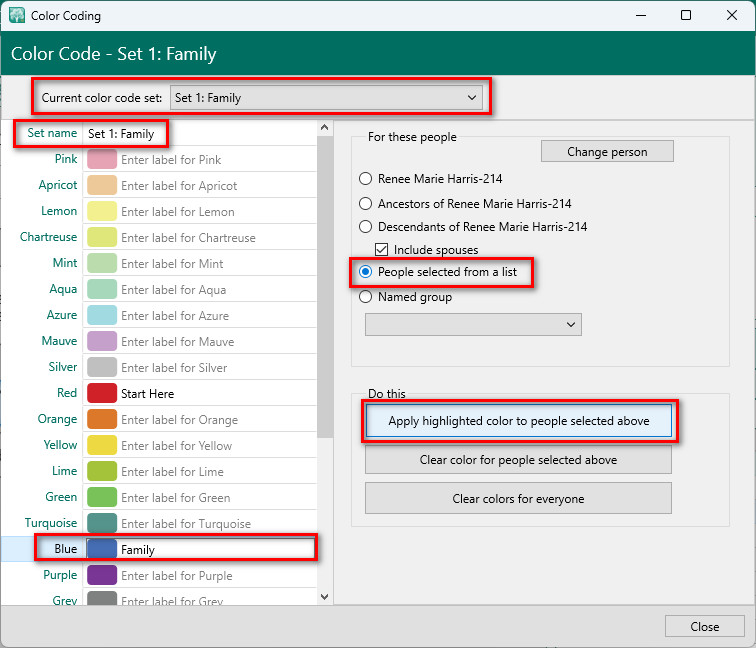
- Ensure you’re on Color Set 1, with the name set to Family.
- Choose the blue color and label it.
- Change the selector to “People selected from a list”.
- Click “Apply highlighted color to people selected above”.
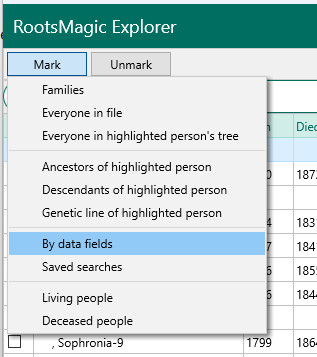
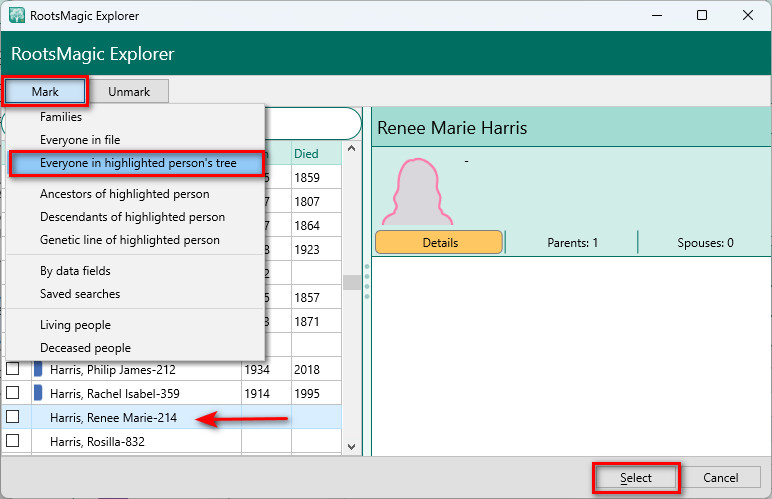
- Use the RootsMagic Explorer to highlight yourself, click Mark, then “Everyone in highlighted person’s tree”.
- Click Select and Close.
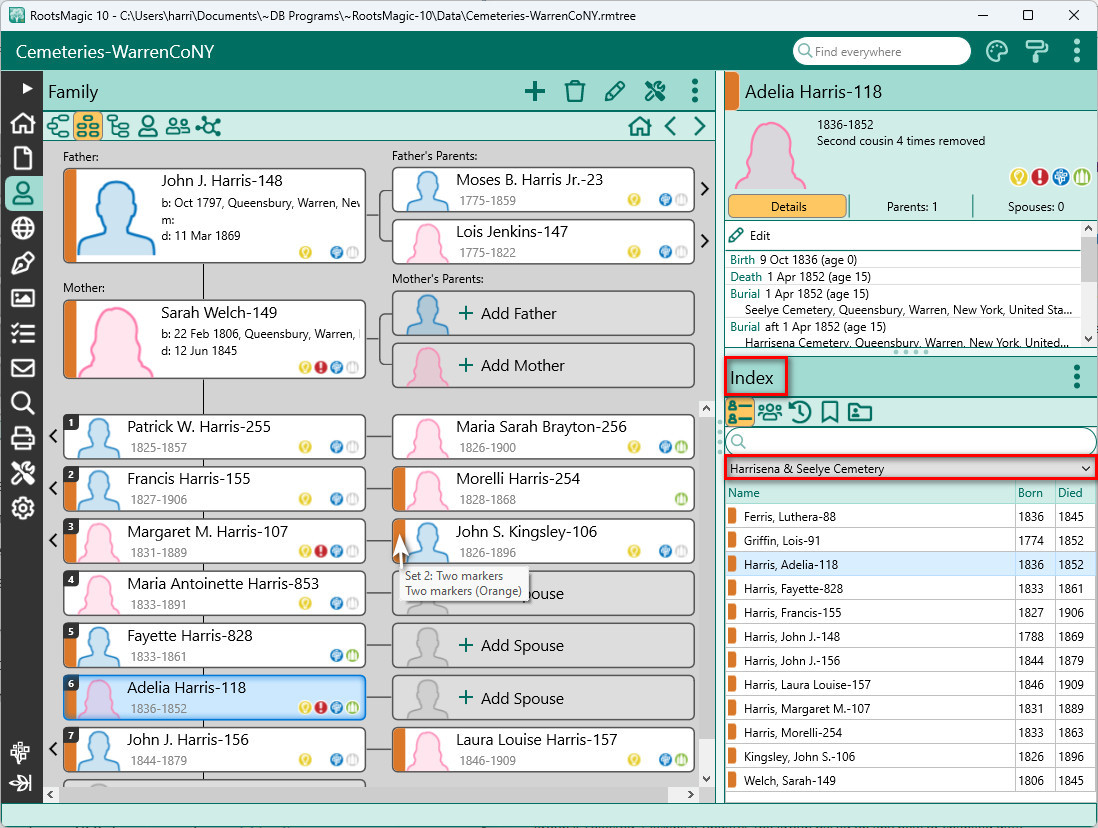
Now, all 346 people in my main tree show blue color bands visible in most views, and reports.
The Challenge: Isolated Individuals

The remaining 497 individuals are spread across many unconnected trees. Set Relationships won’t help here. To manage this in my main database, I use the Reference No. fact to track and categorize people using codes—especially helpful with tools like Ancestry TreeShare and FamilySearch, where relationships might be hidden.
I realized I could use the Reference No. fact to tag individuals by which FAN club (cemetery) they belong to. Later, I’ll add RootsMagic’s Association facts once grave neighbors are identified.
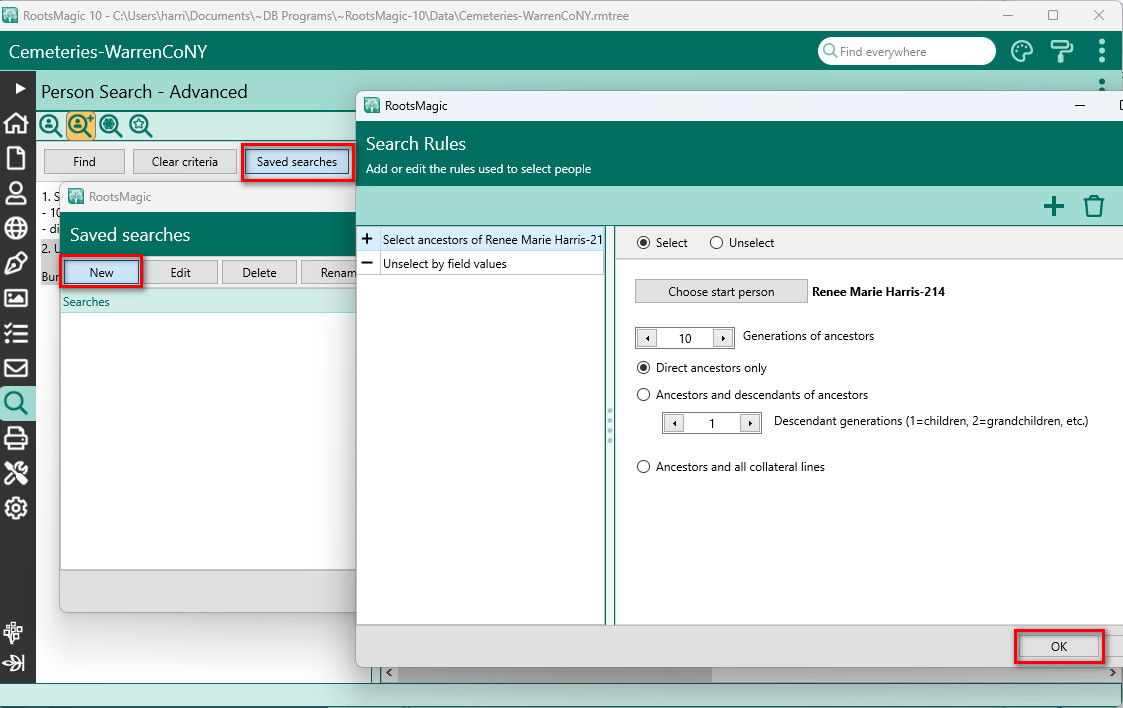
Creating FAN Clubs with Groups and Rules
I’m not going to enter 497 Reference No. facts manually—nor do I need to. RootsMagic 10 offers a tool for batch processing, but first, I need to create groups.
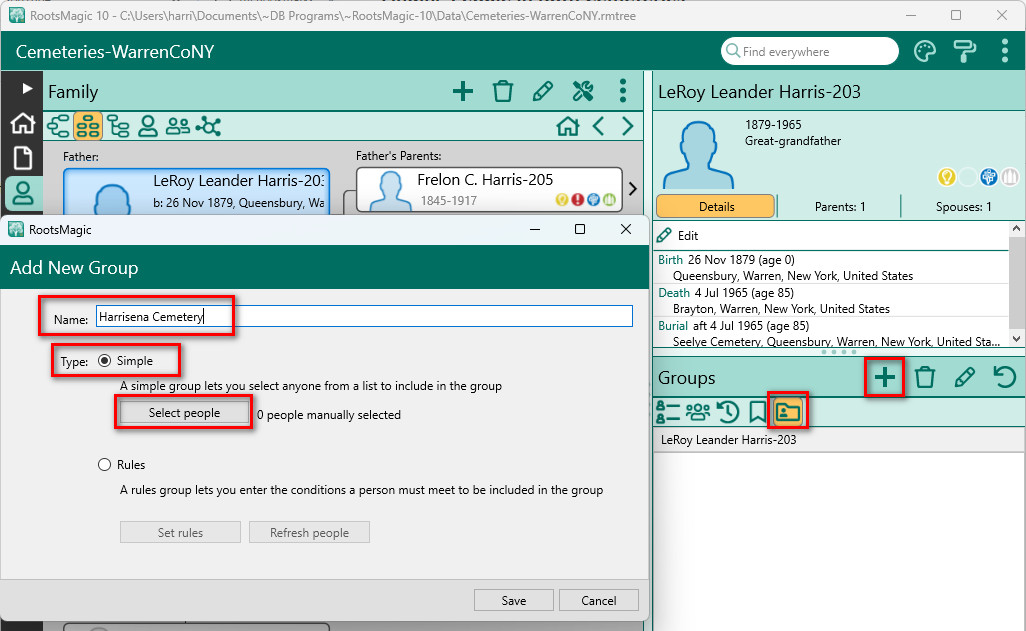
Group 1: FAN (H) for Harrisena Cemetery
- On the People page, select the Groups tab in the sidebar.
- Click the Add (+) button and name the group FAN (H).
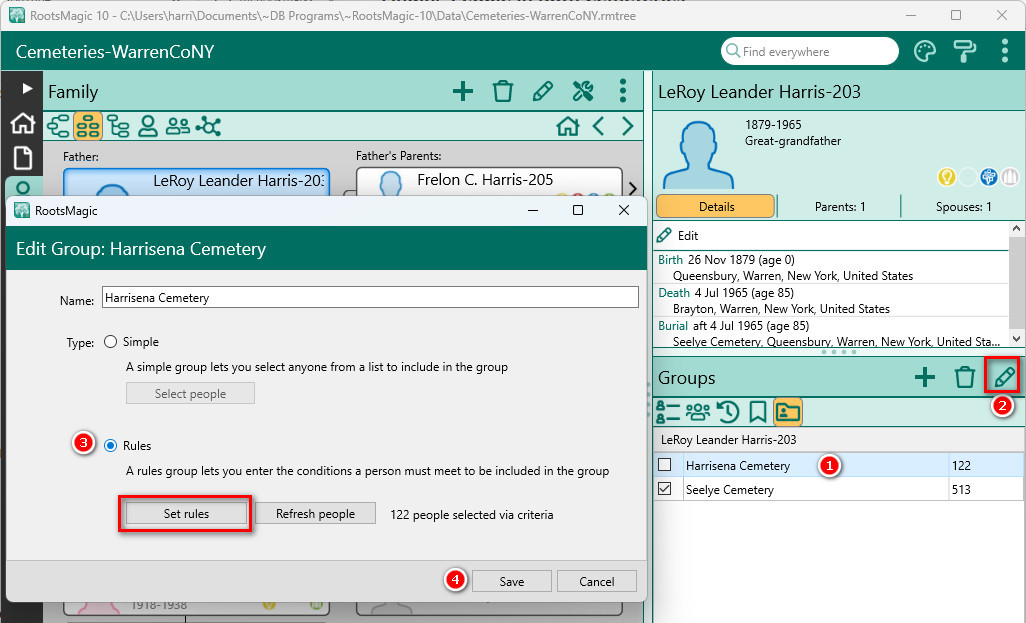
- For Type select Rules, then Set Rules.
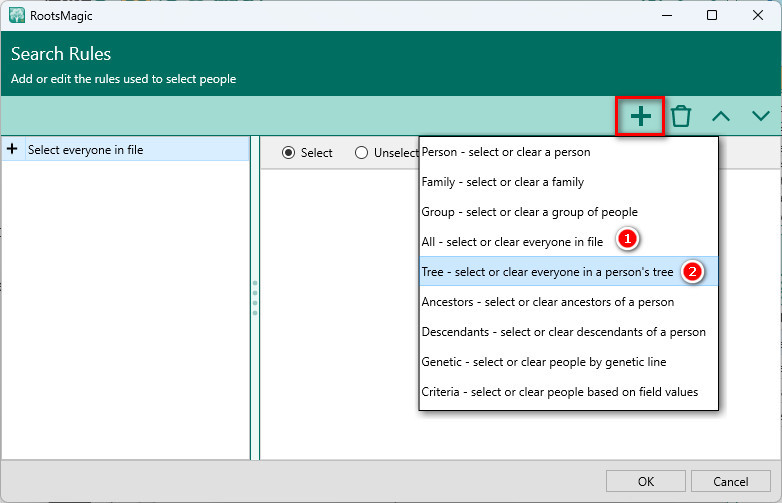
- Click Add (+) rule: select All.
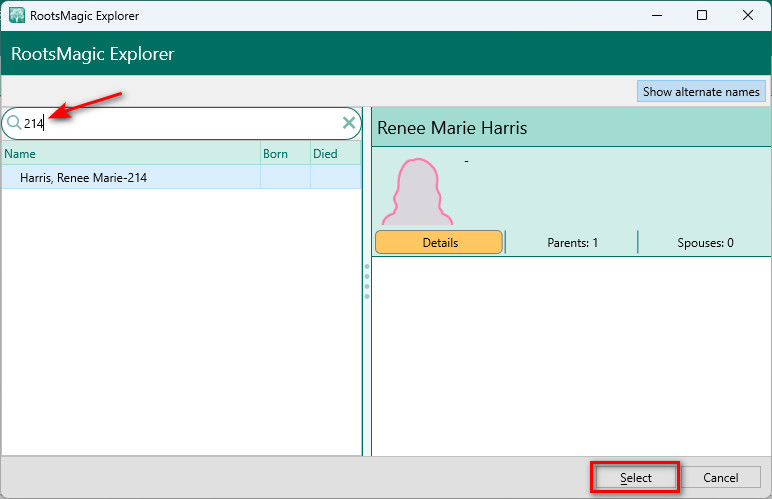
- Click Add (+) rule: select Tree > enter record number to quickly jump to a person, or enter a name. Click Select. Make sure the rule is set as Unselect.
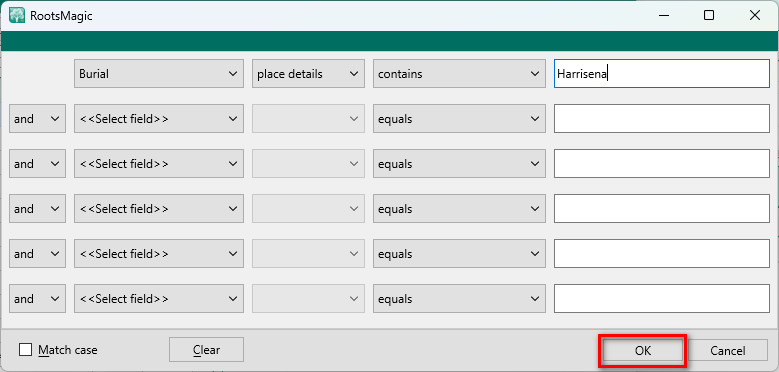
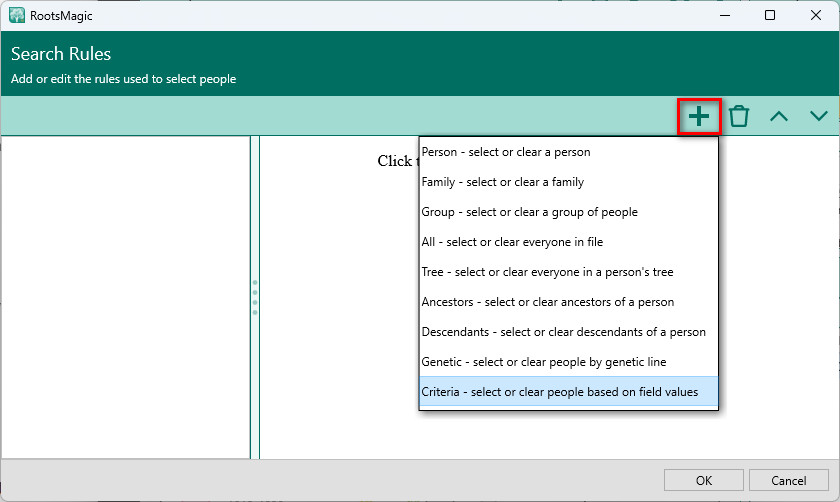
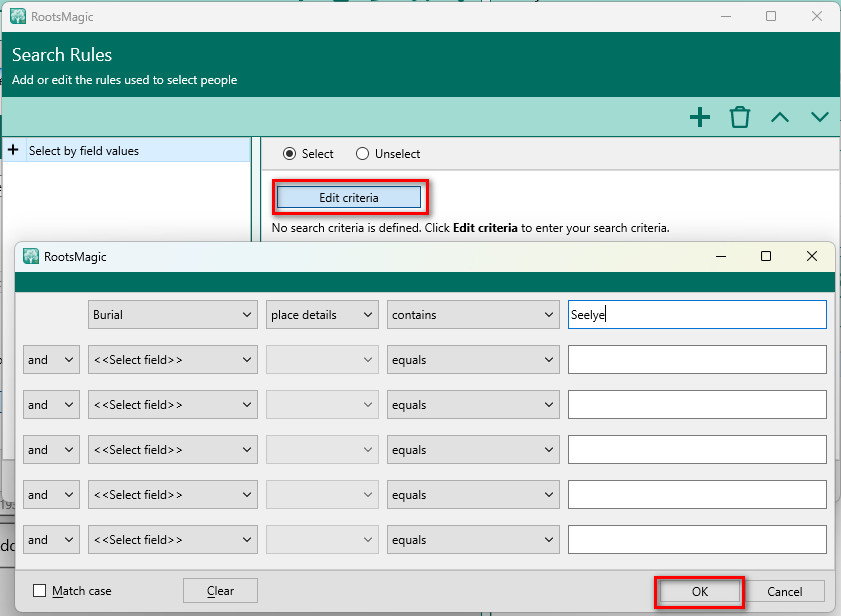
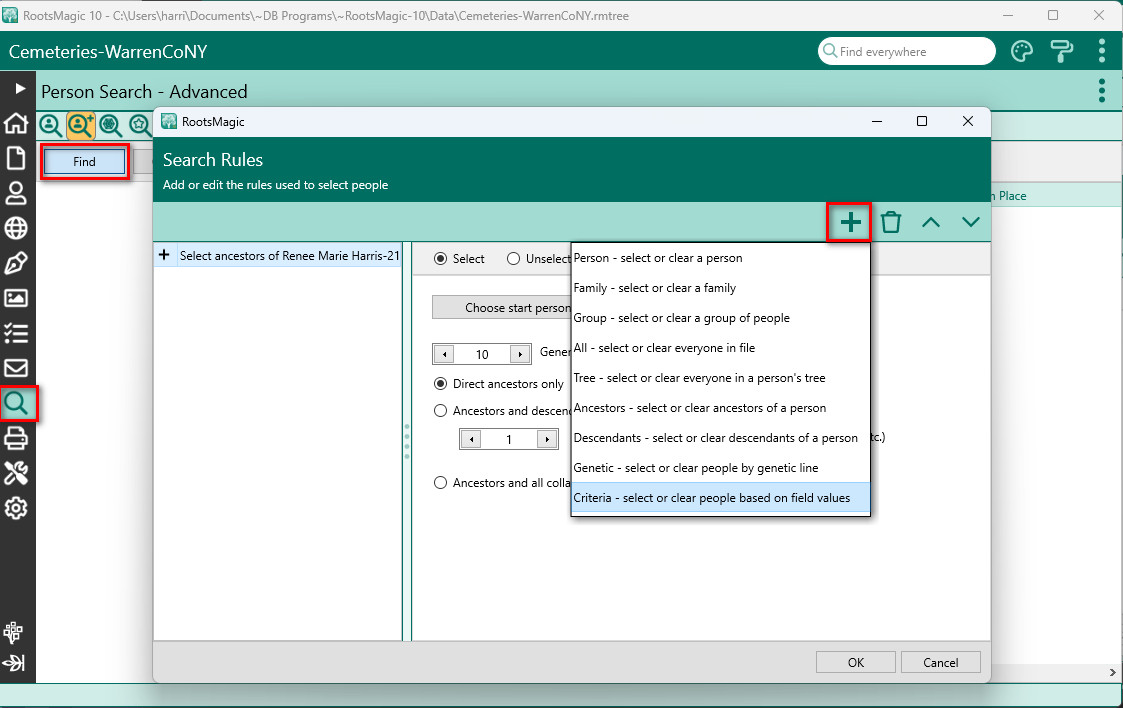
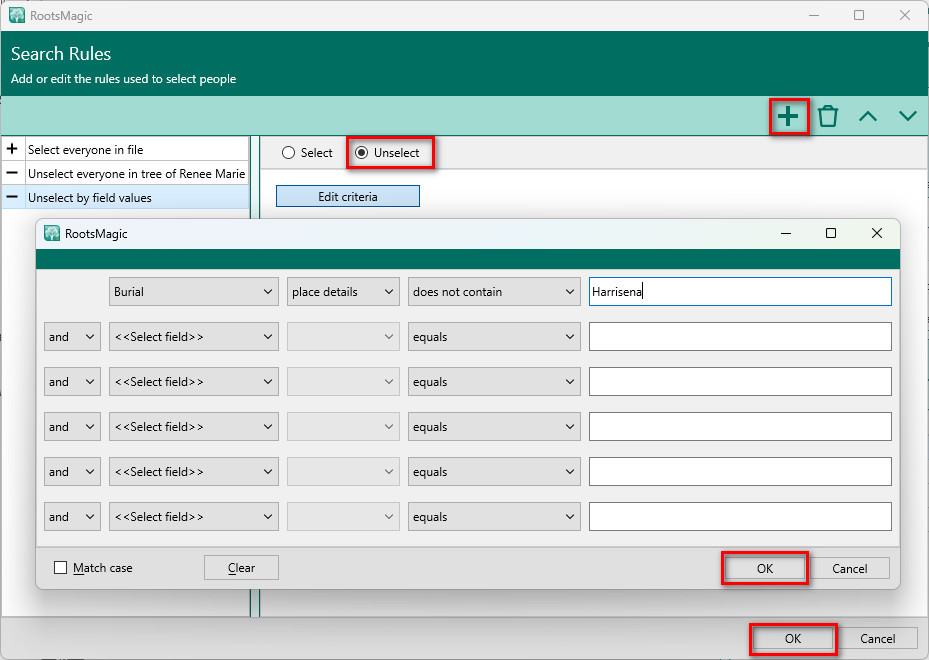
- Add (+) final rule: Criteria – ensuring “Unselect” is checked. Under Edit Criteria, chose the following filter:
- Burial → Place details → Does not contain → Harrisena
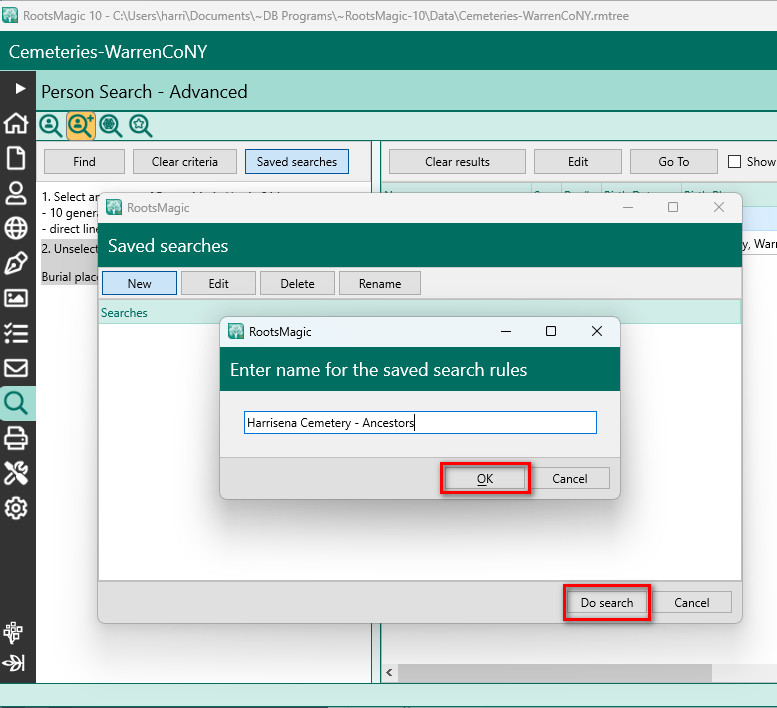
- Click, OK, OK, Save.

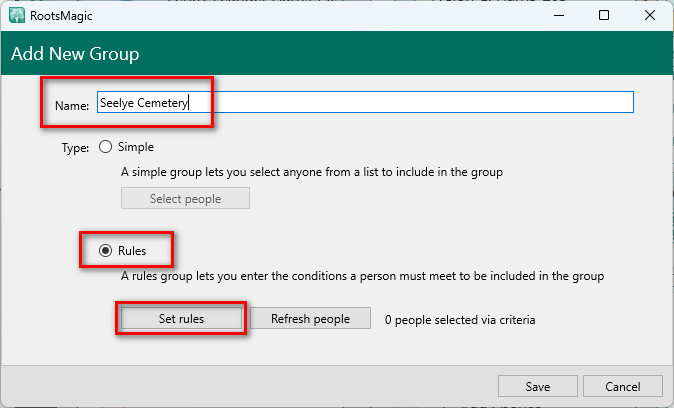
Group 2: FAN (S) for Seelye Cemetery
Repeat the steps above but:
- Name the group FAN (S).
- Change Criteria to does not contain → Seelye.
Assigning Reference Numbers Using Fact Tools
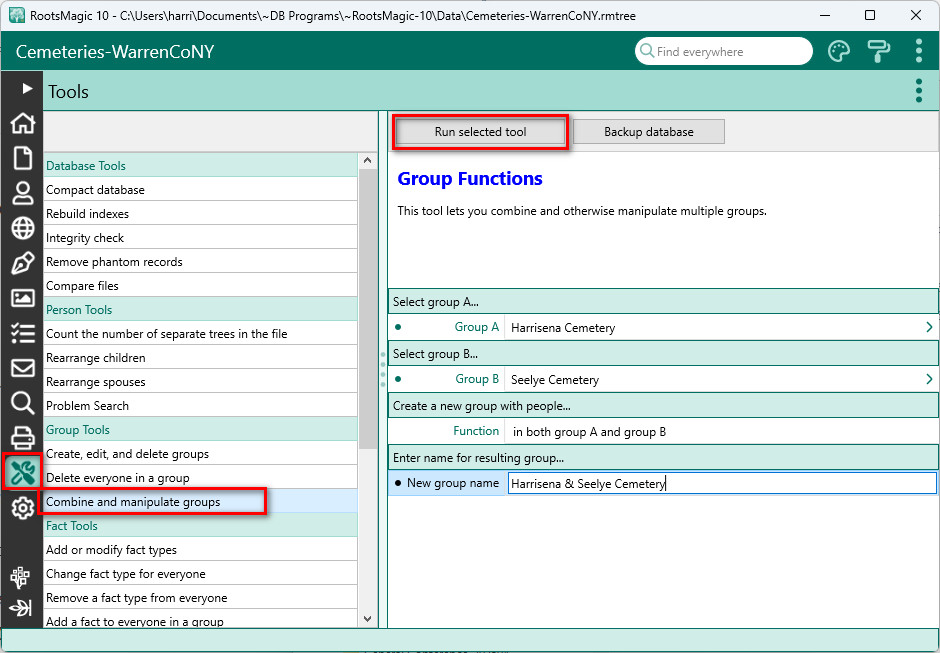
With the groups ready, it’s time to use a fun new tool in RootsMagic 10. This time-saving feature will “Add a Fact to Everyone in a Group”. (IMPORTANT: This will modify every person in the group. Make a backup of your file before continuing.)
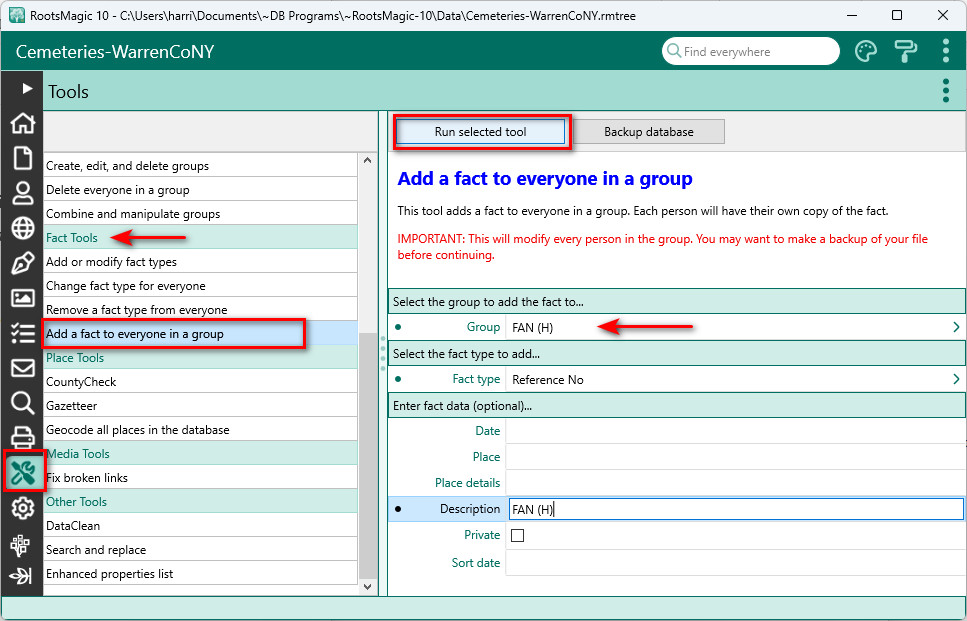
Go to Tools page > Fact Tools > “Add a fact to Everyone in a Group” and fill out the fact information.
Fact 1: FAN (H)
- Group: FAN (H)
- Type: Reference No.
- Description: FAN (H)
- Run selected tool → Message: “Added fact to 55 people”.
Fact 2: FAN (S)
- Group: FAN (S)
- Type: Reference No.
- Description: FAN (S)
- Run selected tool → Message: “Added fact to 347 people”.
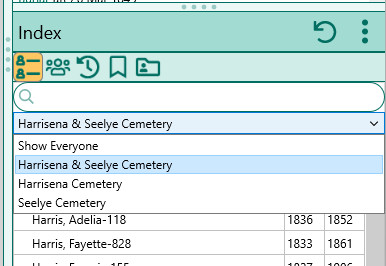
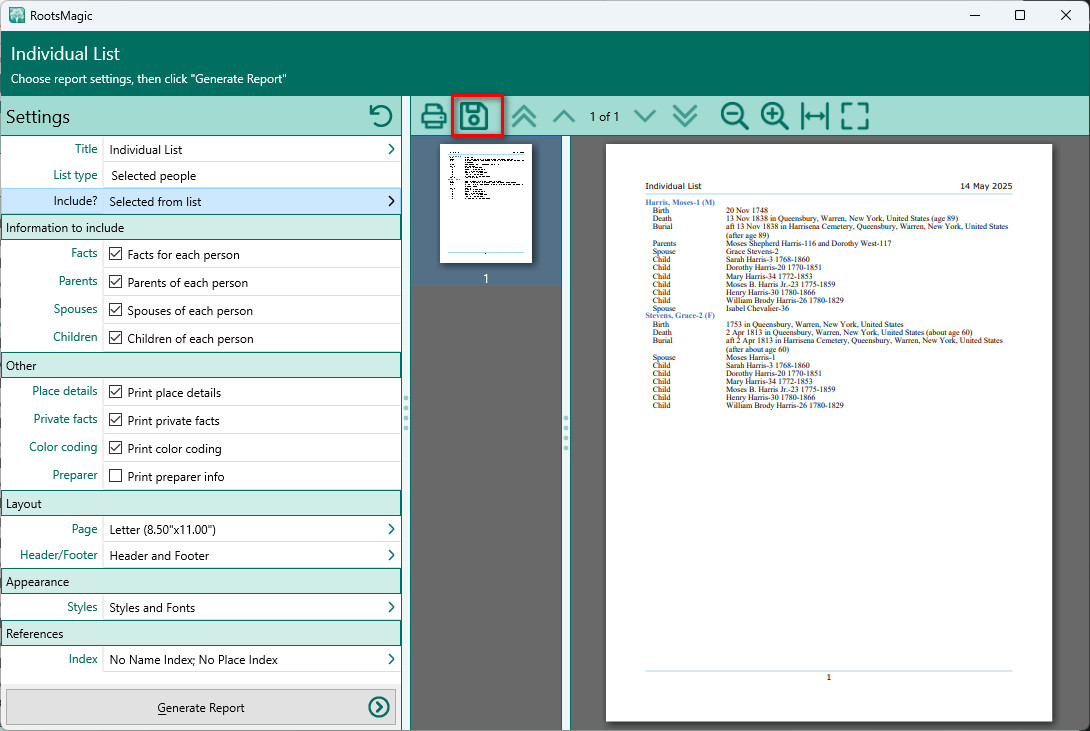
Displaying and Using Reference Numbers
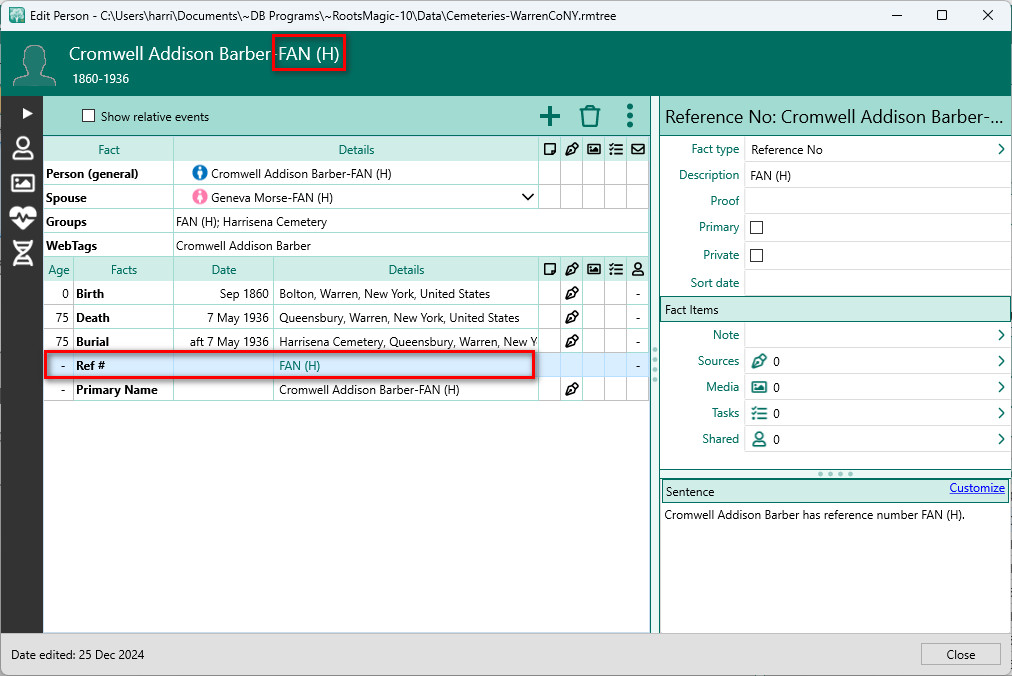
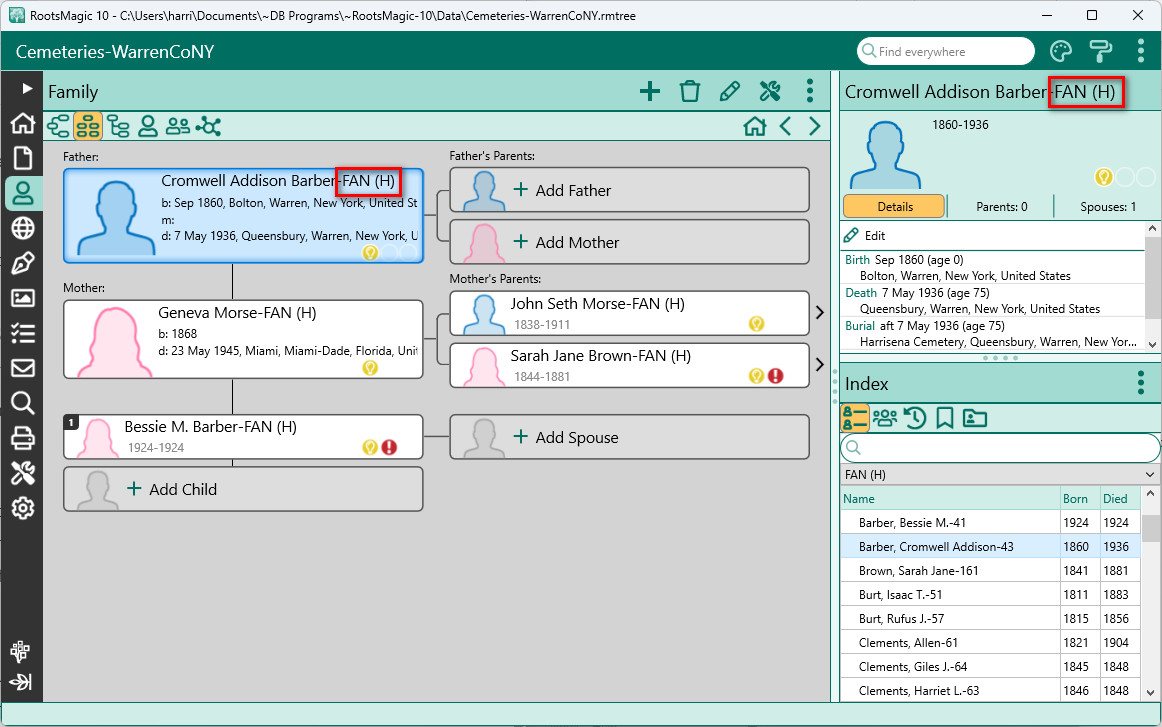
The Reference No. fact now tags each person with their FAN club. This appears:
- On the Edit Person screen, as a fact.
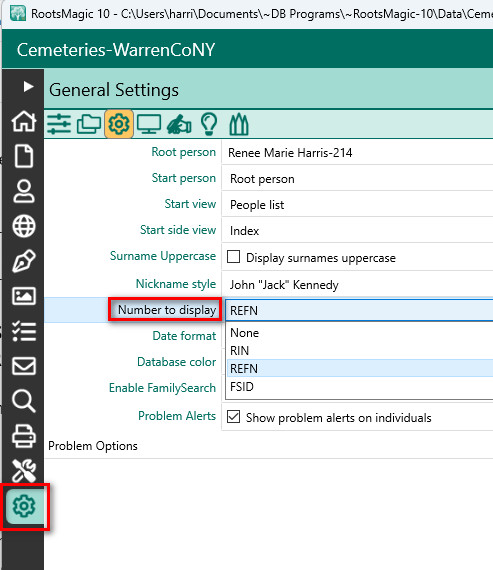
- In Reports and Views (enable under Settings > General Settings > Number to Display > REFN).
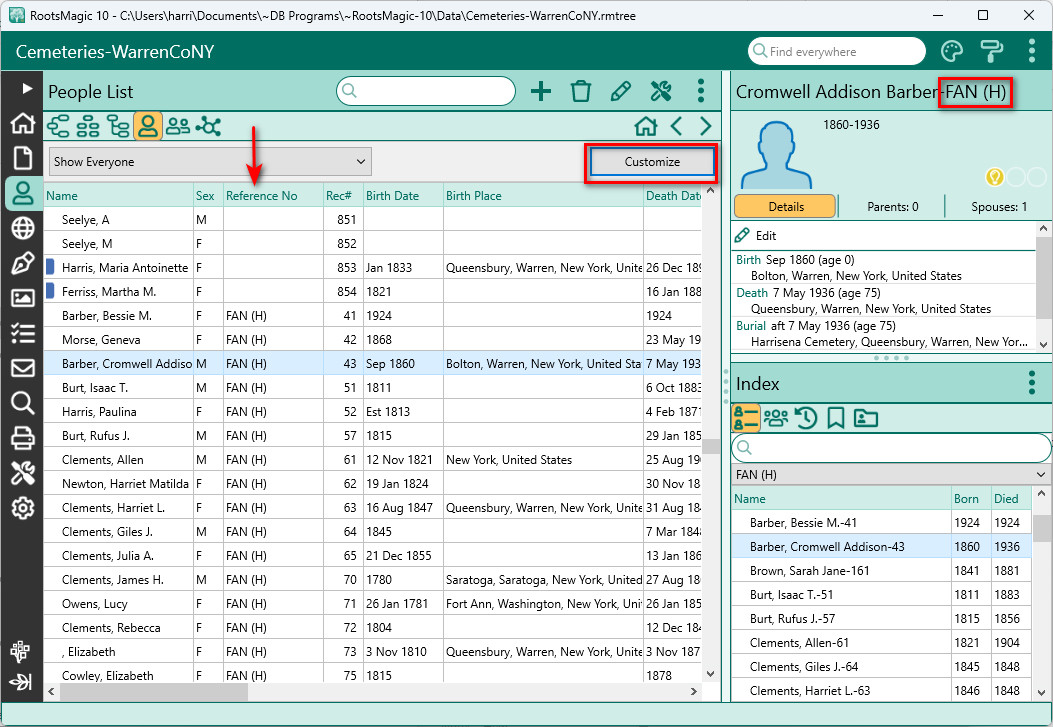
- In the People List view (Customize columns to include REFN).
You can sort the People List view by the Reference No. column simply by clicking on the column header.
Ready for Research
Now that my FAN clubs are defined and visible, I’m ready to dive deeper. I can sort, group, and explore data from multiple perspectives. I also plan to identify grave neighbors to add Association facts—bringing me closer to understanding the connections that shaped my family.
Closing Reflections
As I prepare for my cemetery visits this Memorial Day, I’m struck by the journey this project has taken me on. What began as a powerful desire as a child to uncover forgotten connections has come full circle as an adult. RootsMagic 10 has allowed me to bring clarity to the chaos, and through color coding, groups, reference numbers, and FAN club tracking, I’ve found a meaningful way to honor those who came before. Their stones may be weathered, and their records incomplete, but their place in my history—and in my heart—endures. This is more than data. It’s family. And I’m honored to carry their memories forward.
Have a very happy Memorial day.