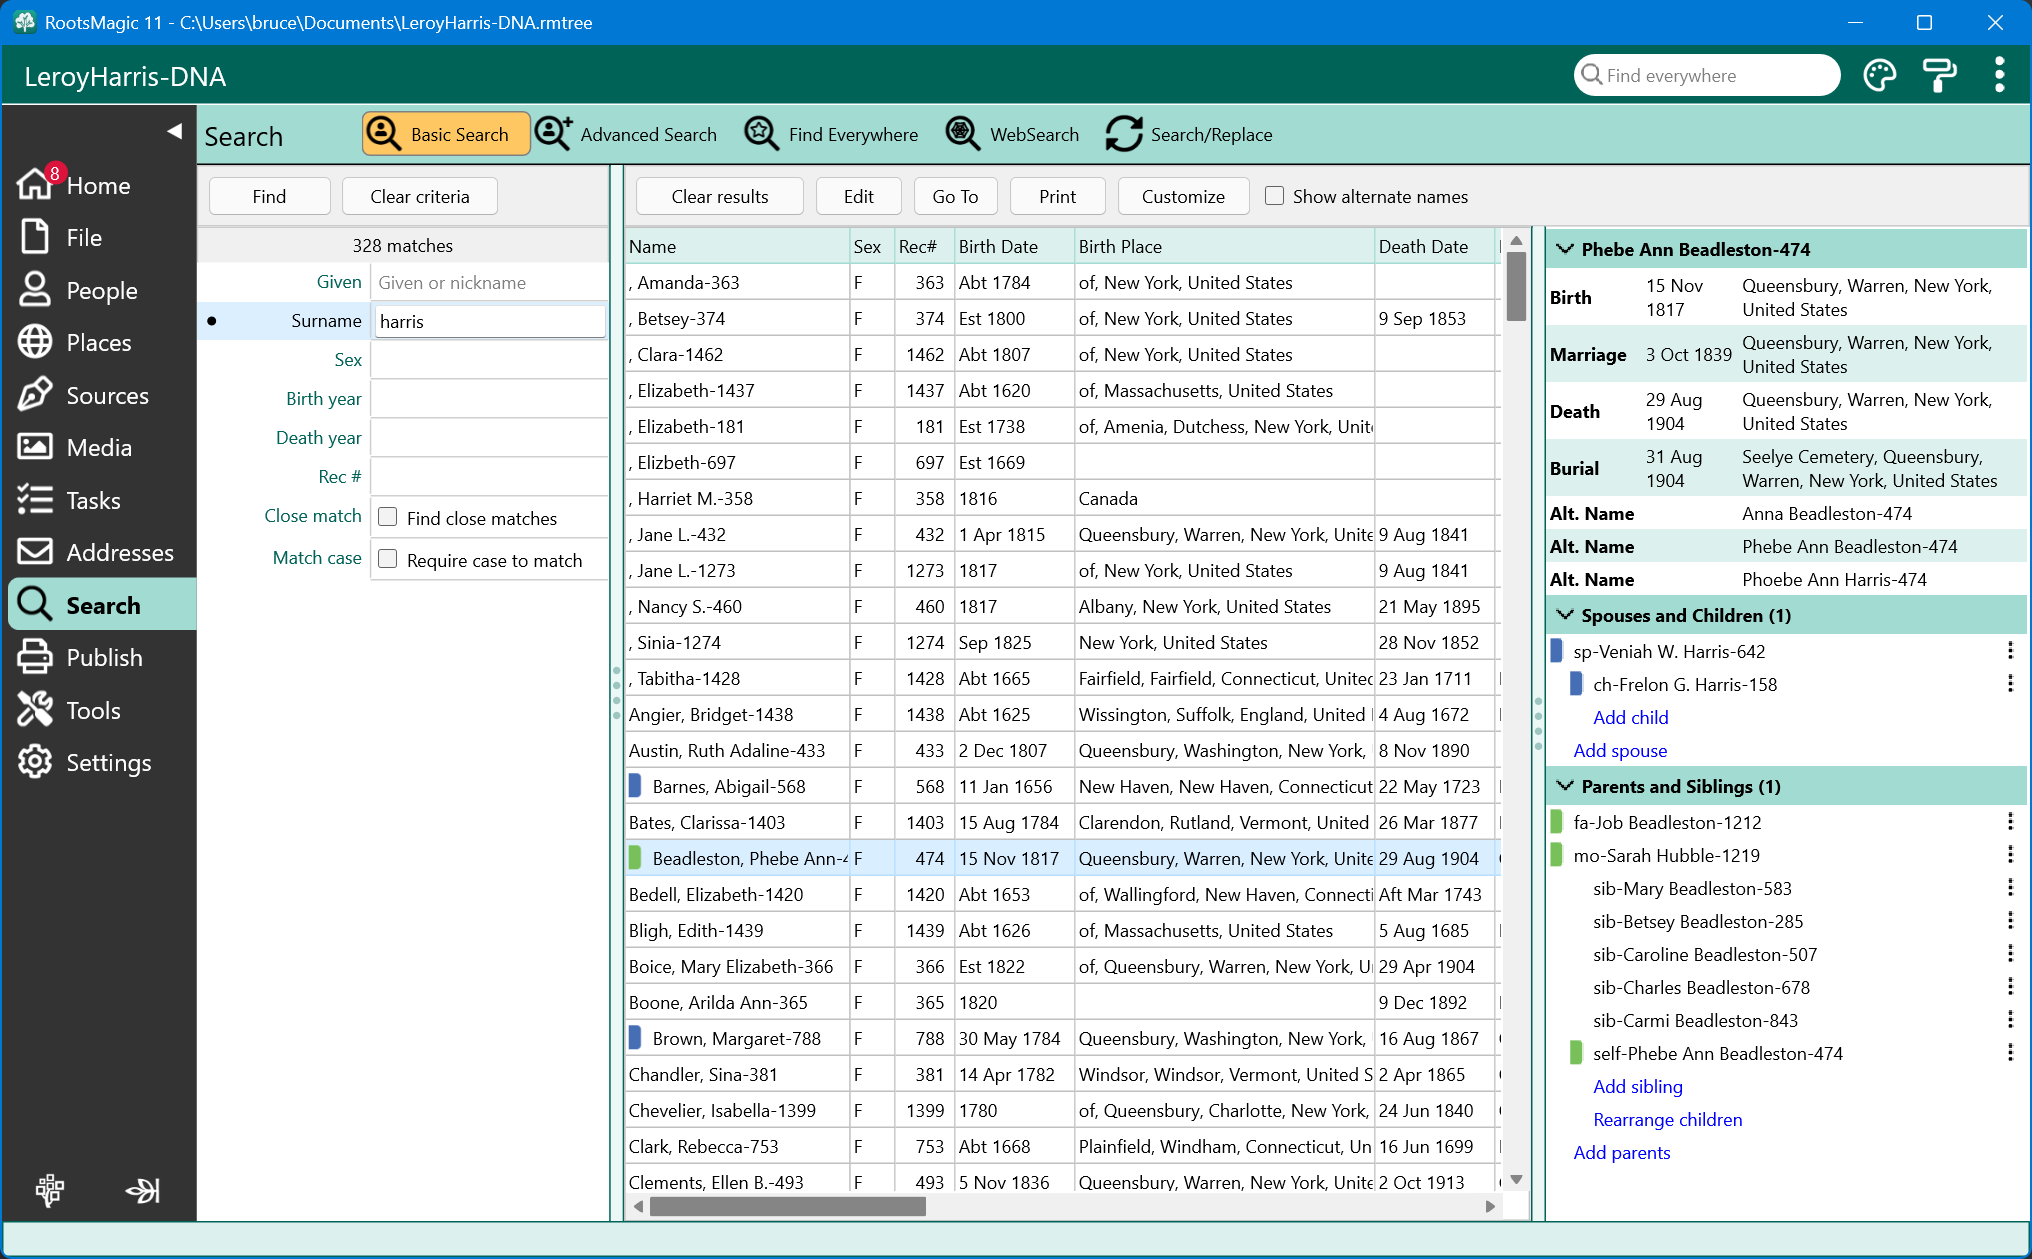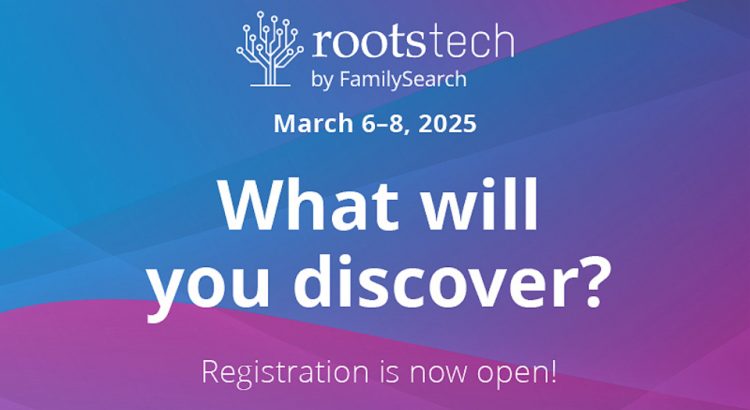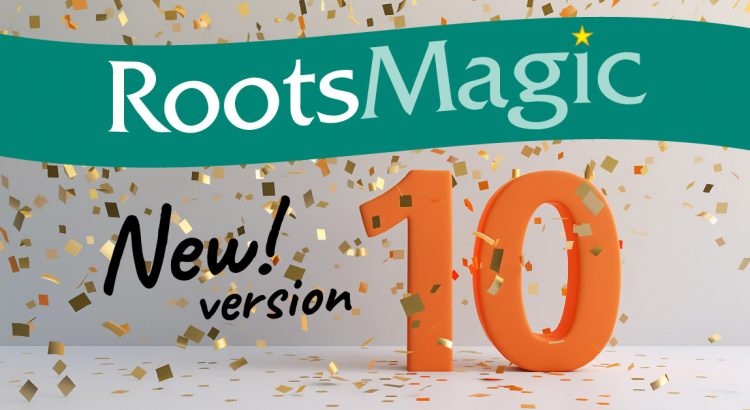
It’s almost time for the largest genealogy conference in the world—RootsTech!
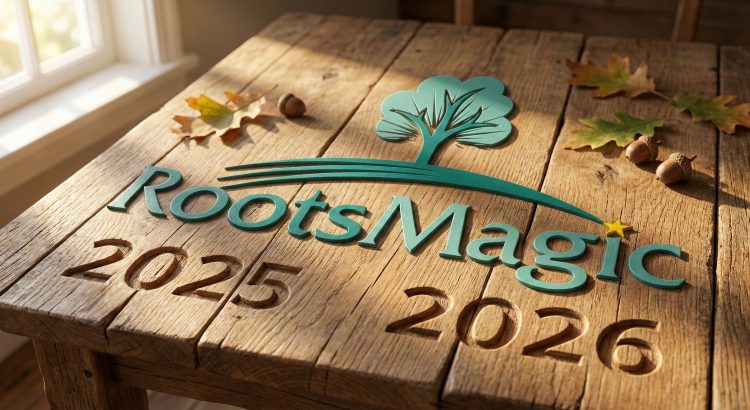
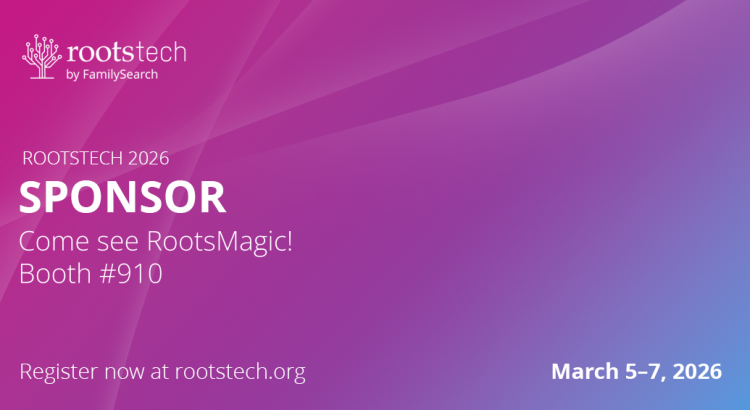
RootsTech 2026 will be held Thursday, March 5, through Saturday, March 7, both online and in-person at the Salt Palace in Salt Lake City, Utah. We’ve been part of this event from the very beginning, and we’re thrilled to sponsor it once again in 2026—this time with a brand-new booth location and the all-new RootsMagic 11!
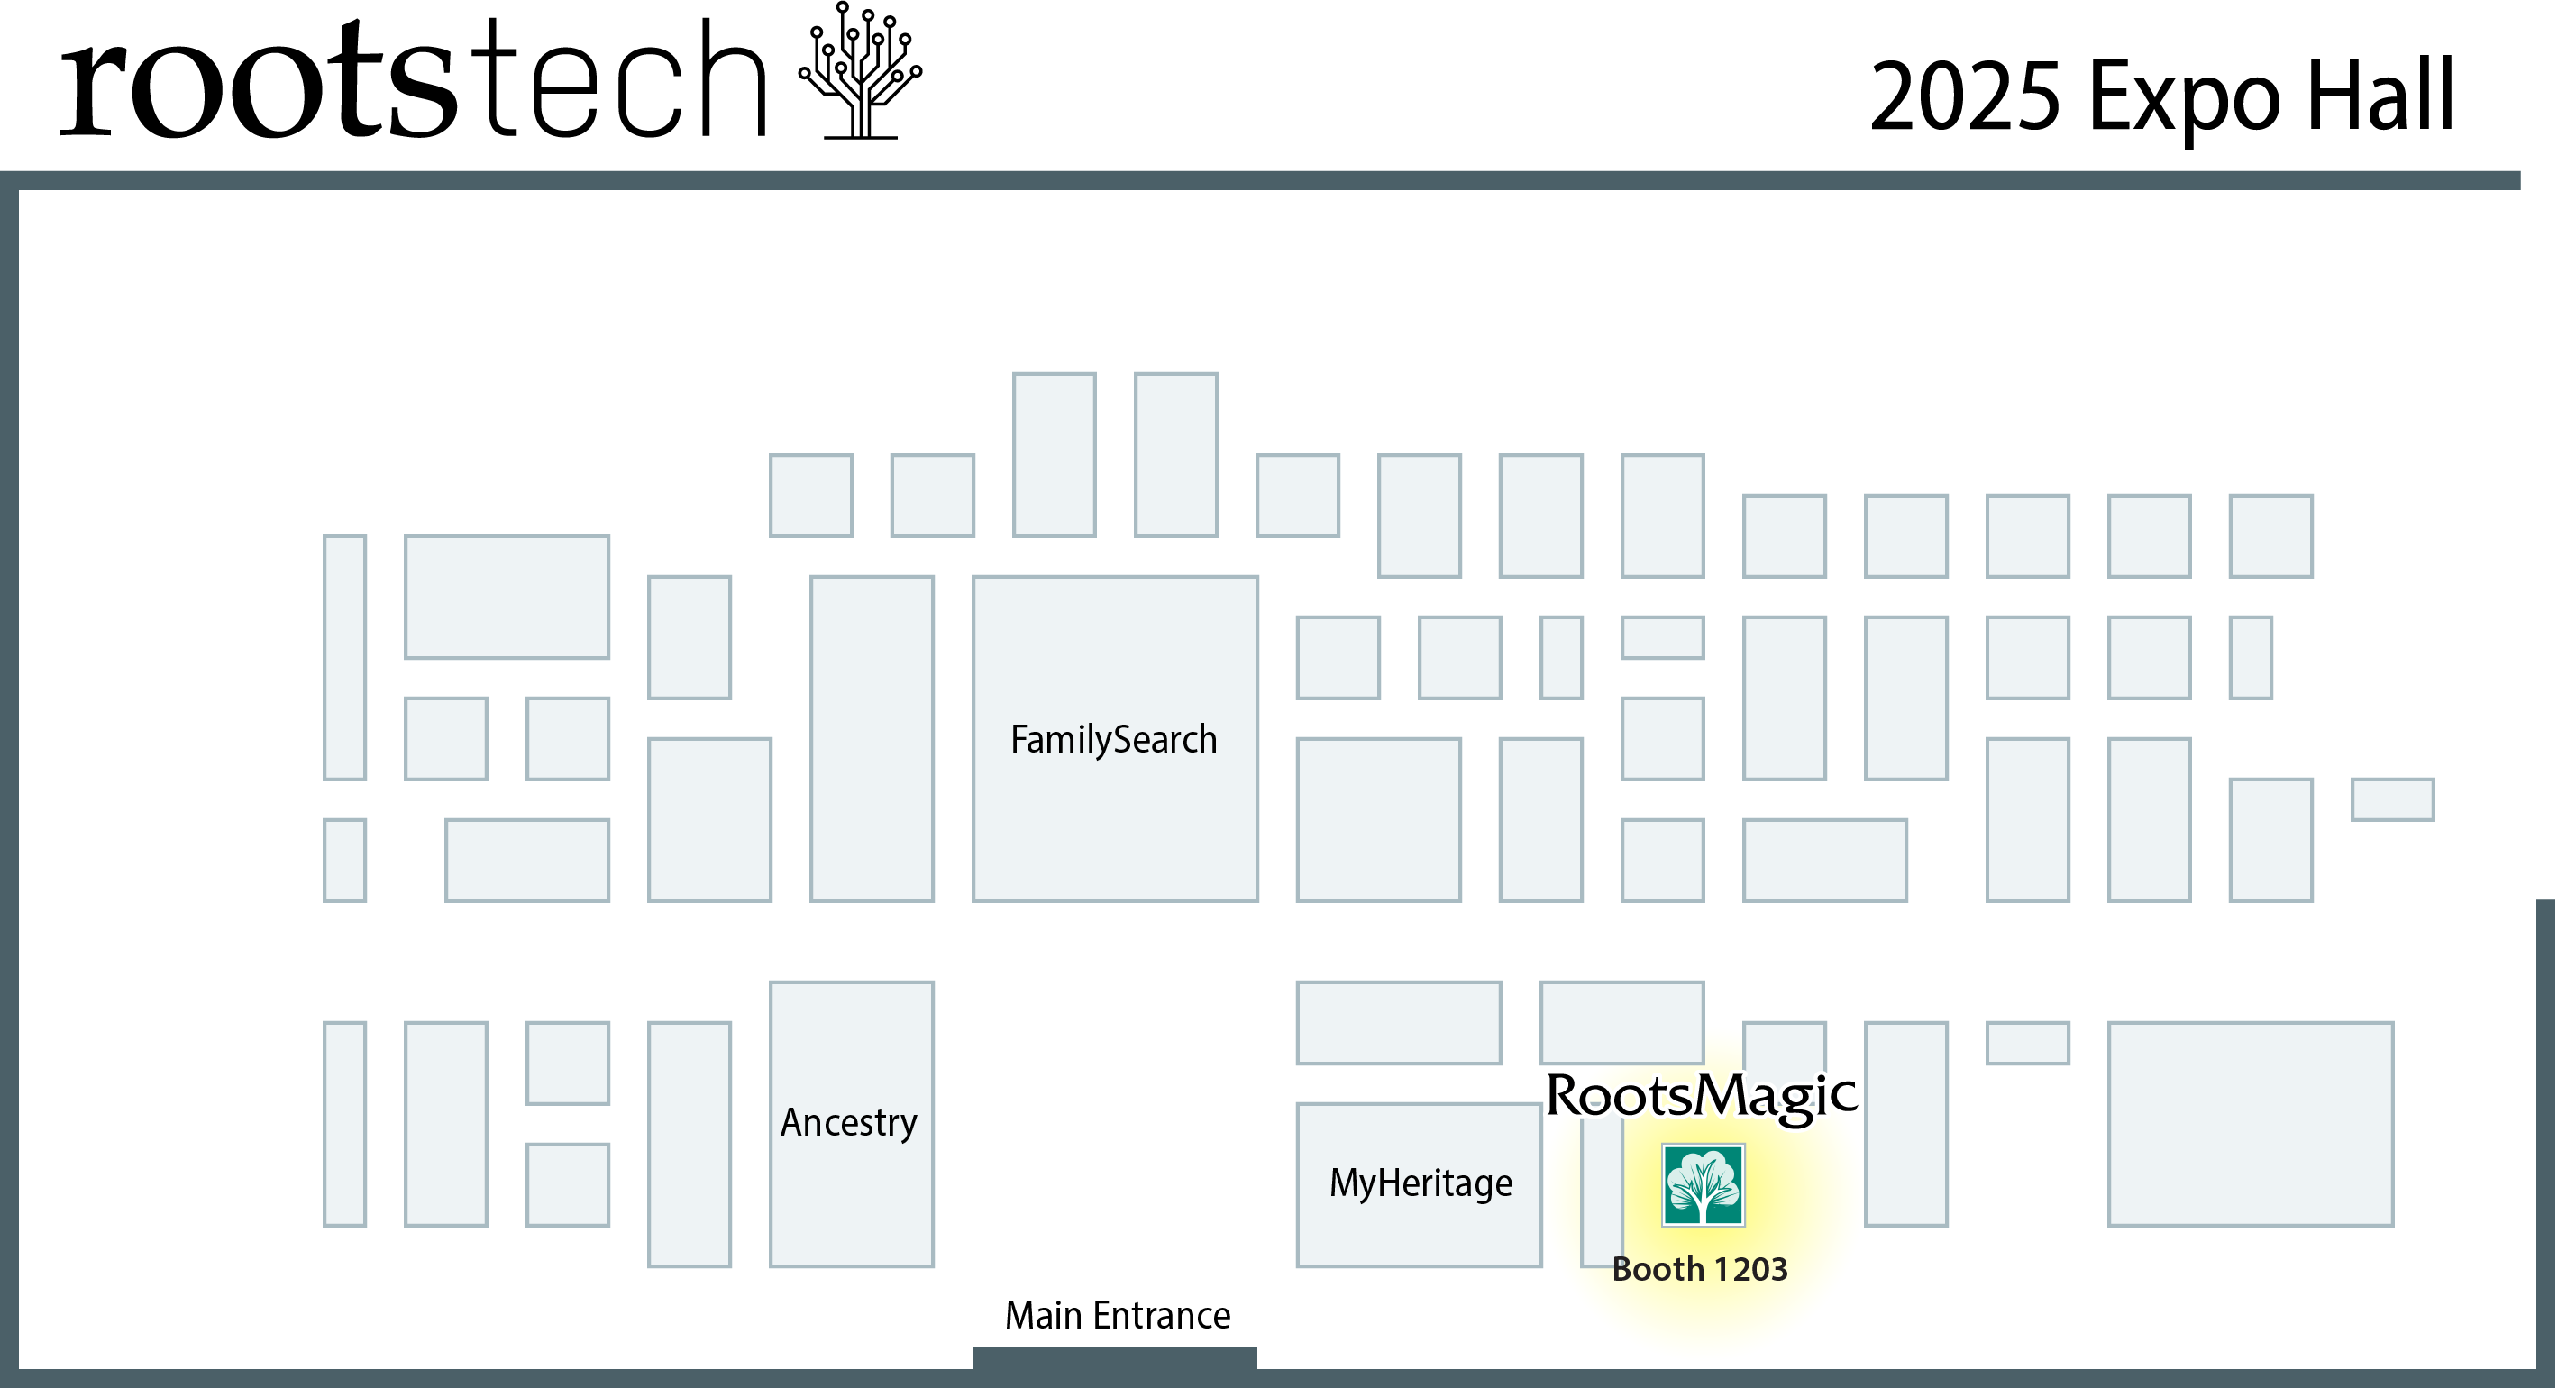
New Booth, New Location
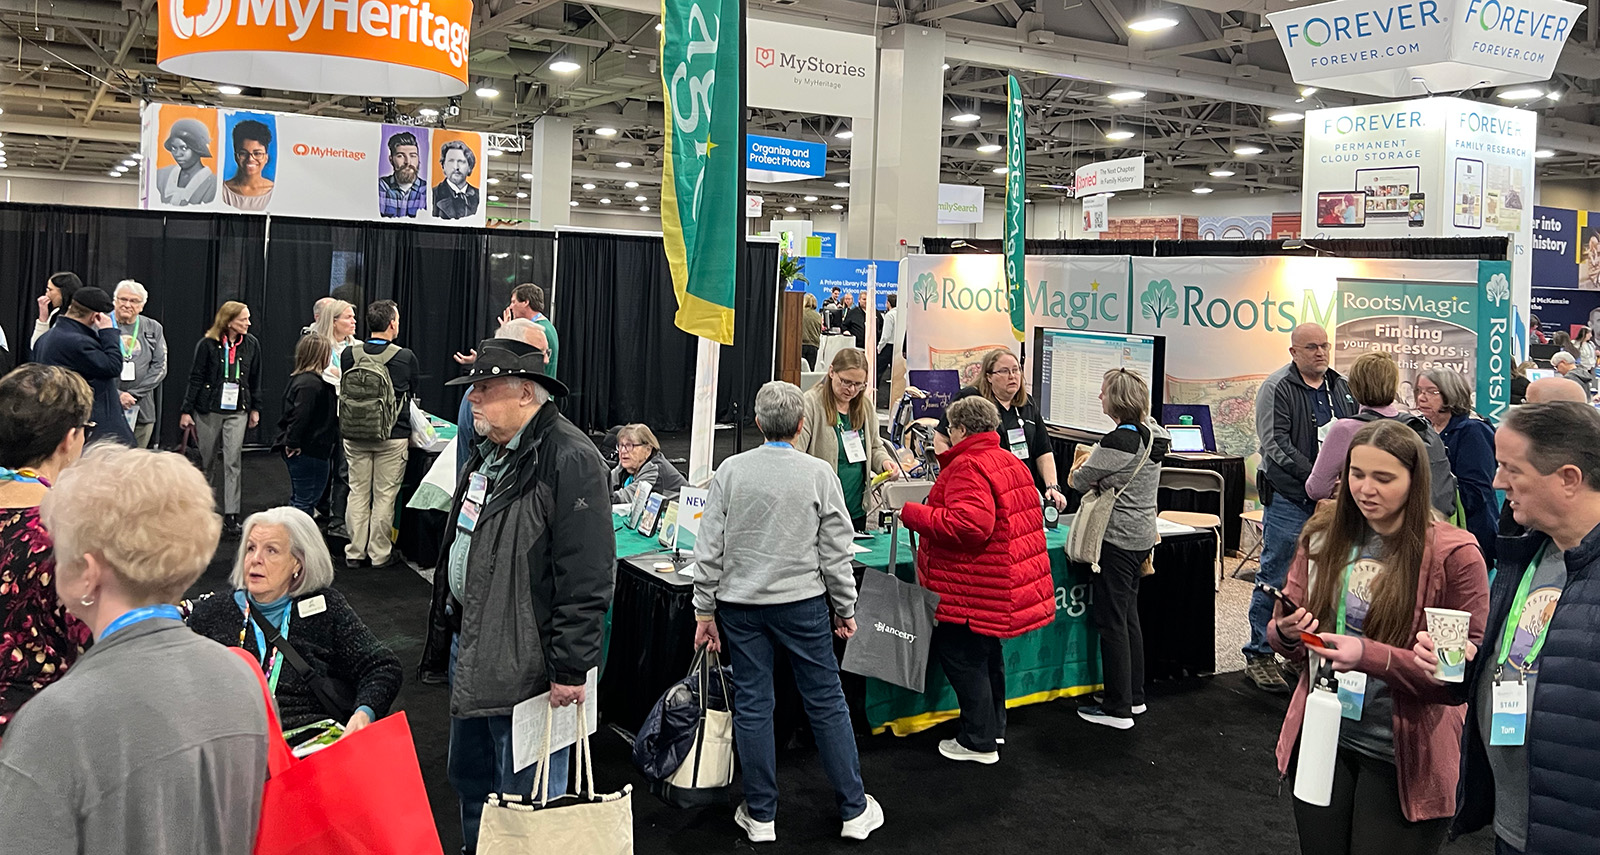
You’ll find us at booth #910, right at the main entrance between MyHeritage and FamilySearch. We’ve moved to the front of the show floor, so we’ll be one of the first things you see when you walk in. Stop by to meet our team, watch live demonstrations, and take advantage of exclusive in-person pricing on RootsMagic 11.
Special RootsTech Offer
We’re celebrating RootsTech 2026 with special discounts for everyone—whether you’re attending in person or following along from home.
In-Person Exclusive: Visit us at booth #910 for a special in-person-only deal on RootsMagic 11. You’ll have to come see us to find out what it is!
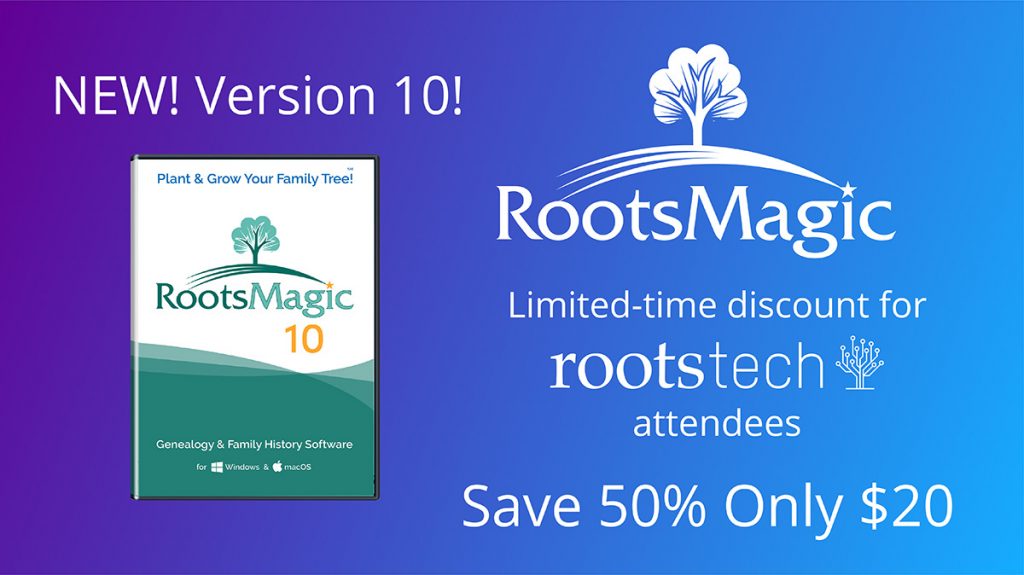
Can’t Make It? Save from Home: Save $5 on RootsMagic 11—just $34.95 for new users or $24.95 for existing users. Visit rootsmagic.com to claim your discount. This offer runs through Friday, March 13, 2026.
Attend Online for Free!
You don’t have to be in Salt Lake City to experience the excitement of RootsTech! Register for free to access hundreds of online class sessions, a virtual expo hall, inspiring keynote speakers, and other unique experiences designed to help you uncover your family history.
Relatives at RootsTech
One of the most exciting features of RootsTech is the “Relatives at RootsTech” tool, which helps you discover how you’re related to other attendees. Simply use RootsMagic to update your FamilySearch Family Tree and explore connections with genealogists from around the world.
Explore the Expo Hall
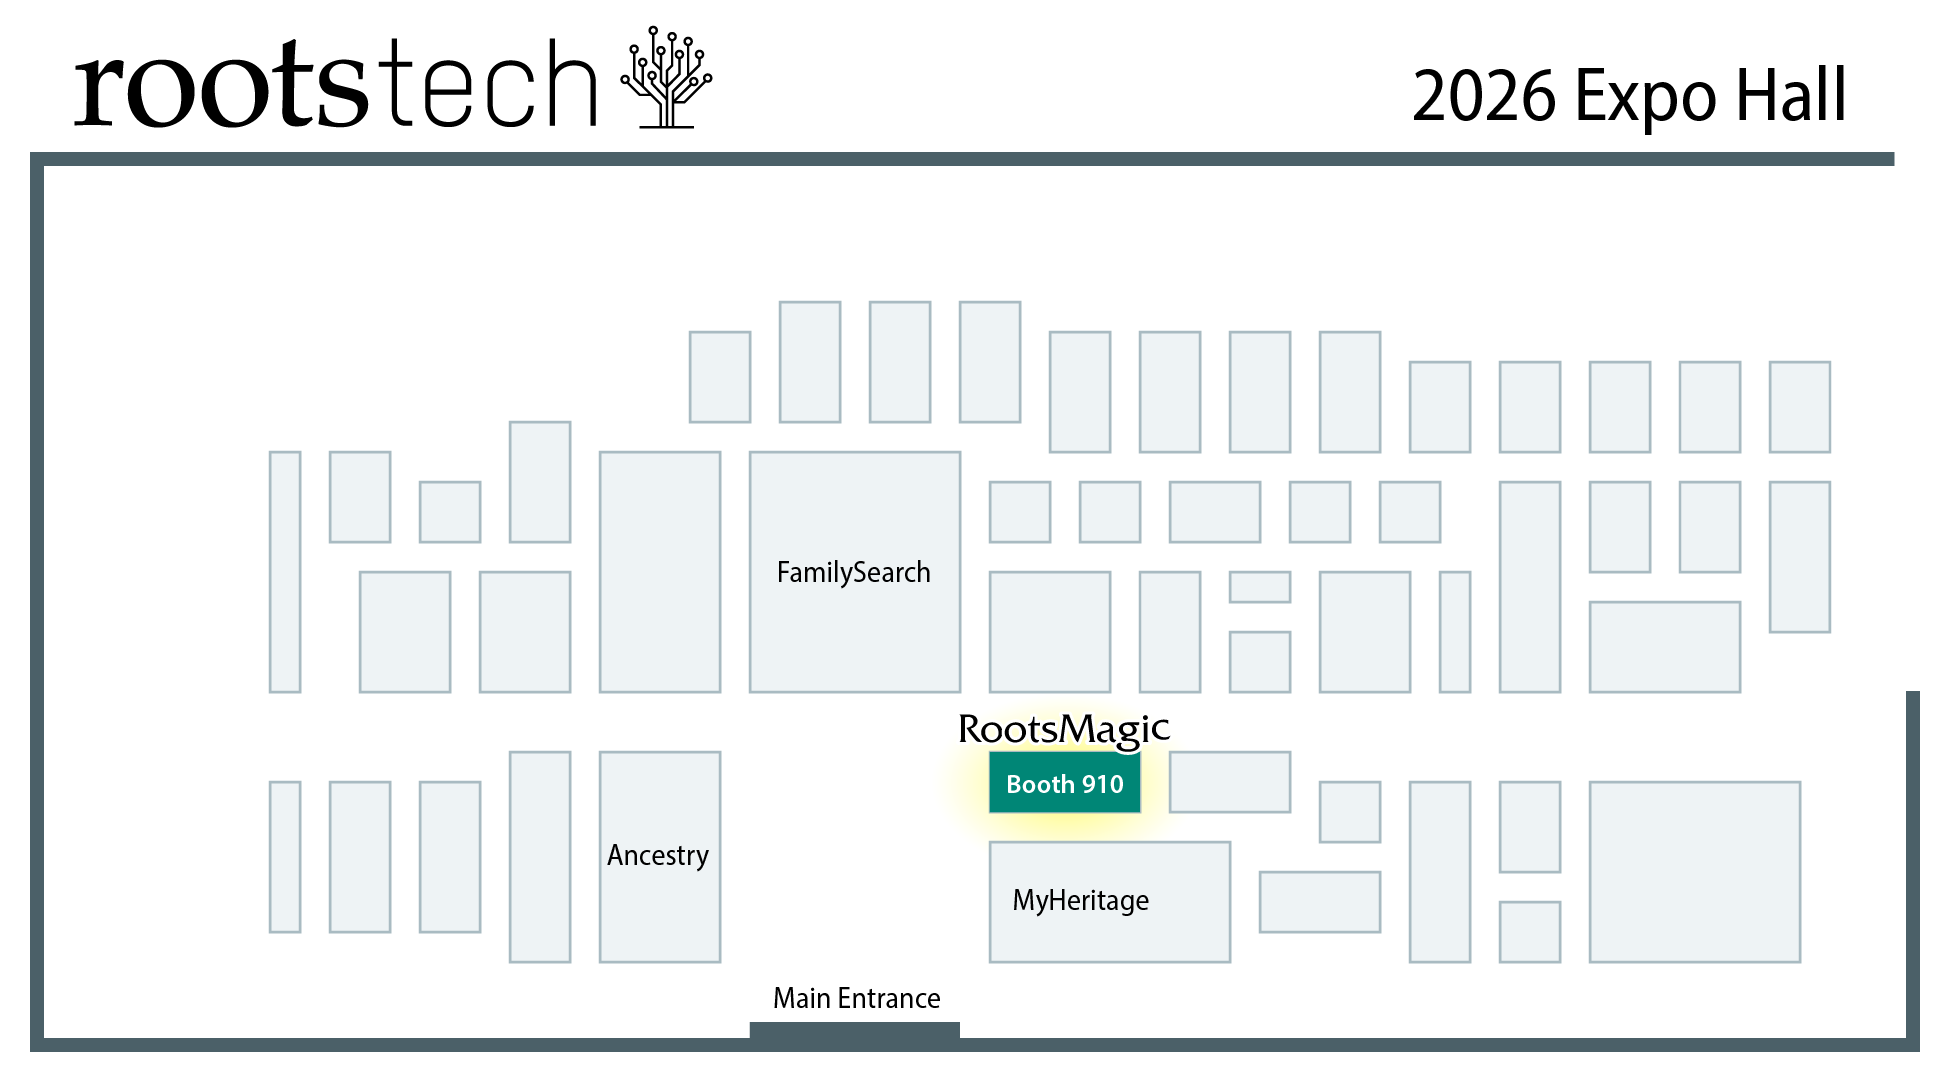
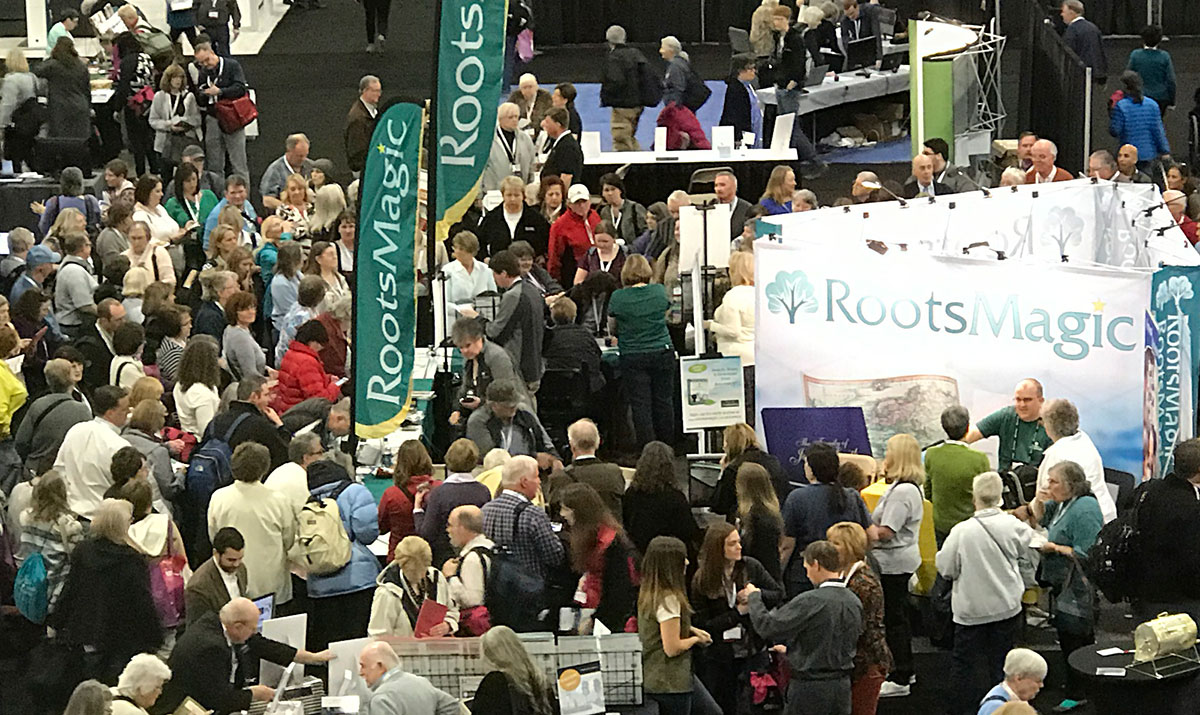
The RootsTech expo hall is the nation’s largest gathering place for genealogy products and services. Be sure to stop by booth #910 (right at the main entrance) to meet our team, see RootsMagic 11 in action, and grab some great deals.
Expo Hall Hours (Subject to Change):
- Thursday, March 5 – 9:00 AM–6:30 PM
- Friday, March 6 – 9:00 AM–6:00 PM
- Saturday, March 7 – 9:00 AM–3:00 PM
Exclusive In-Person RootsMagic 11 Class
If you’re attending in person, don’t miss the opportunity to learn directly from Bruce Buzbee, the creator of RootsMagic! He will be teaching a special class on the latest features in RootsMagic 11.
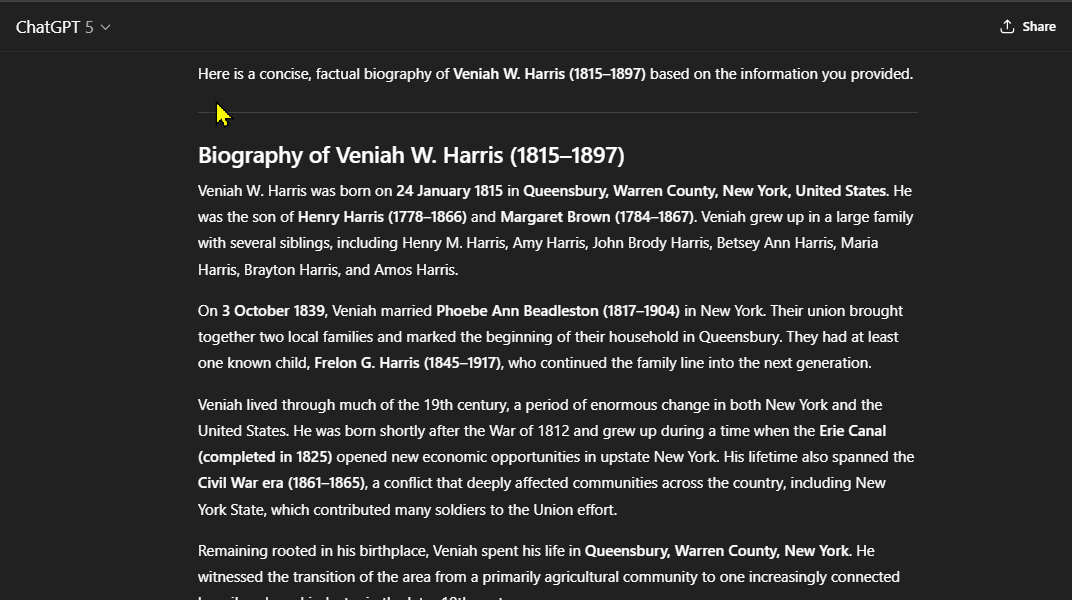
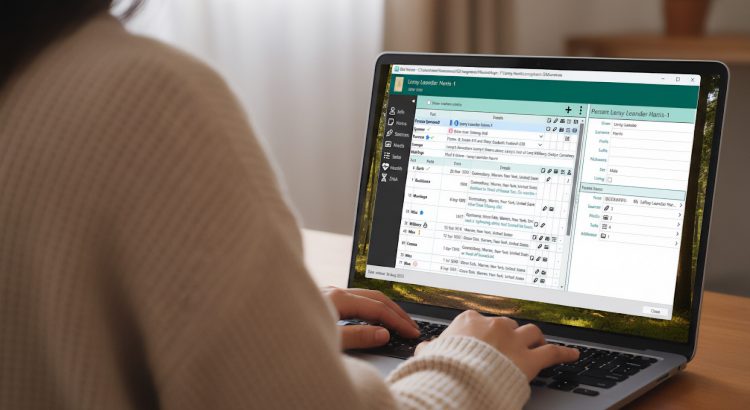
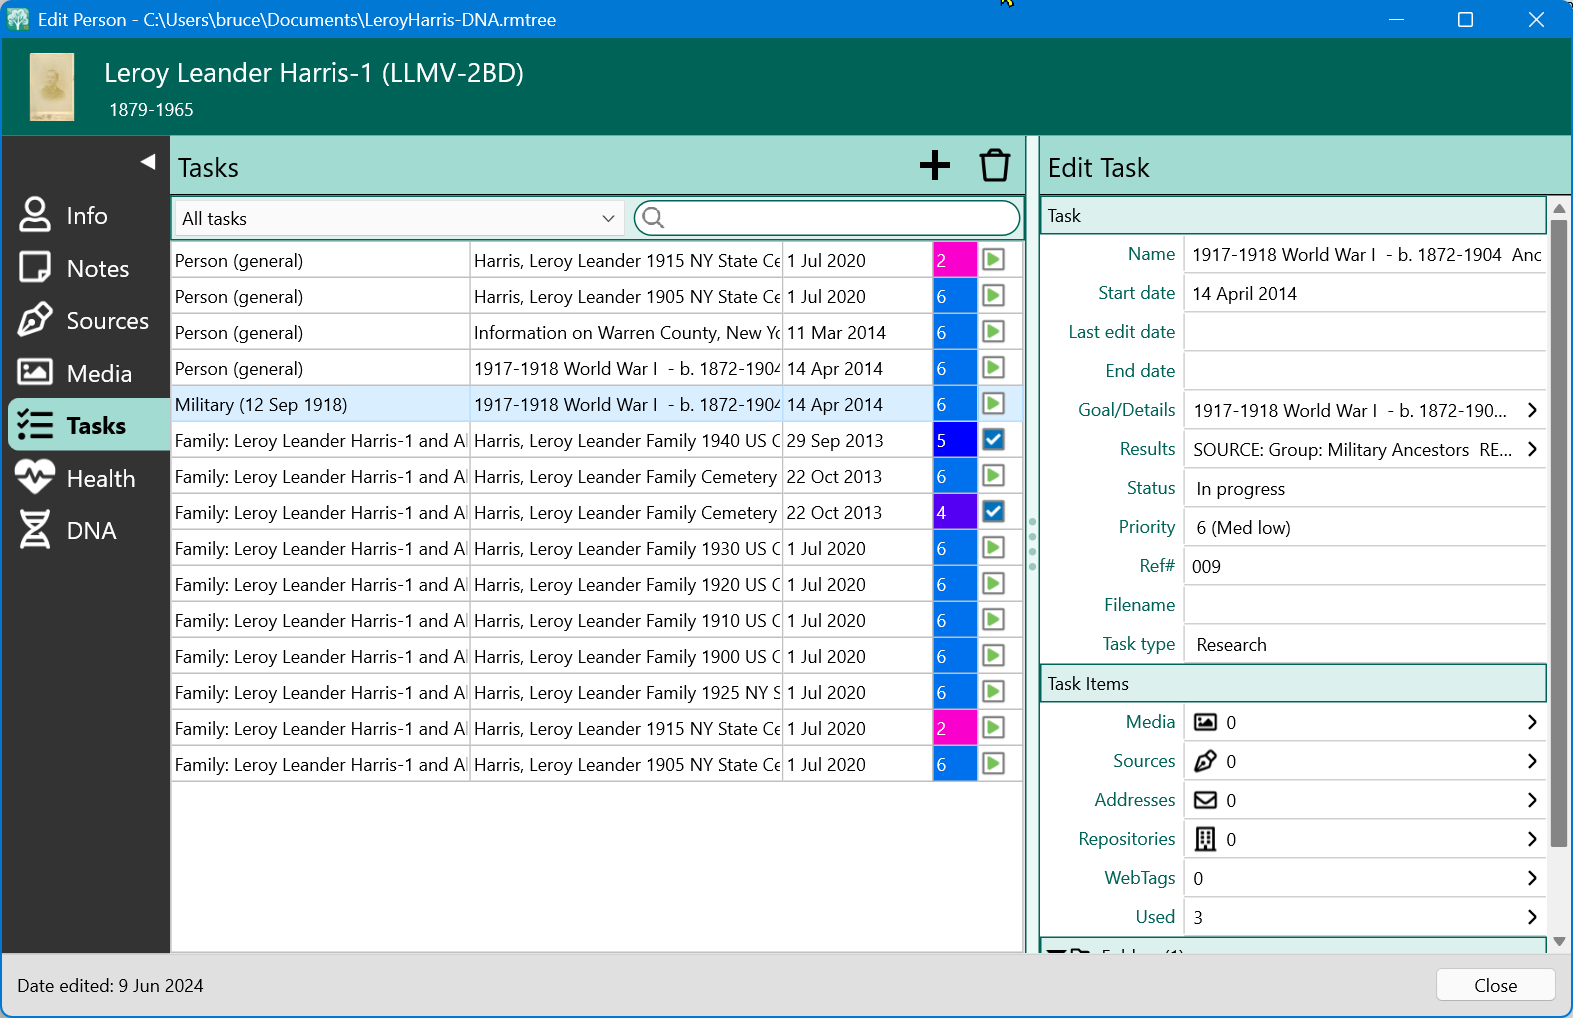
What’s New in RootsMagic 11
- Date: Thursday, March 5
- Time: 3:00–4:00 PM
- Location: Salt Palace Convention Center, Room 151
Join Bruce Buzbee, President of RootsMagic, as he walks you through the exciting new features in RootsMagic 11. This in-person session requires RootsTech registration.
FREE Mini-Classes at the Booth
New this year, we’re hosting free 15-minute mini-classes right at booth #910 throughout the conference! No sign-up required—just stop by and learn something new. Here’s the full schedule:
Thursday, March 5
| Time | Topic |
|---|---|
| 9:45–10:00 AM | Getting Started |
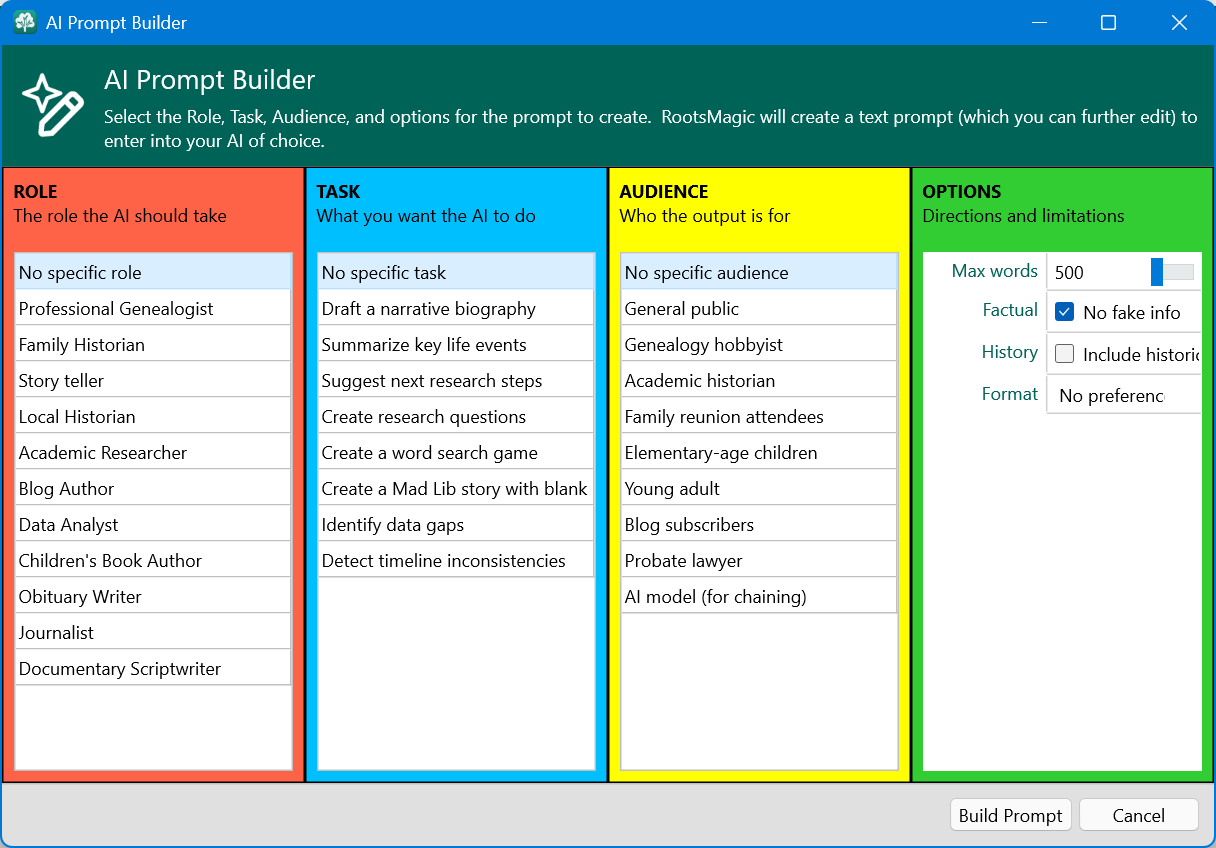
| 10:35–10:50 AM | AI Prompt Builder (NEW) |
| 11:15–11:30 AM | RootsMagic + FamilySearch |
| 12:10–12:25 PM | RootsMagic + Ancestry |
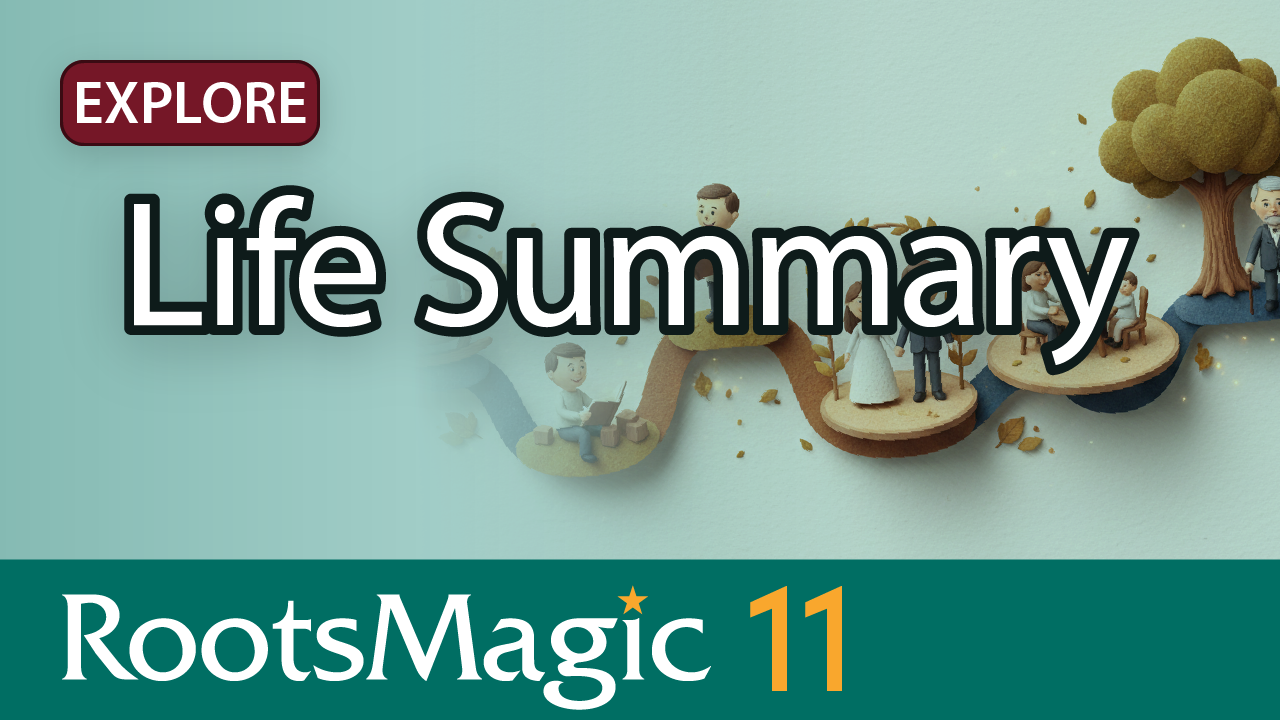
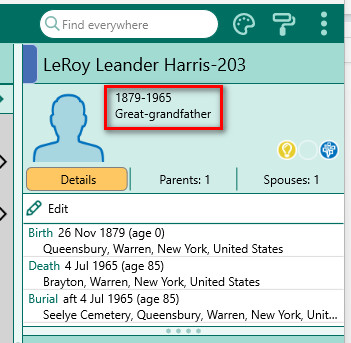
| 12:45–1:00 PM | Life Summary (NEW) |
| 4:45–5:00 PM | Edit Screen Enhancements |
| 5:40–5:50 PM | Daily Prize Drawing |
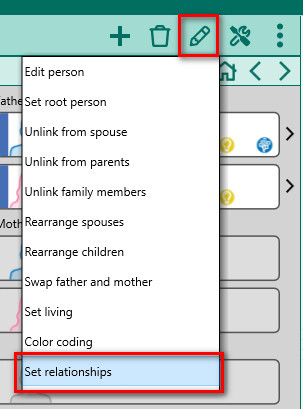
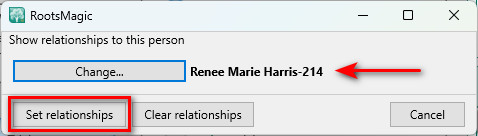
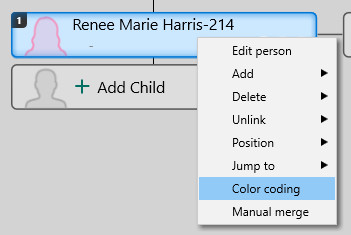
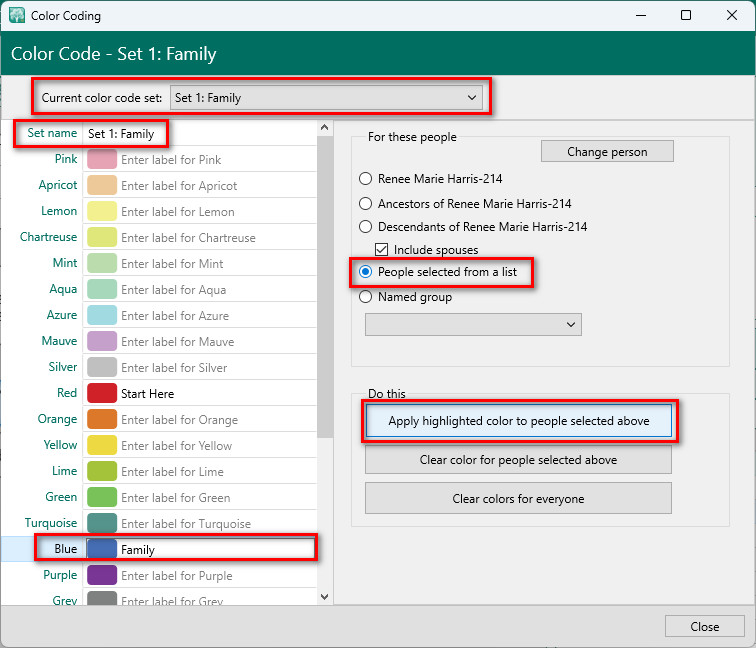
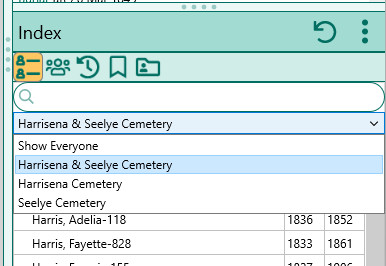
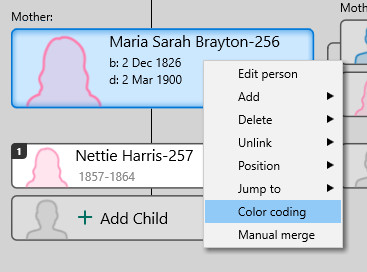
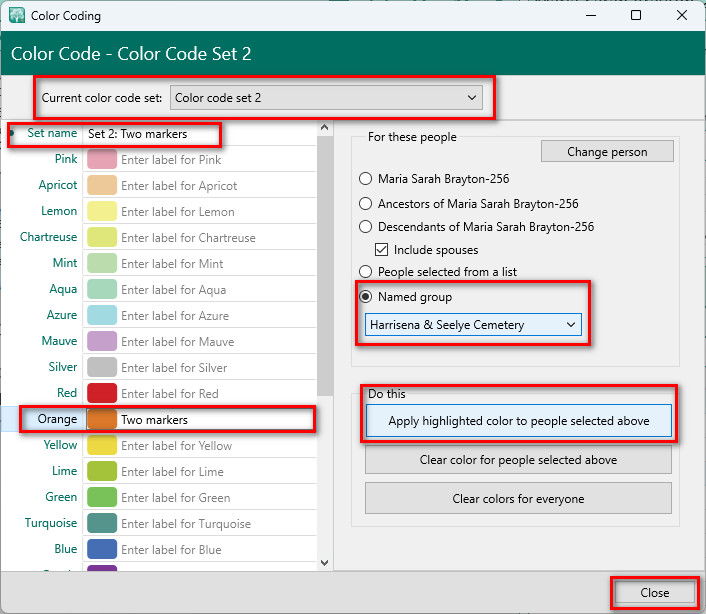
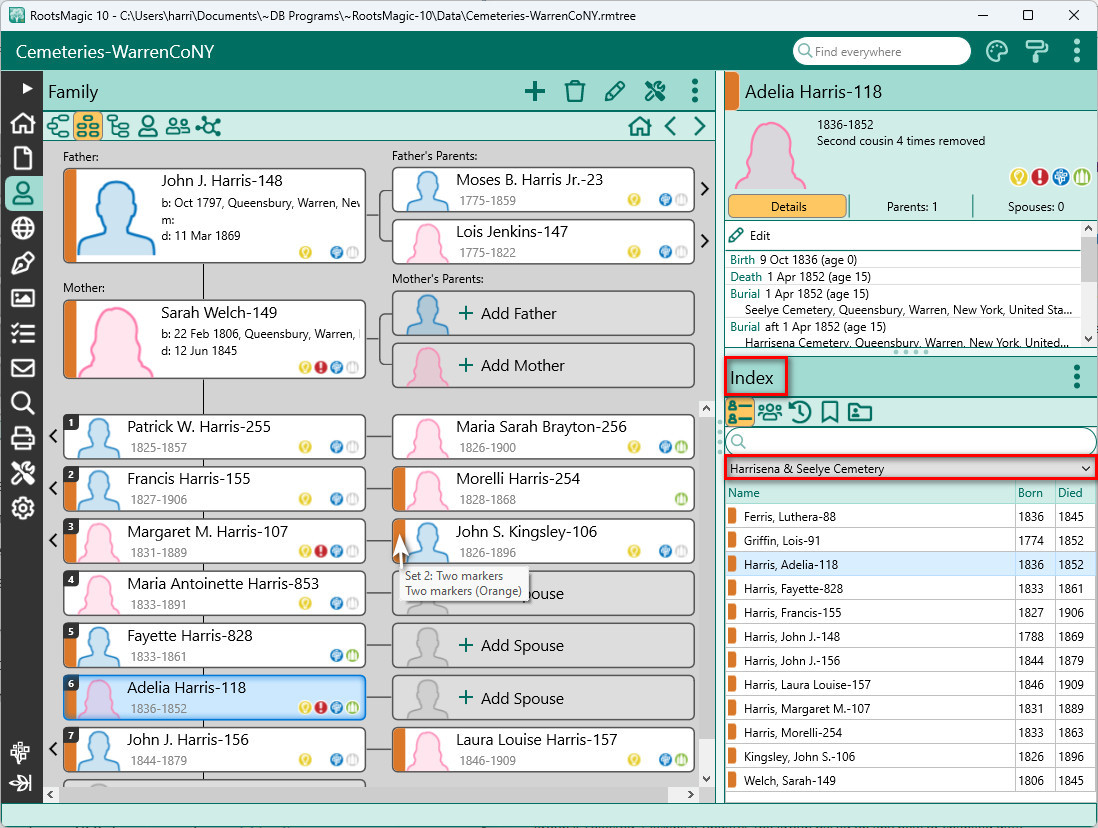
| 5:50–6:05 PM | Color Coding |
| 6:10–6:25 PM | Search Enhancements |
Friday, March 6
| Time | Topic |
|---|---|
| 9:45–10:00 AM | Getting Started |
| 10:35–10:50 AM | Life Summary (NEW) |
| 11:15–11:30 AM | RootsMagic + Ancestry |
| 12:10–12:20 PM | Daily Prize Drawing |
| 12:20–12:35 PM | AI Prompt Builder (NEW) |
| 12:45–1:00 PM | RootsMagic + FamilySearch |
| 2:35–2:50 PM | Working with Media |
| 3:15–3:30 PM | Reports and Charts |
| 4:05–4:20 PM | More Reports and Books |
| 4:45–5:00 PM | Q&A |
Saturday, March 7
| Time | Topic |
|---|---|
| 9:45–10:00 AM | Getting Started |
| 10:35–10:50 AM | AI Prompt Builder (NEW) |
| 11:15–11:30 AM | Color Coding |
| 12:10–12:20 PM | Daily Prize Drawing |
| 12:20–12:35 PM | Edit Screen Enhancements |
| 12:45–1:00 PM | Search Enhancements |
See You There!
We can’t wait to see you at RootsTech 2026, whether in person or online! Come find us at our new home—booth #910, right at the main entrance. Don’t miss out on exclusive discounts, free mini-classes, expert genealogy insights, and the chance to connect with fellow family history enthusiasts. See you there!