Help us Improve RootsMagic and You Could get $50 at Amazon

RootsMagic Survey

Let your voice be heard! We want to hear from you on how we can improve RootsMagic to better serve your family history wants and needs. To this end, we have setup a survey available HERE.

And to show our appreciation for your time, we are giving away five $50 Amazon.com gift certificates to randomly-selected survey respondents.

The survey will be available until Tuesday, July 15, 2014. But don’t wait, take the survey today!

Tip: Know Your Relationships

Relationships

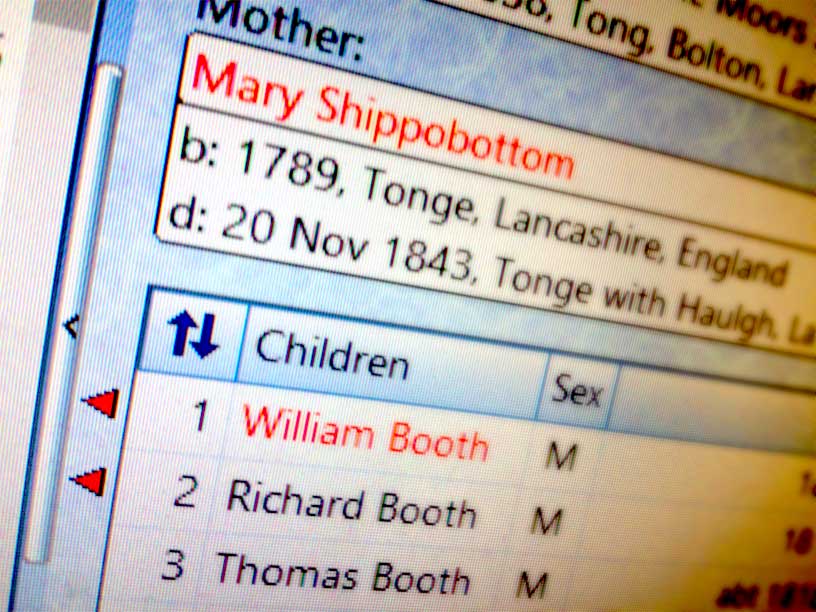
As you’re exploring around your family tree, do you ever think, “Who is ‘Lysander Liske’ and how is he related to me?” Followed by, “Hmm. You don’t see many babies named ‘Lysander’ anymore.”  While RootsMagic doesn’t have the power to name babies, it does have the ability to always show you your relationship to the selected person on the main screen.

To display the relationships as you navigate around the main views, do Tools > Set Relationships from the main menu.  RootsMagic will bring up the following form where you can simply click the Set relationships button, or you can click the Change… button to select a different person to set the relationships for first.

SetRelationships

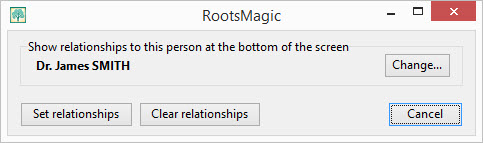
RootsMagic will scan through your database and set each person’s relationship to the person you selected on the form.  Then as you navigate around the various views, RootsMagic will display that relationship in the status bar at the bottom of the screen.

StatusBarRelationship

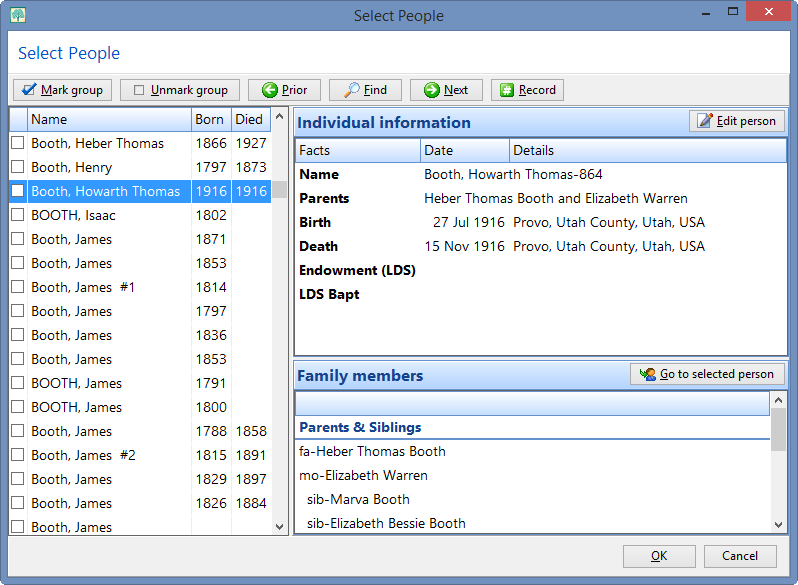
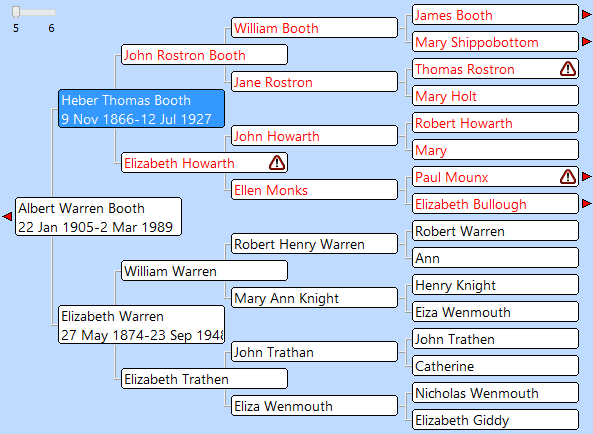
In this example, the relationship between the highlighted person (William Thomas Lloyd) and the selected person (Dr. James Smith) is first cousin twice removed.  As you move from person to person in your file, the status line at the bottom of the screen will be updated to show the relationship between the highlighted person and the originally selected person.

You can easily select anyone in the database and set the relationships relative to that person, so it’s easy to display everyone’s relationship to you, and then change it to show the relationships to an ancestor you are researching.  One important point to this though is that when you set the relationships, it sets them for the people currently in the file.  If you add additional people to your file after setting relationships you will need to redo the Set Relationship command to include those new individuals.

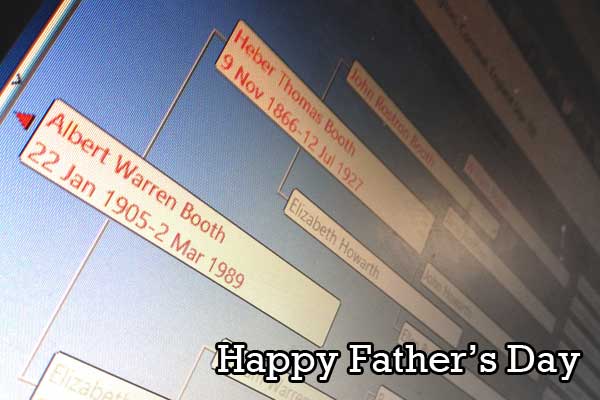
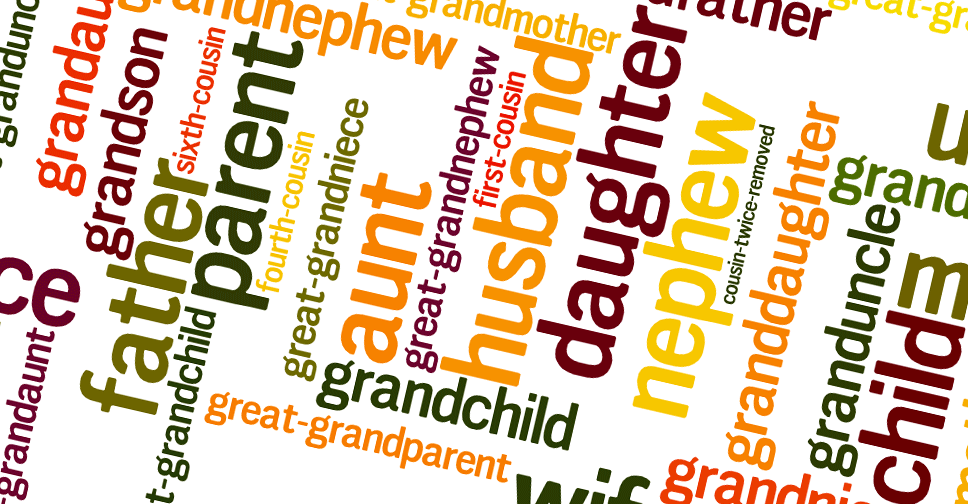
And with that tip, “Congratulations”, meet your “second-cousin 3 times removed”, “Lysander Liske”!


Tip: Easily Follow the Fathers (and Sons)

FathersDay

Many of our user’s around the world will be celebrating Father’s Day this weekend. In commemoration, I’m going to show you a unique feature in RootsMagic that makes working with lines of fathers (and even sons) a snap. Isolating lines of fathers and sons can be useful in genetic genealogy when you need to find just those men in your file that should share the same Y-Chromosome. Others have used this feature for surname studies, tracking legal records, and more.

The magic happens in the “Select People” screen. You’ll see this screen when you go to export a GEDCOM file, select people to color code, print a report for a group of people, publish a website online, and more. Any time you need to select a group of people to work with.

Fathers-1

Type the name (surname, given name) of the starting person of the line you wish to select. Once the person is selected, click on the Mark group button then select Genetic lines of highlighted person.

Fathers-2

Here you have several options. To select the line of fathers for the highlighted person, choose Y-Chromosome Line (Y-STR). If you select Ancestors of highlighted person, you’ll follow the line of fathers up the tree. If you select Descendants of highlighted person, you’ll follow the line of sons down the tree. Click OK twice to complete the selection.

Fathers-3

Ta-da! You’ve now isolated a line of fathers and sons! Happy Father’s Day  to all those important men in our lives.

P.S. – We don’t want mothers to feel left out of the excitement. Astute readers will have noticed the option to select a genetic line based on Mitochondrial DNA Line (mitDNA).  Since Mitocondrial DNA is passed directly from mother to child so this option will similarly allow you to isolate a line of mothers and daughters.

Tip: Never Get Lost in Your Tree with Color Coding

Color Coding

Have you ever started exploring around your family tree and found yourself lost, unsure which line to follow to get back down to your more recent ancestors? The Color Coding feature in RootsMagic makes it easy to leave yourself “breadcrumbs” so that you always know which people are your direct-line ancestors.

The first thing to do is to find yourself on the RootsMagic main screen. Once you’re selected yourself, choose Tools > Color Code People from the main menu. You’ll see this screen:

ColorCoding-2

Choose whichever color you like from the Set color box (I prefer something that really stands out). Select Ancestors of current person and then click OK. You’ll now see that all the ancestors of the selected person will appear in the selected color, whether on the main screen or in various reports and charts.

ColorCoding-3

Now if you ever get lost in the upper-branches of your tree, just click on the Family view and look at the list of children:

ColorCoding-4

Whichever child is marked in your selected color is a direct-line ancestor. Just click on the arrow to the left of the name to climb down the tree until you reach familiar territory.

Of course, this is just one possible use for Color Coding. Not only can you color lines of ancestors and descendants, but you can also color people based on endless criteria such as where they were born, if they are missing information, if they are the end-of-the-line, etc. You can use up to 14 different colors, each with a different meaning of your own choosing.

To learn more about Color Coding, be sure to watch our short video demonstrating it: