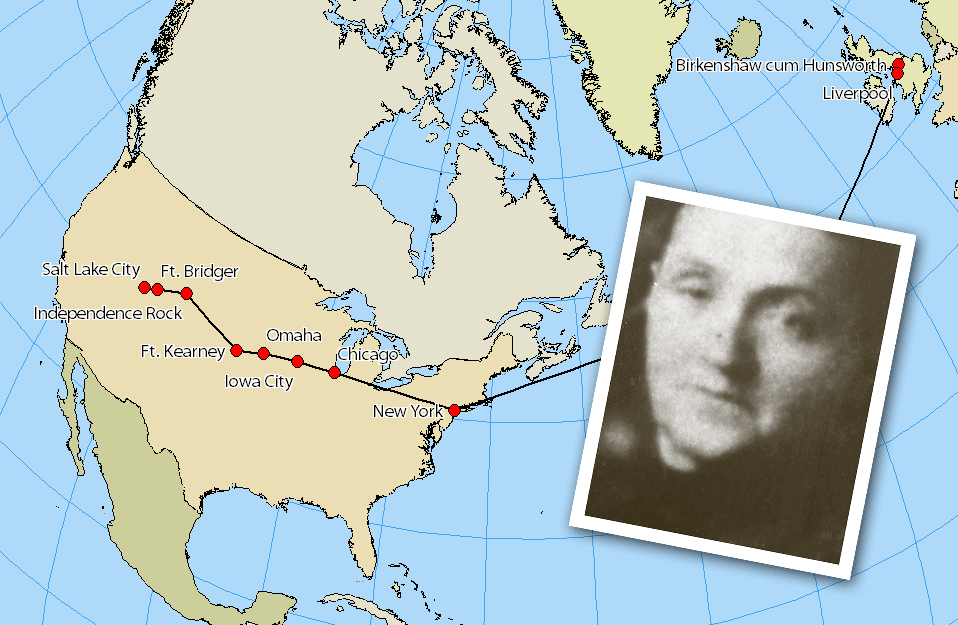
Here at RootsMagic HQ, today is “Pioneer Day”, a local holiday where we celebrate our ancestors and the diverse peoples who settled this area. One fun project for Pioneer Day (or any day for that matter) is to make a map showing where our ancestors lived and how they migrated and moved about. There is just something special about looking at a visual map that communicates so much more than a printed list of places can.
We happen to have a product which makes making these maps a snap. It’s called Family Atlas. Now, Family Atlas is a standalone program. You don’t need our RootsMagic software to use its features, although it can read your RootsMagic file as well as genealogy and map files from a variety of different sources. One common use of it is to import your family data from your genealogy software and then create and print personalized family maps from that data. It is one-of-a-kind software that lets you visualize and publish your family history in a unique and compelling way. Be sure to read to the end of this tip to learn about a special limited-time discount on this software.
When you first open Family Atlas, you’ll see a blank, interactive, zoomable world map. At this point, you need to add “Marker Sets” to add people, places, and events to your map. To do this, click on the Green “Plus” icon in the upper-left corner of the screen. The “Add Marker Set” screen will appear.
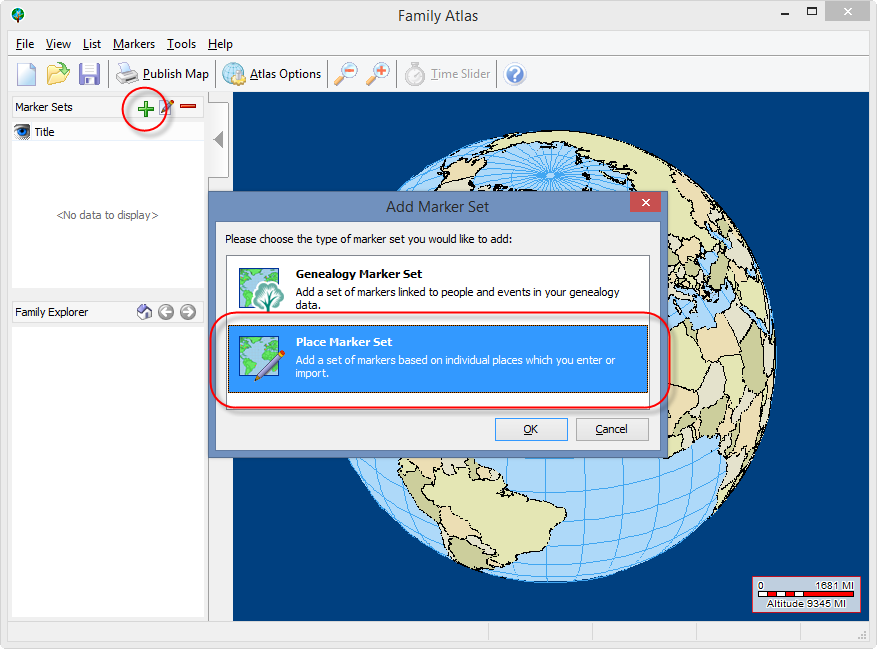
Click Place Marker Set and then OK. The “Edit Place Markers” screen will appear.

This is where you will add all the points that you want to plot on the map. First, give the marker set a title. Click Edit next to “Symbol” to change the color, shape, and connecting lines between each marker. Click Add to add a new marker to this set. The “Edit Place Marker” screen will appear.
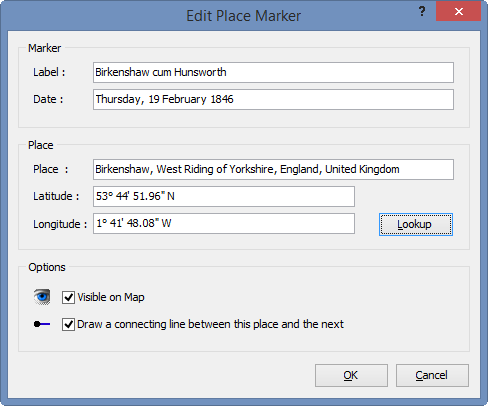
Add a label, date, and location for the marker. If Family Atlas recognizes the place, it will automatically add the Latitude and Longitude for you. Click OK to finish adding the marker. Repeat this last step for each marker that you wish to add.
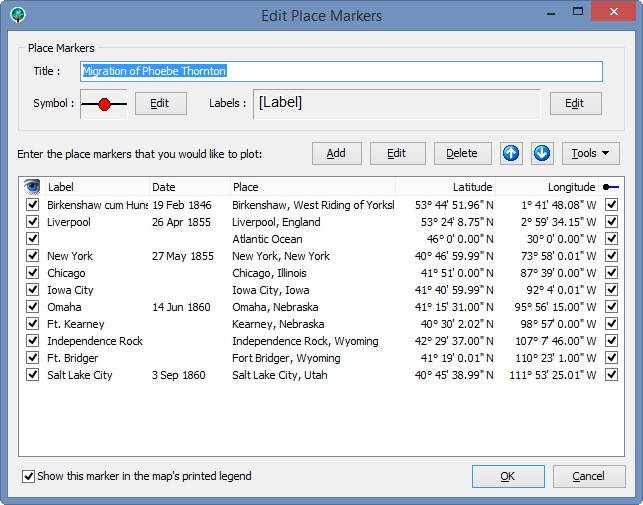
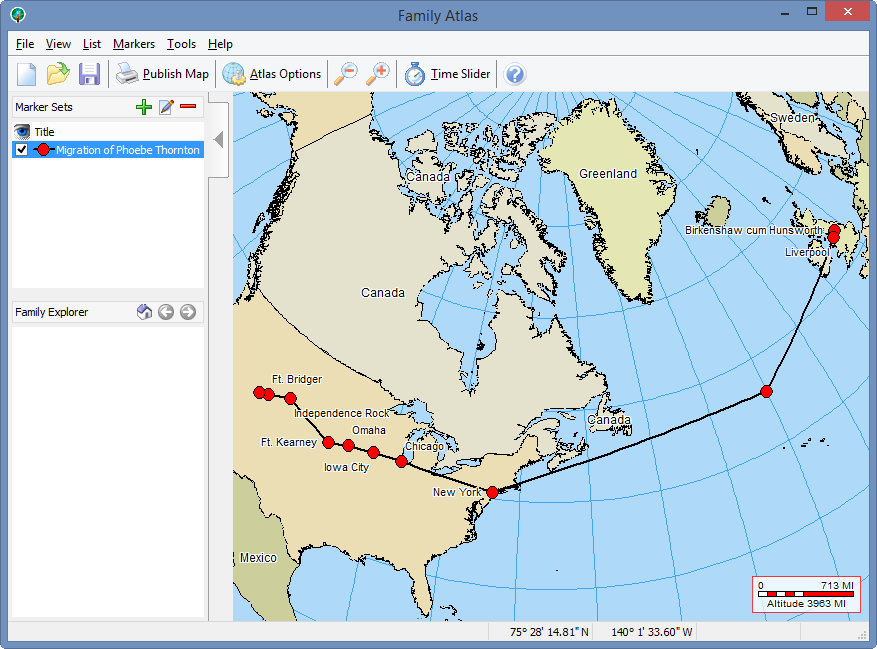
Click OK to save your changes and return the the main screen. Here you can see your map. Pan and zoom the map however you wish. Feel free to explore the various details. You can click Atlas Options to change map colors, fonts, and more.
When you have the map colored and zoomed just as you want it, click Publish Map to take a snapshot of the map and open up the publisher tool. Here you can add text, pictures, arrows, and more to annotate and beautify your map.
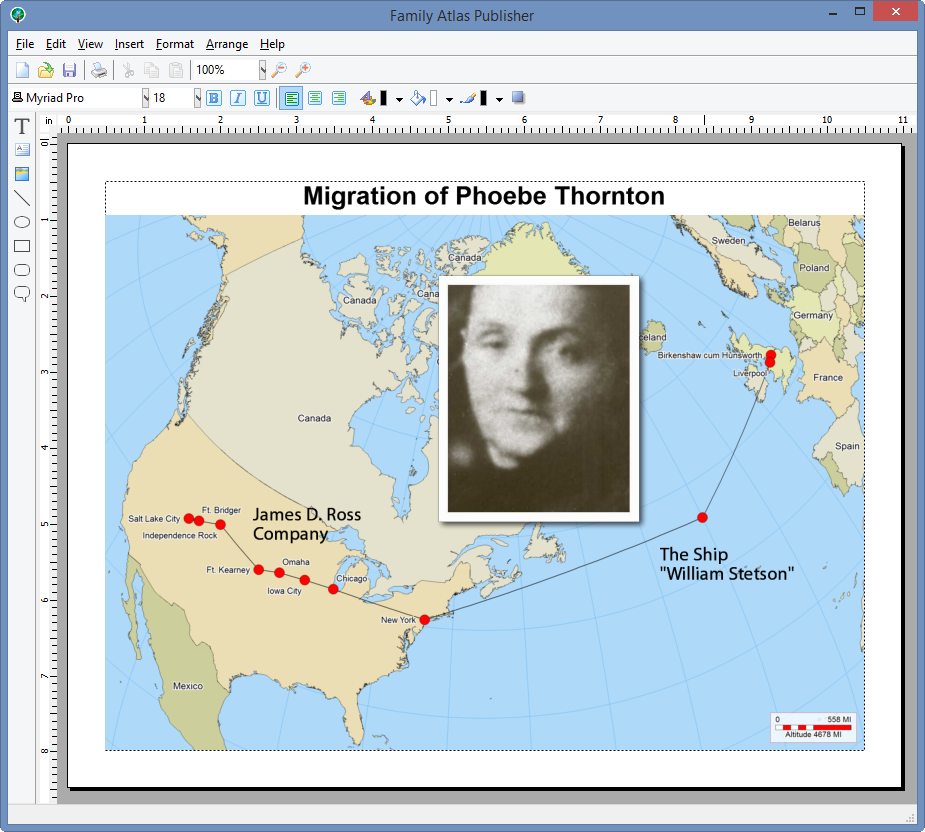
Now that your map is ready, you may print it or save it to a PDF or graphic file to put online, add to a story, or share with others!
Would you like to learn more about Family Atlas and see it in action? Then watch our recorded webinar on Mapping Your Family Tree with Family Atlas.
Special Discount on Family Atlas
We are pleased to offer a limited-time discount on Family Atlas. Through August 10, 2014, you can save $10 off the regular price and get Family Atlas for only $19.95 (plus s/h if you want the CD). You must use the link below in order to get this discounted price.
www.rootsmagic.com/store/family-atlas/special.aspx
This special offer is only available until August 10, 2014 so get your copy of Family Atlas today!

