As we close out 2025 and prepare to welcome 2026, we want to take a moment to reflect on an incredible year and to thank you, our RootsMagic community, for being part of it.
This year brought meaningful growth, new features, and so many opportunities to connect with fellow family history enthusiasts. Whether you’ve been with us for decades or just discovered RootsMagic this year, we’re grateful you’ve chosen us as your partner in preserving and sharing your family story.
A Year of Connection at RootsTech 2025
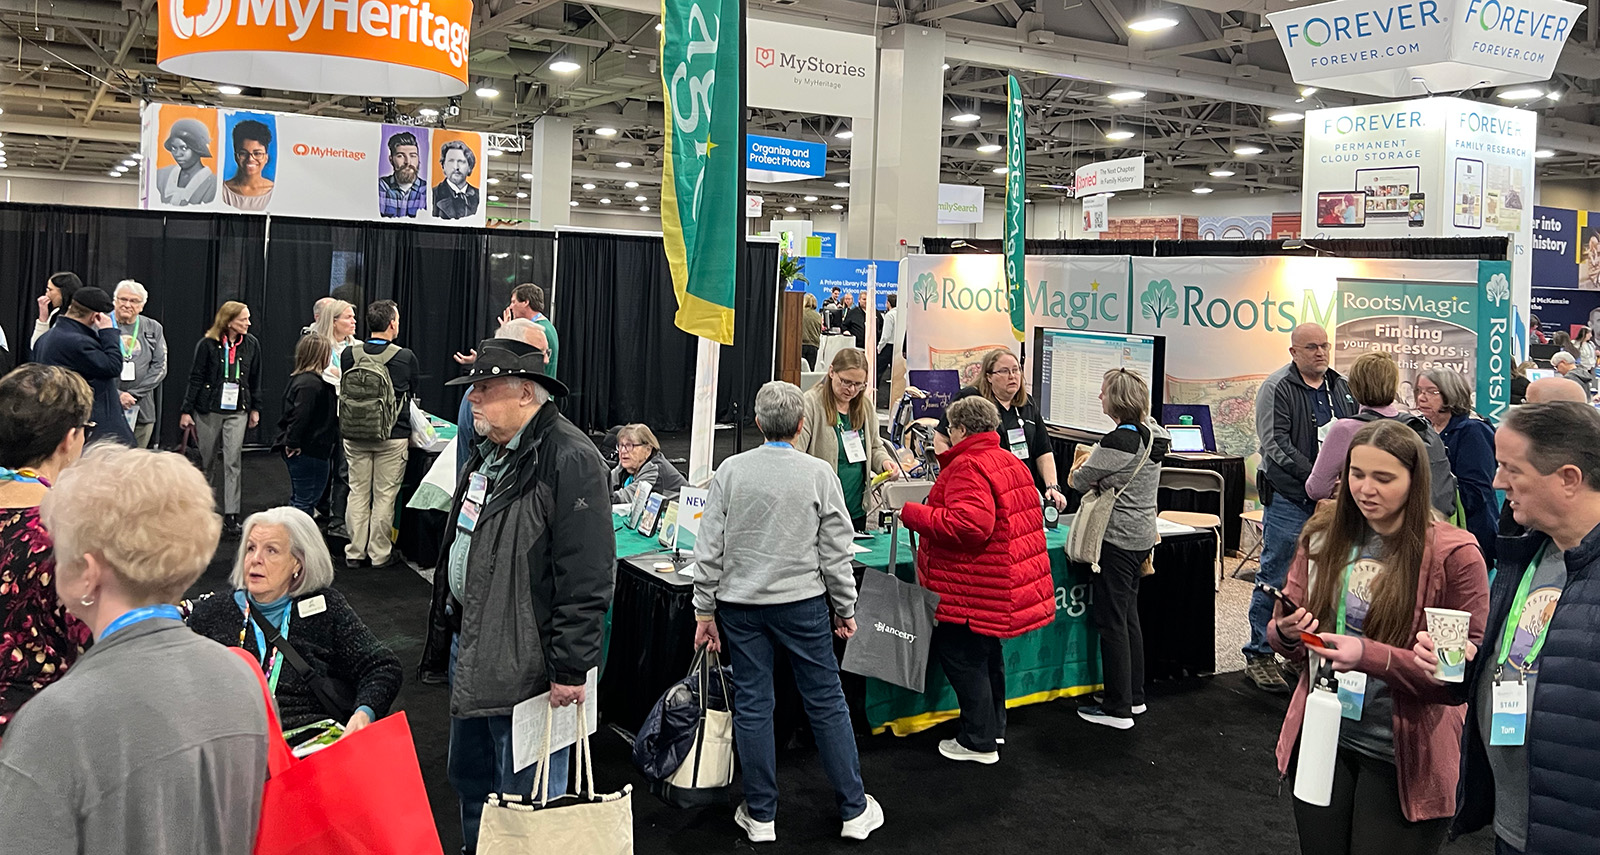
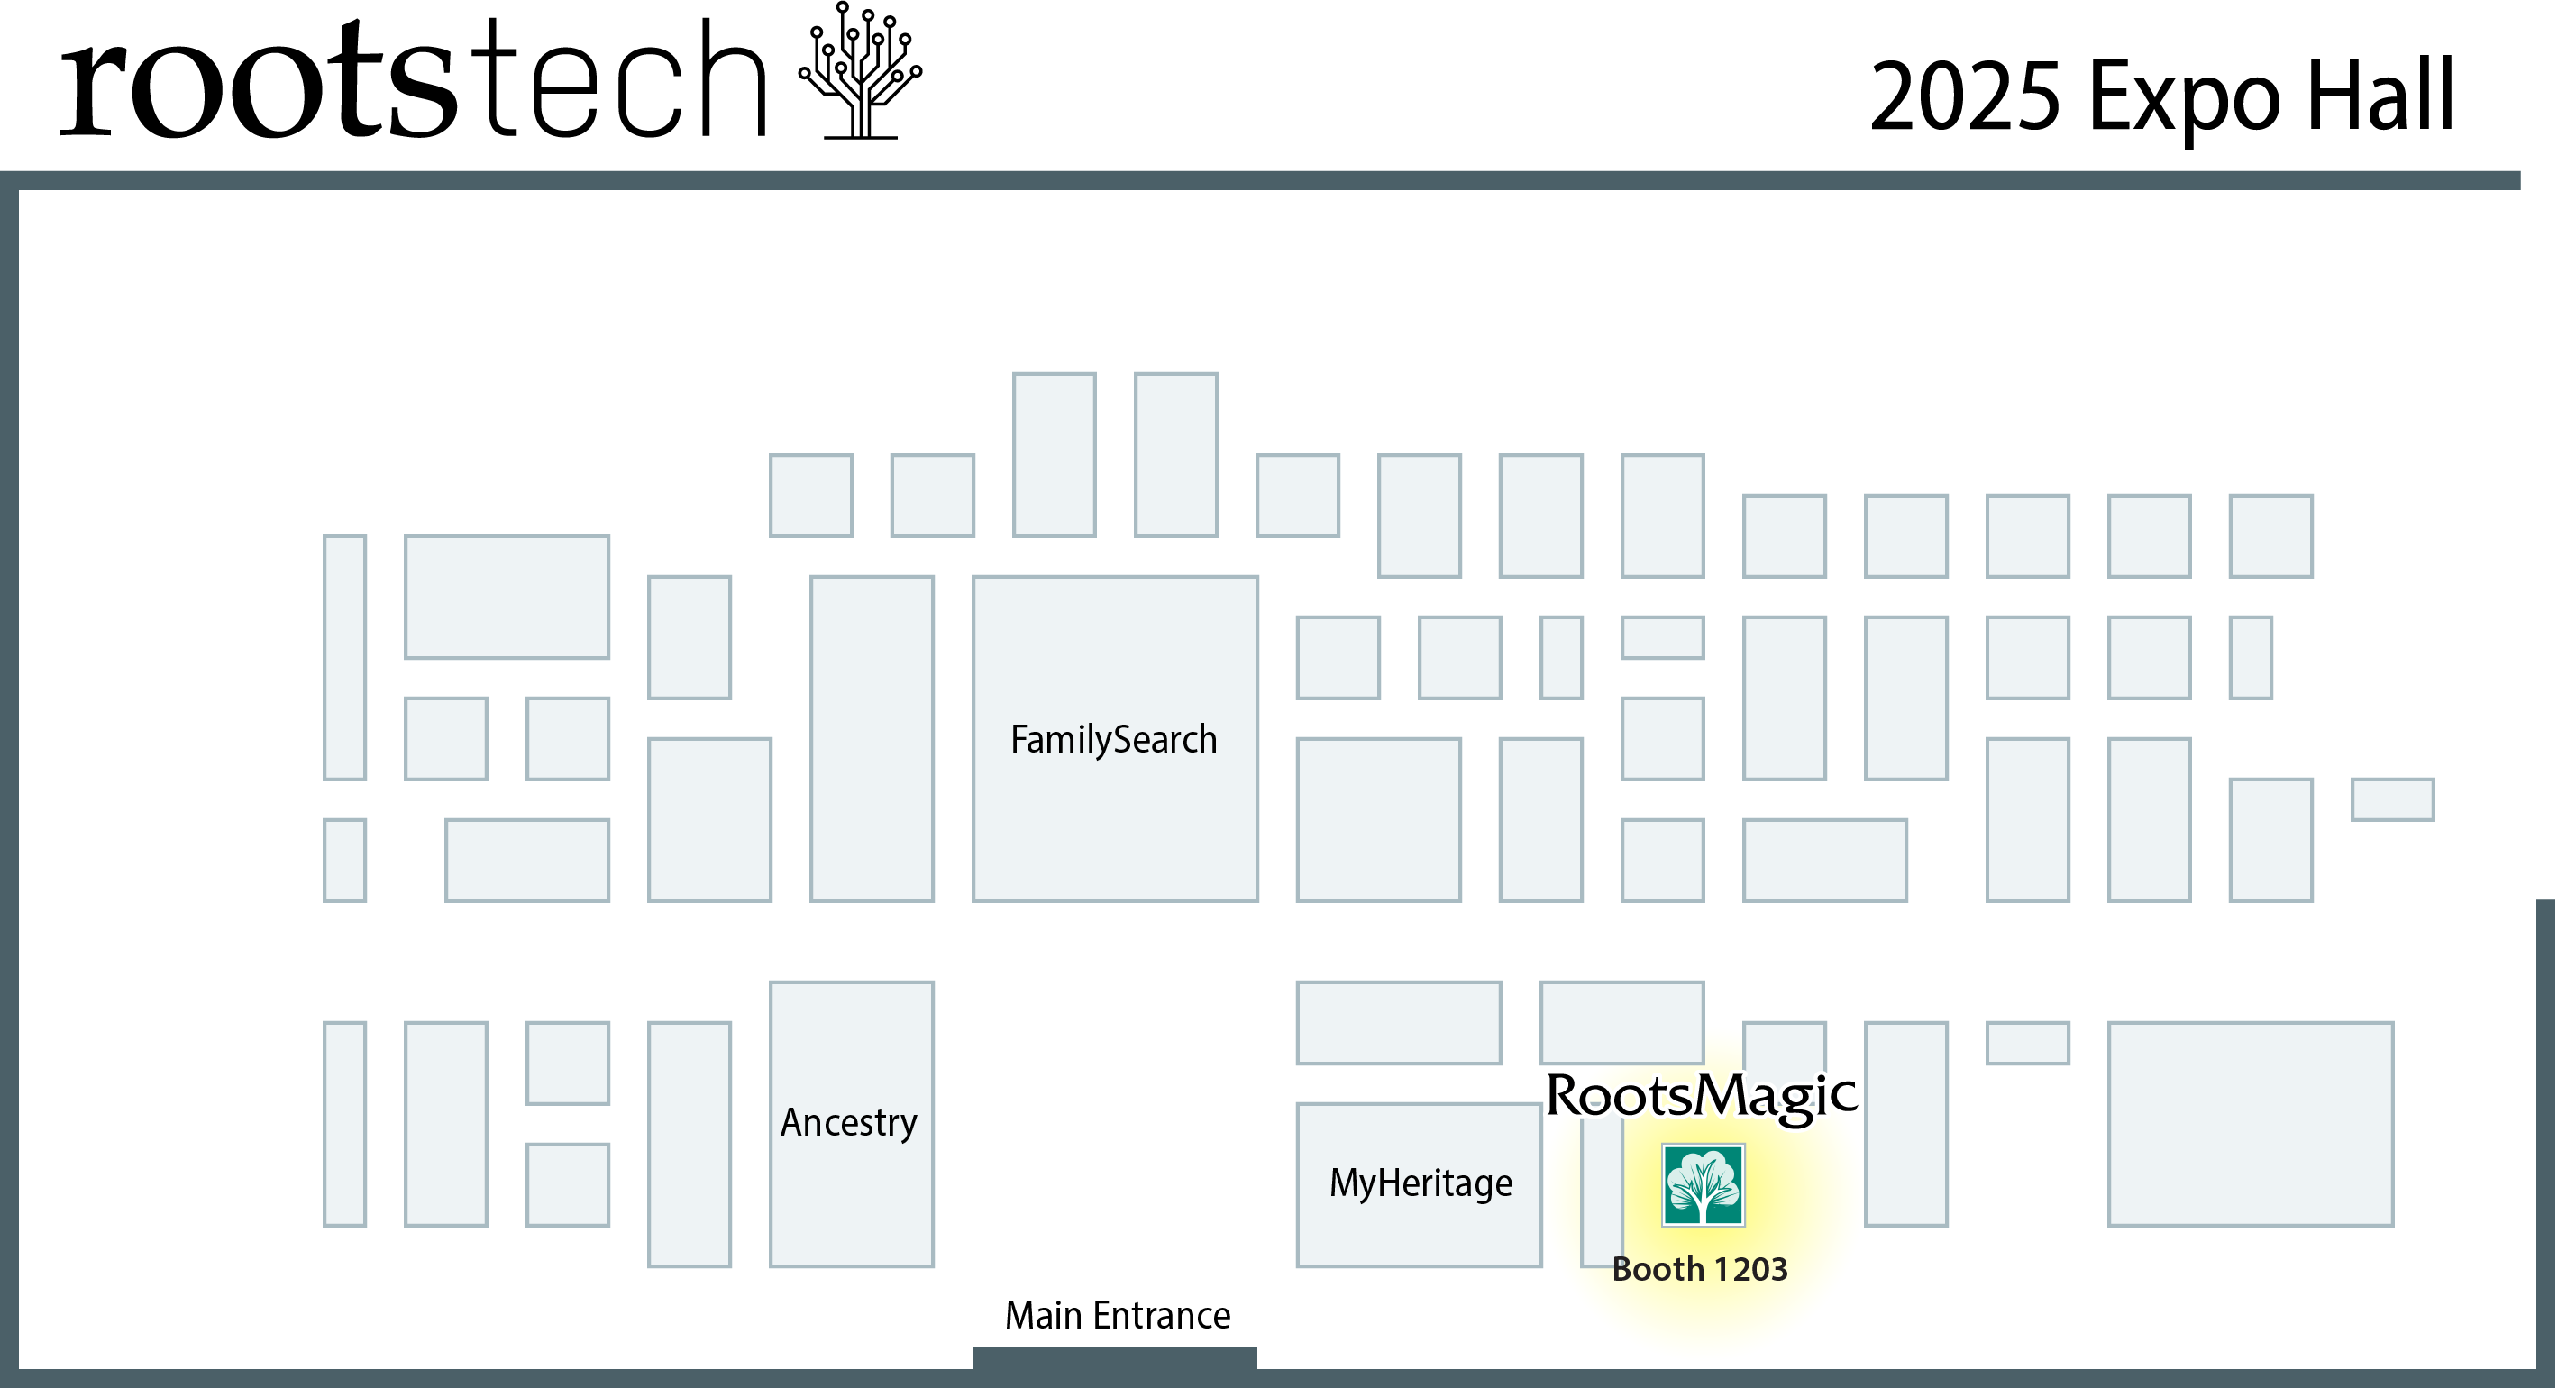
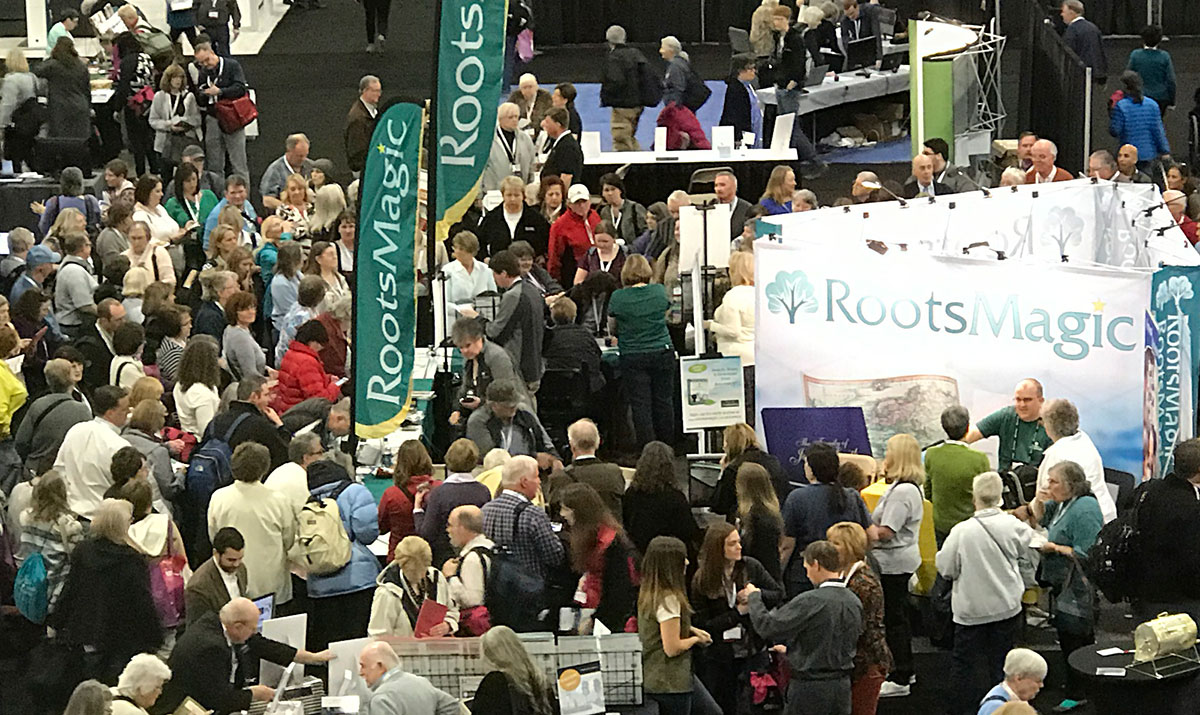
In March, we returned to the Salt Palace in Salt Lake City for RootsTech 2025, the world’s largest family history conference. As longtime sponsors of this event, we were thrilled to see so many familiar faces at booth #1203, and to meet many of you for the very first time.
Bruce Buzbee presented a session on RootsMagic 10’s latest features, and the response was wonderful. We also loved watching attendees use the “Relatives at RootsTech” feature to discover unexpected family connections with fellow genealogists. There’s something truly special about gathering with thousands of people who share the same passion for uncovering the past.
If you joined us in person or online, thank you for making RootsTech 2025 so memorable.
Honoring Those Who Came Before
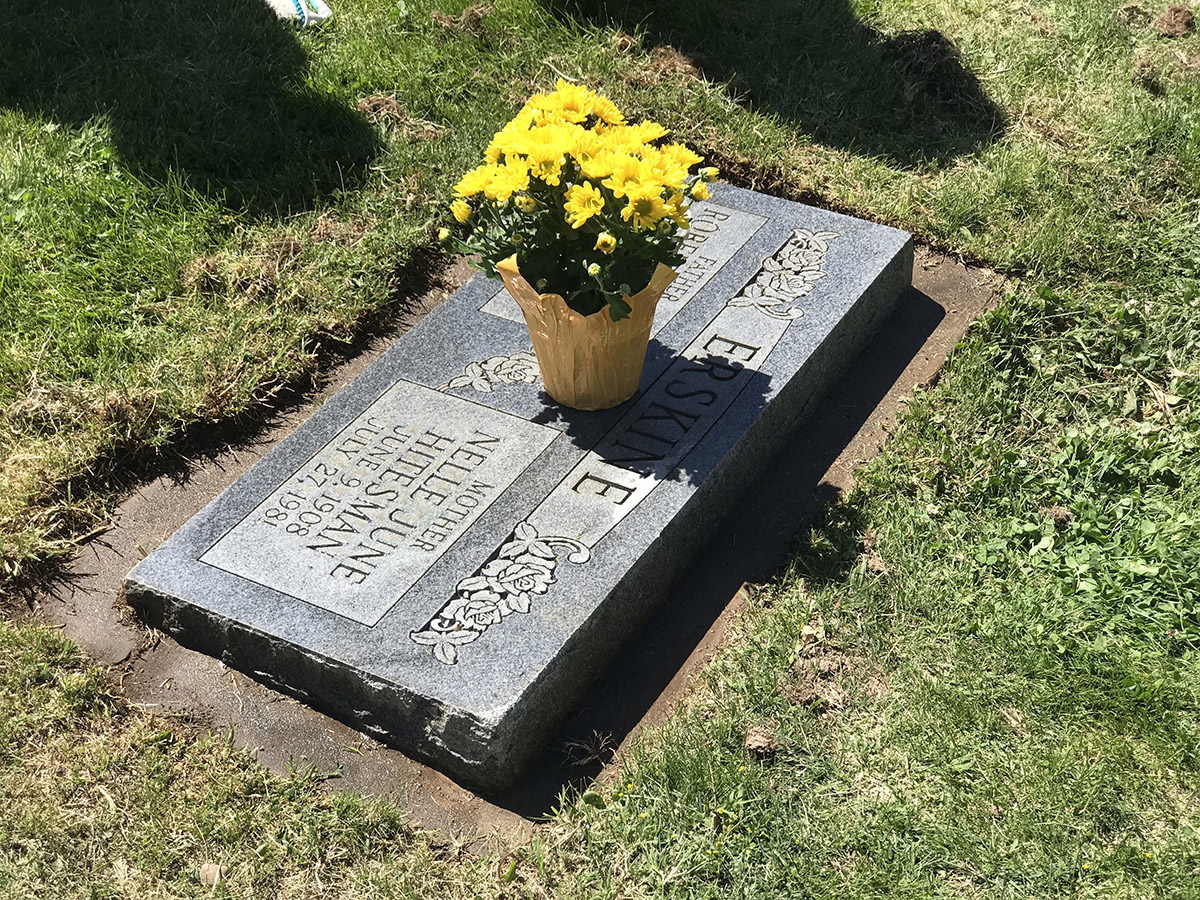
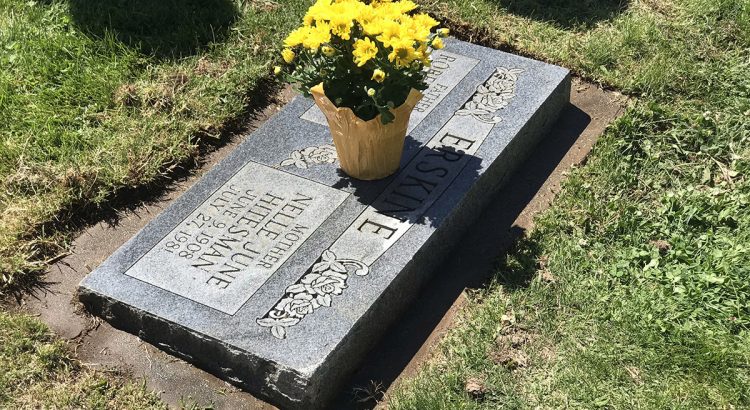
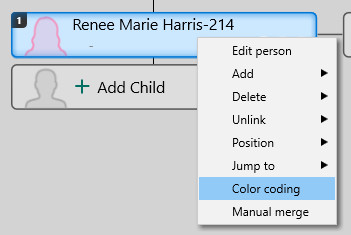
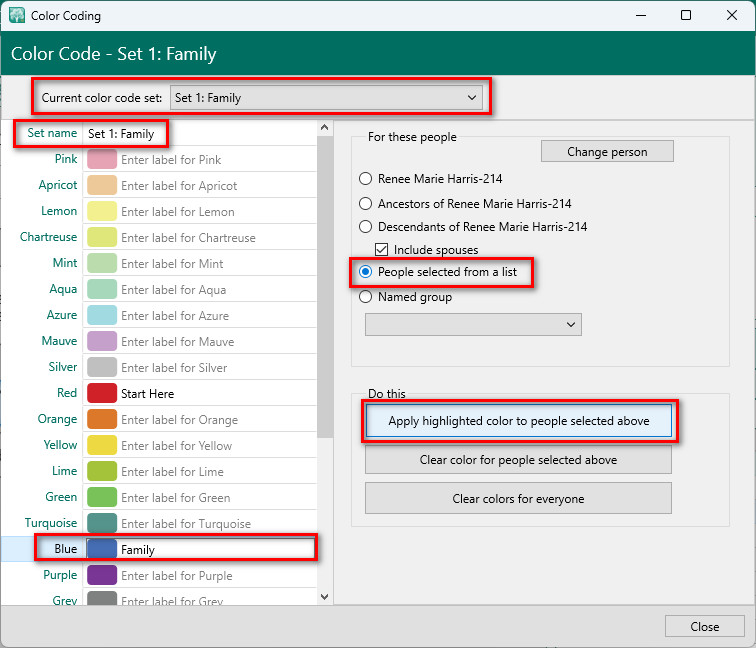
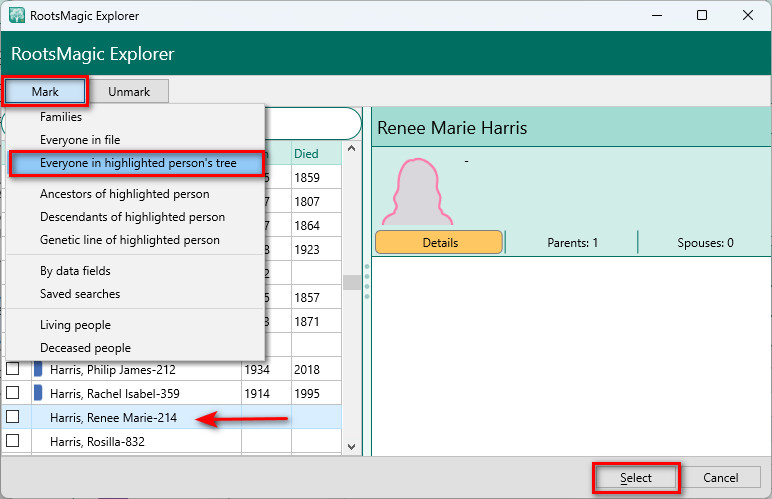
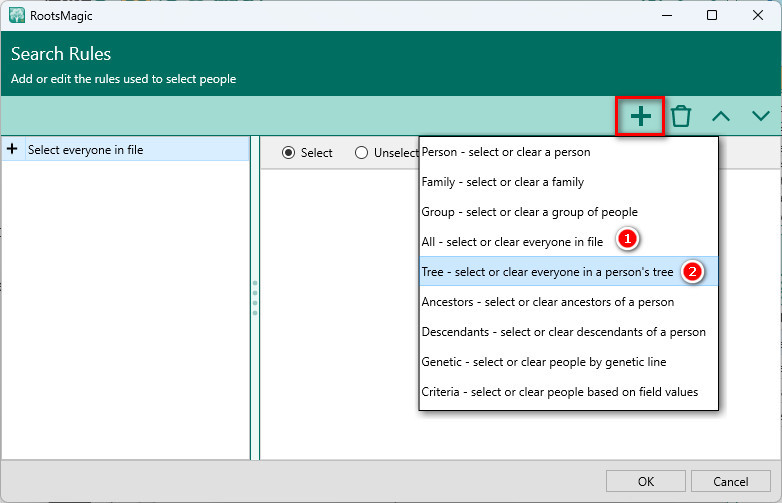
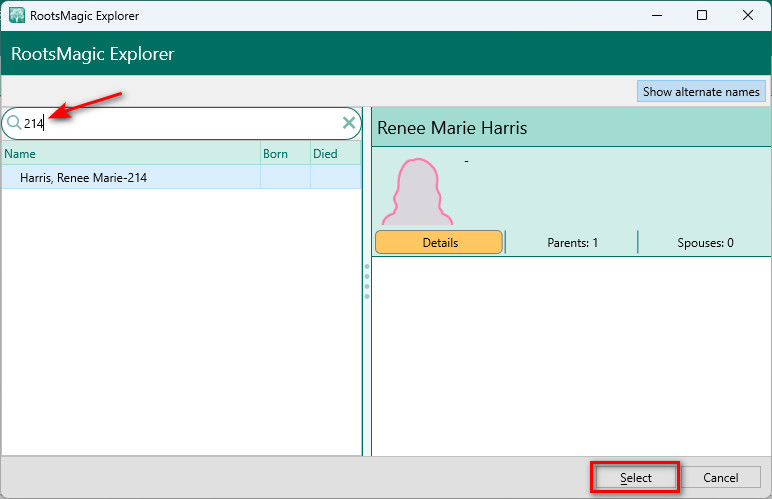
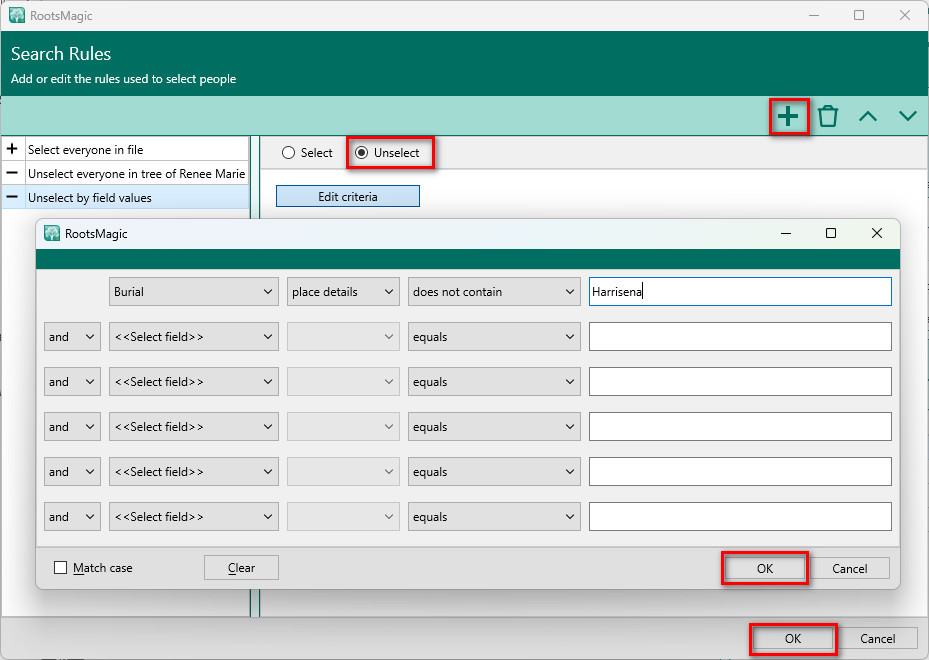
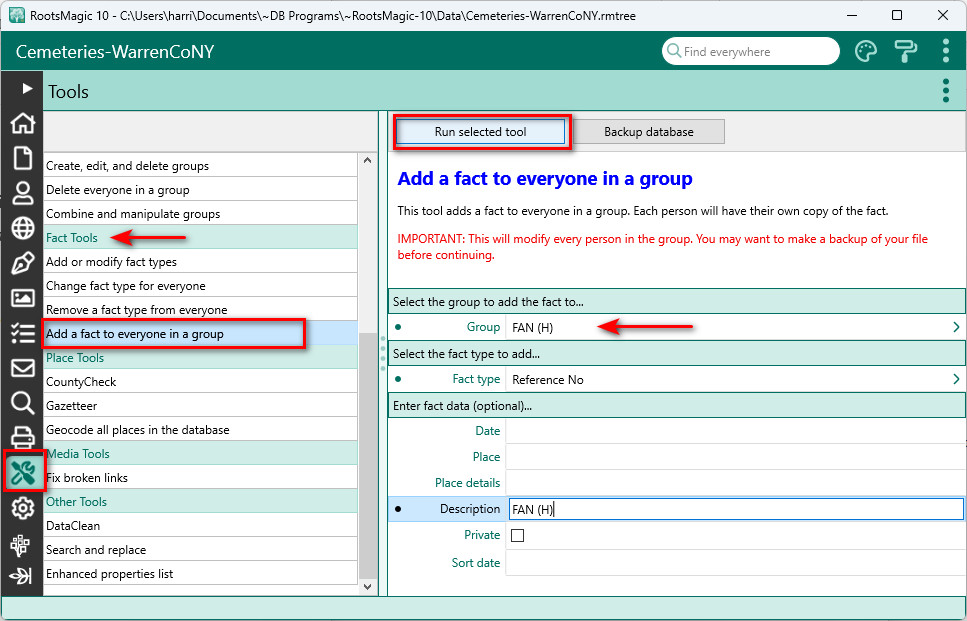
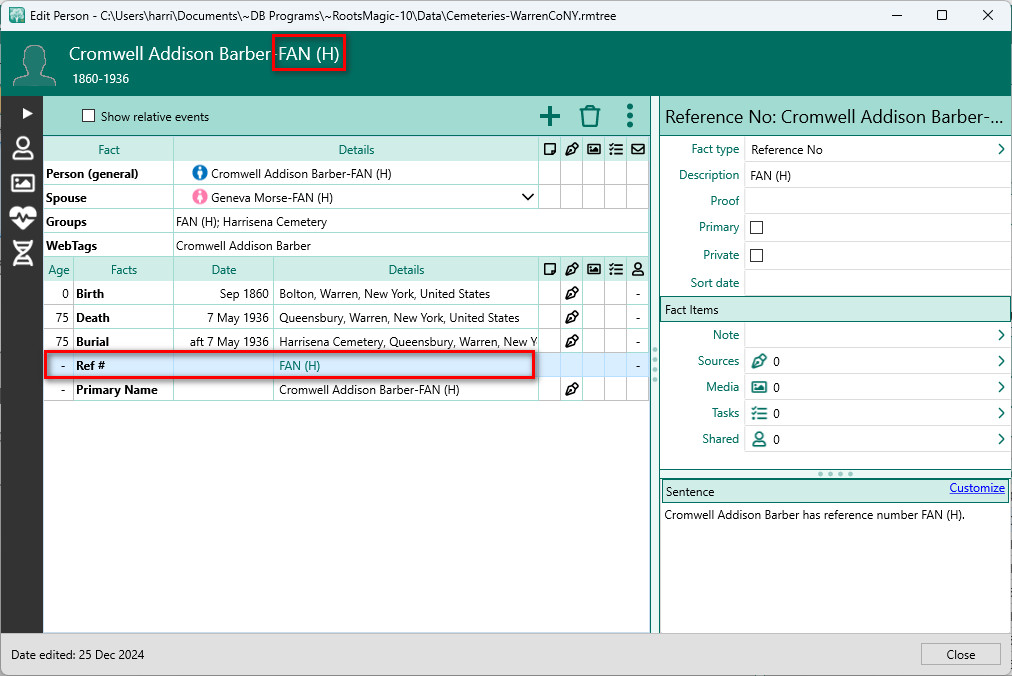
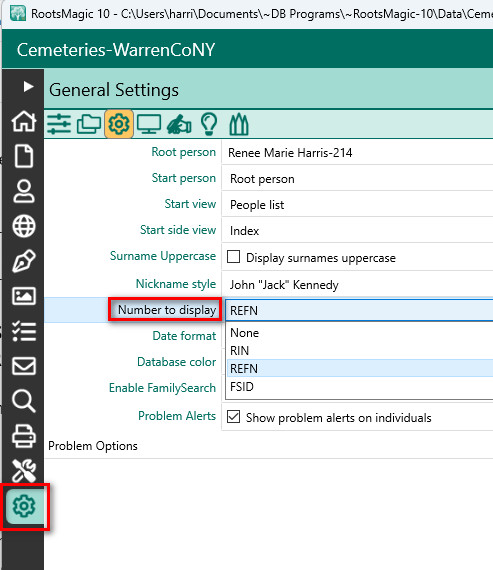
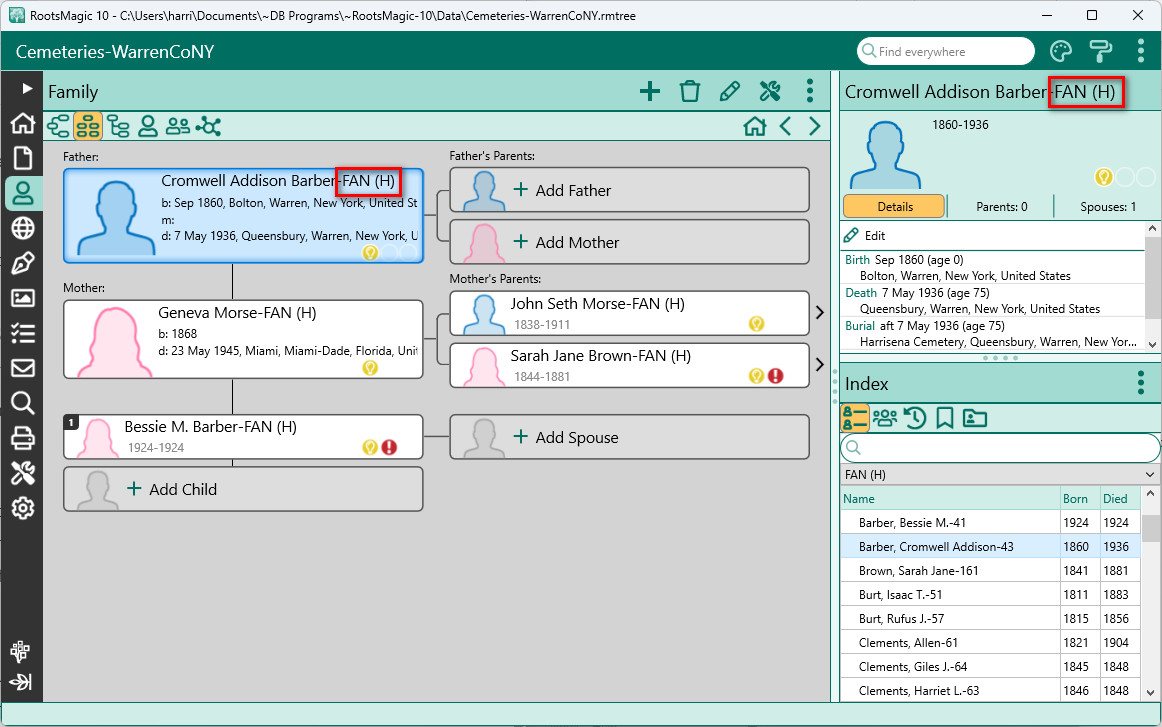
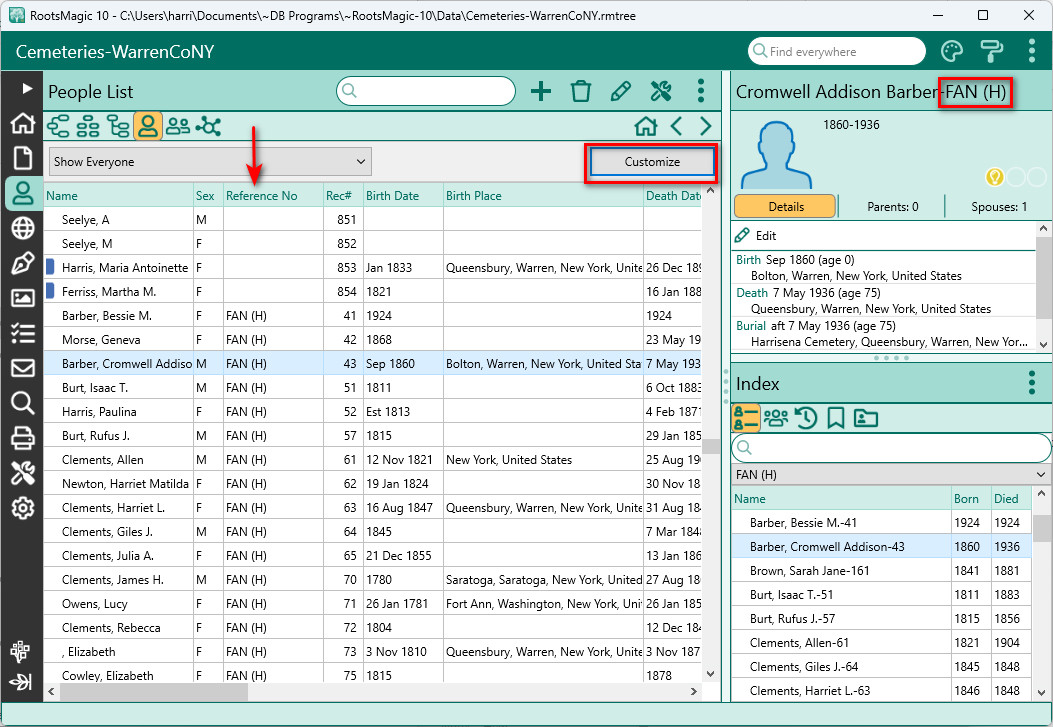
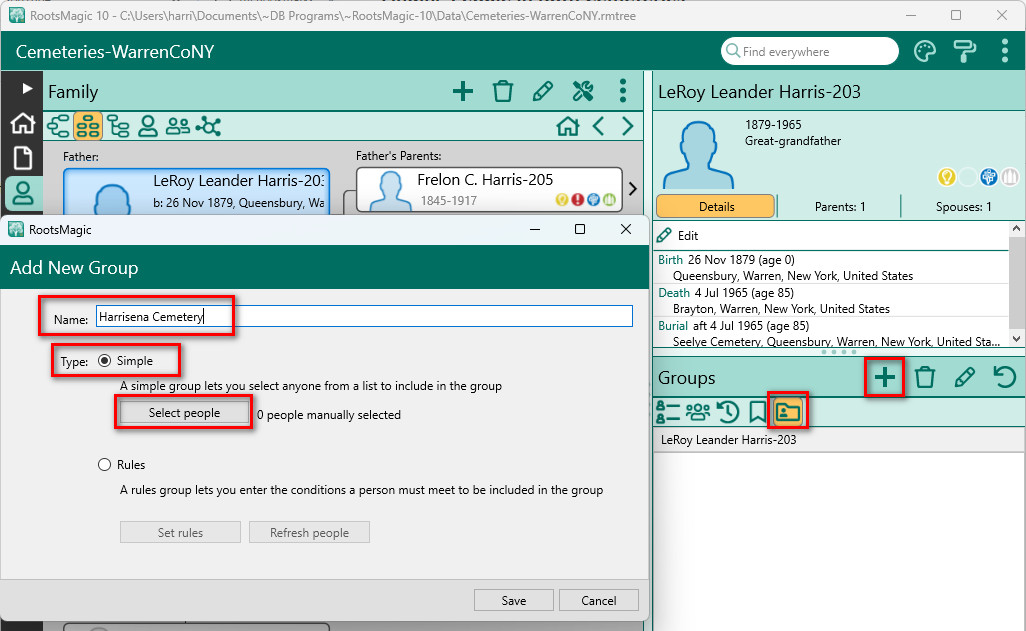
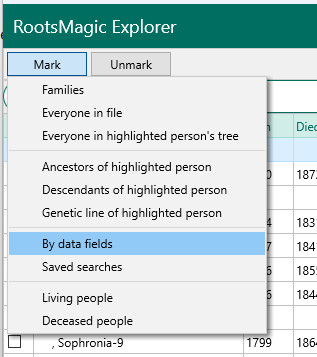
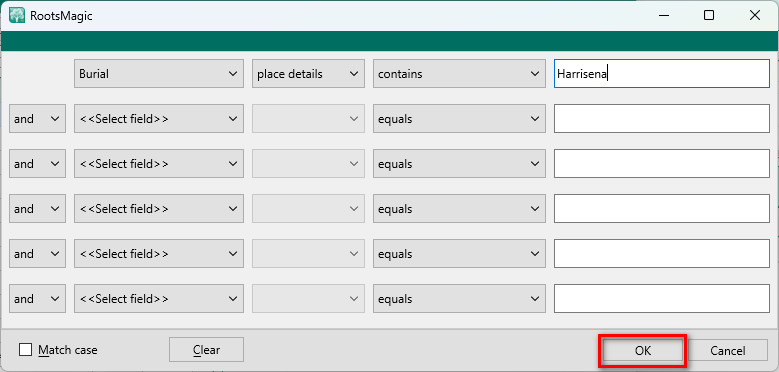
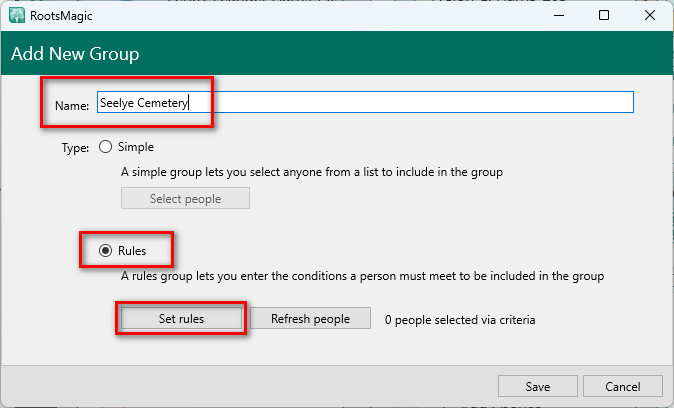
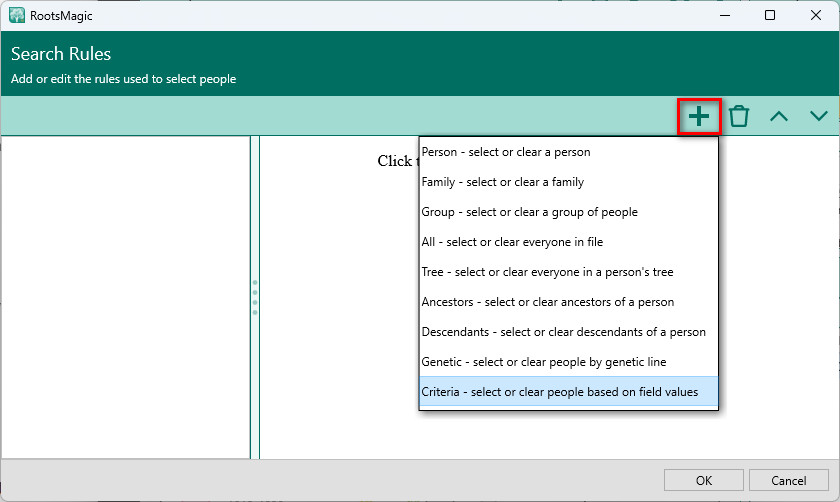
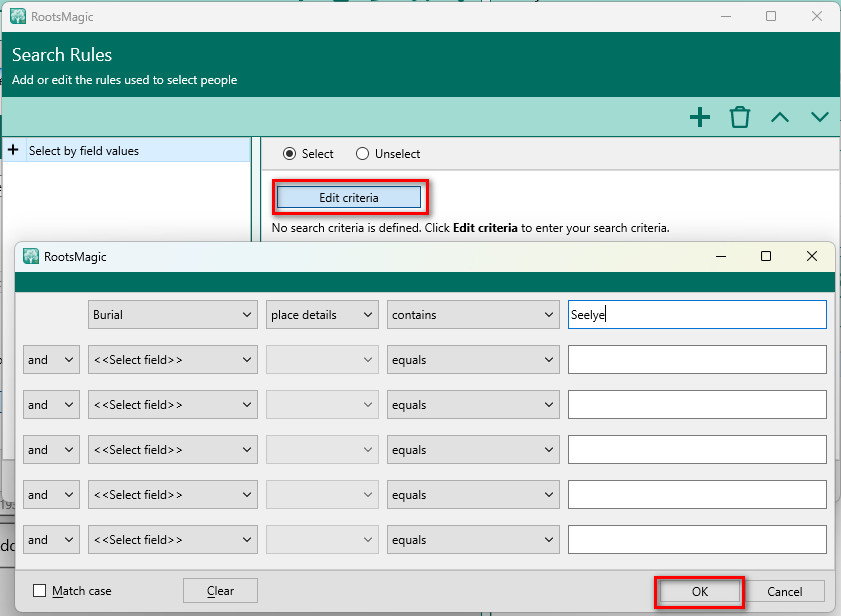
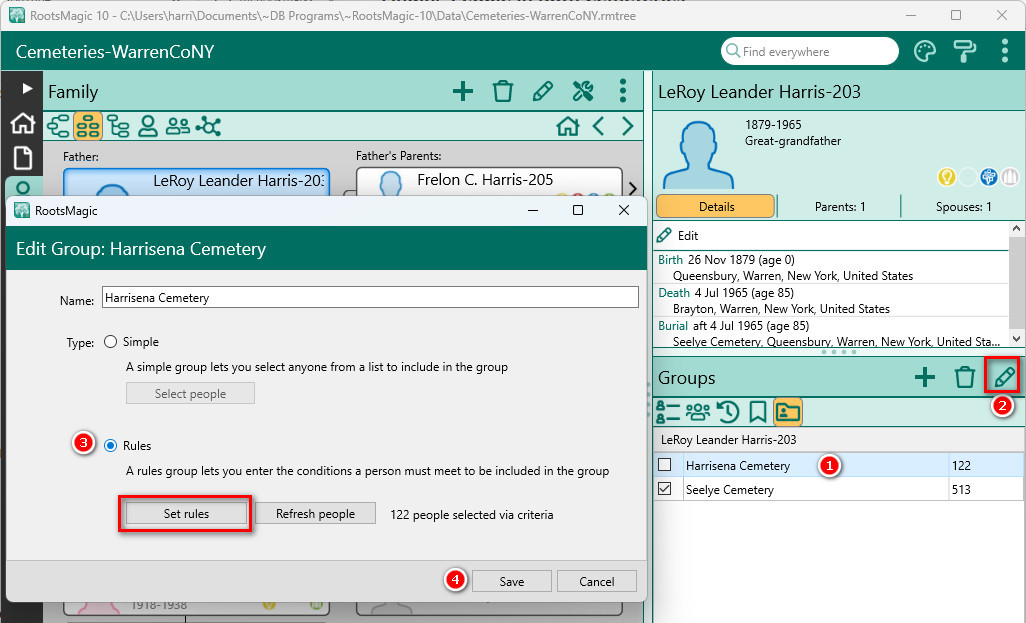
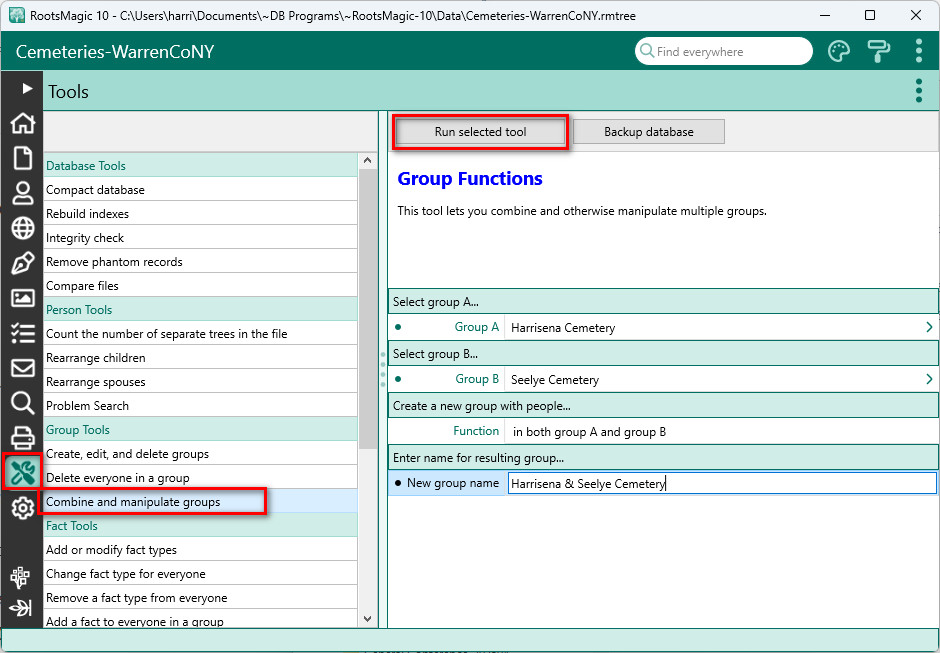
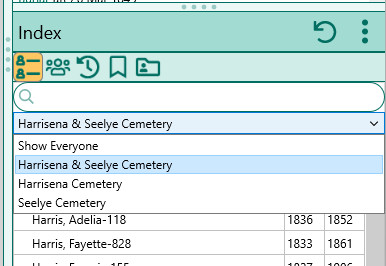
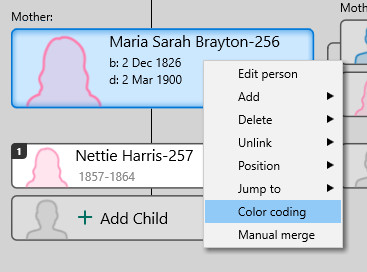
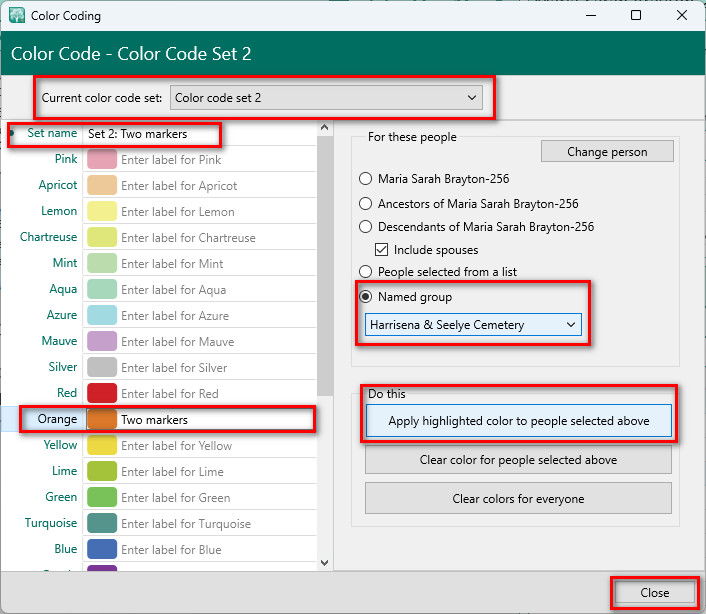
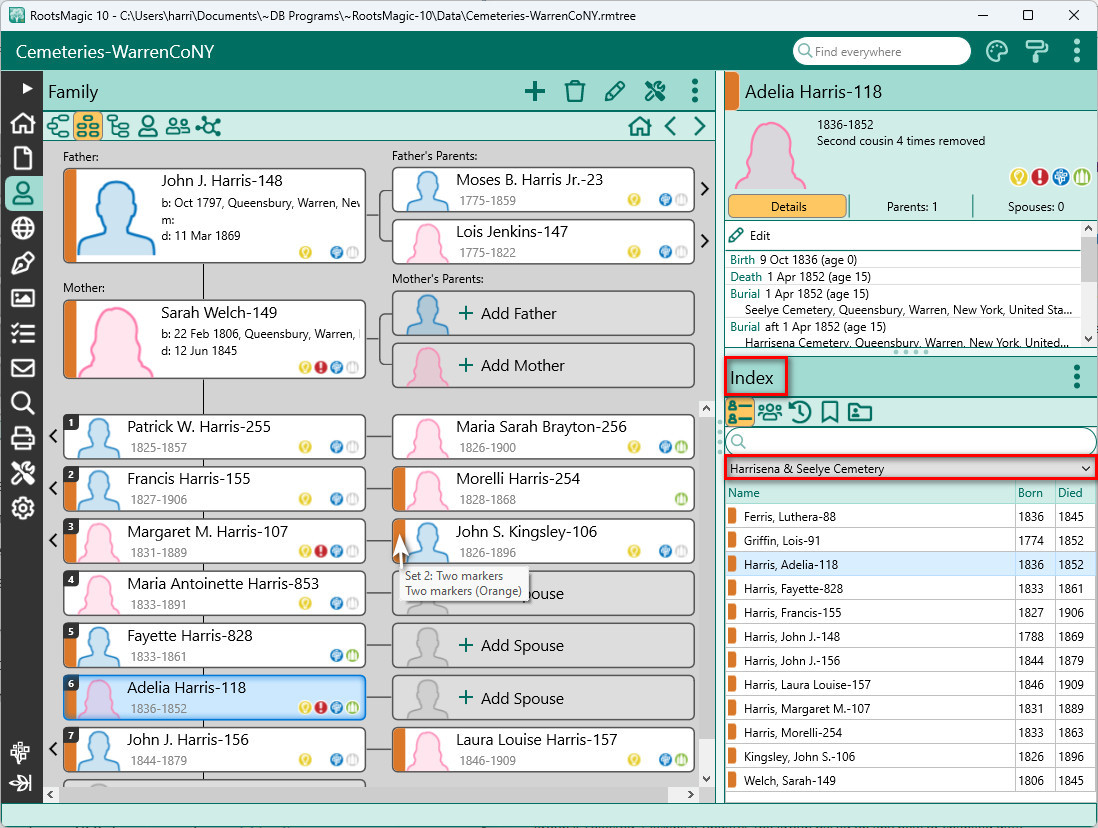
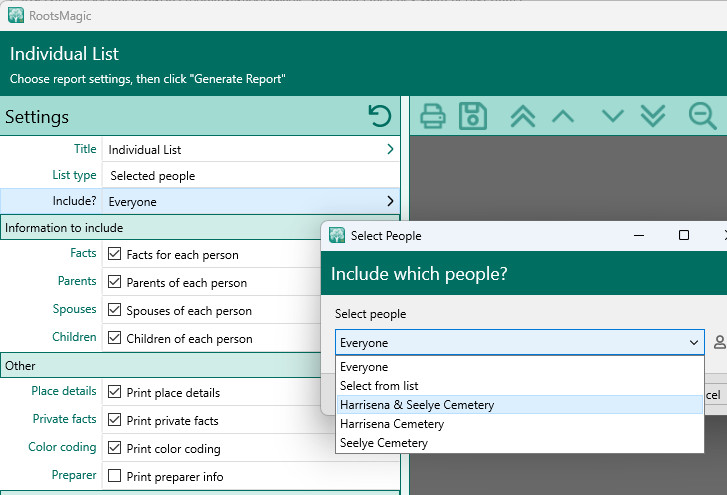
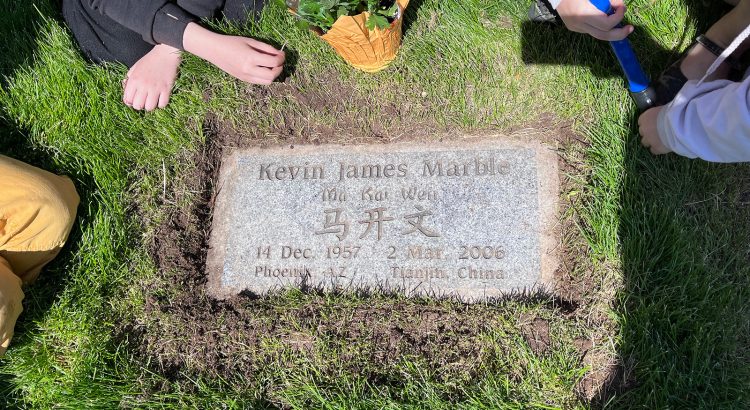
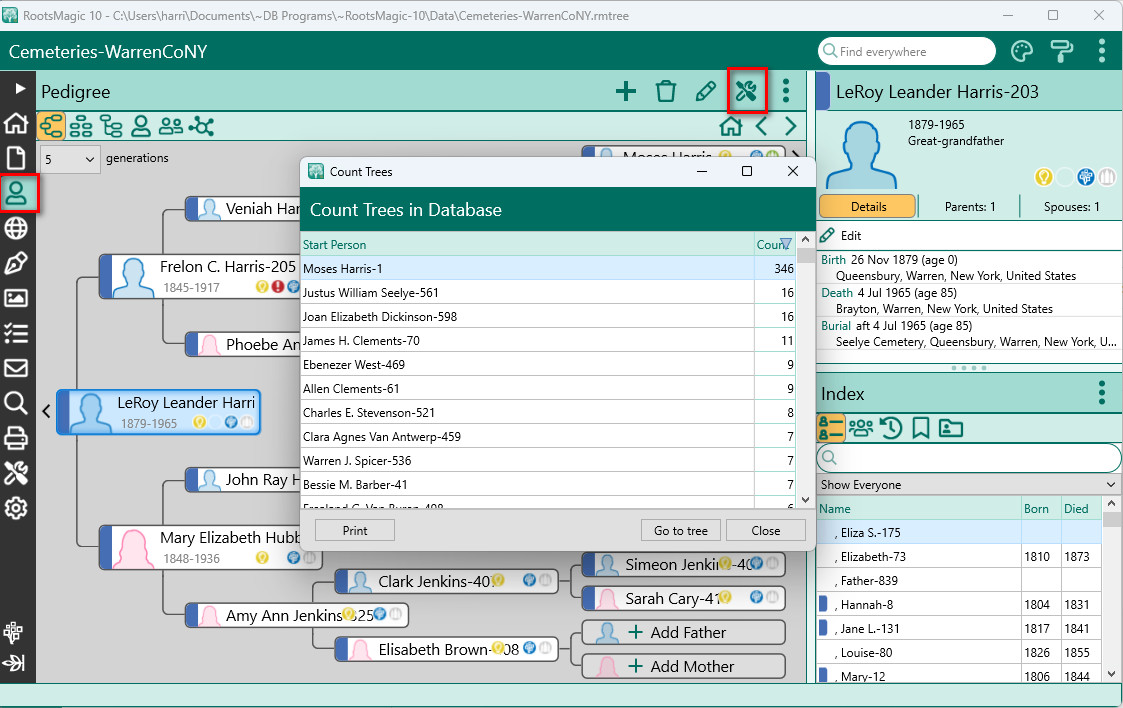
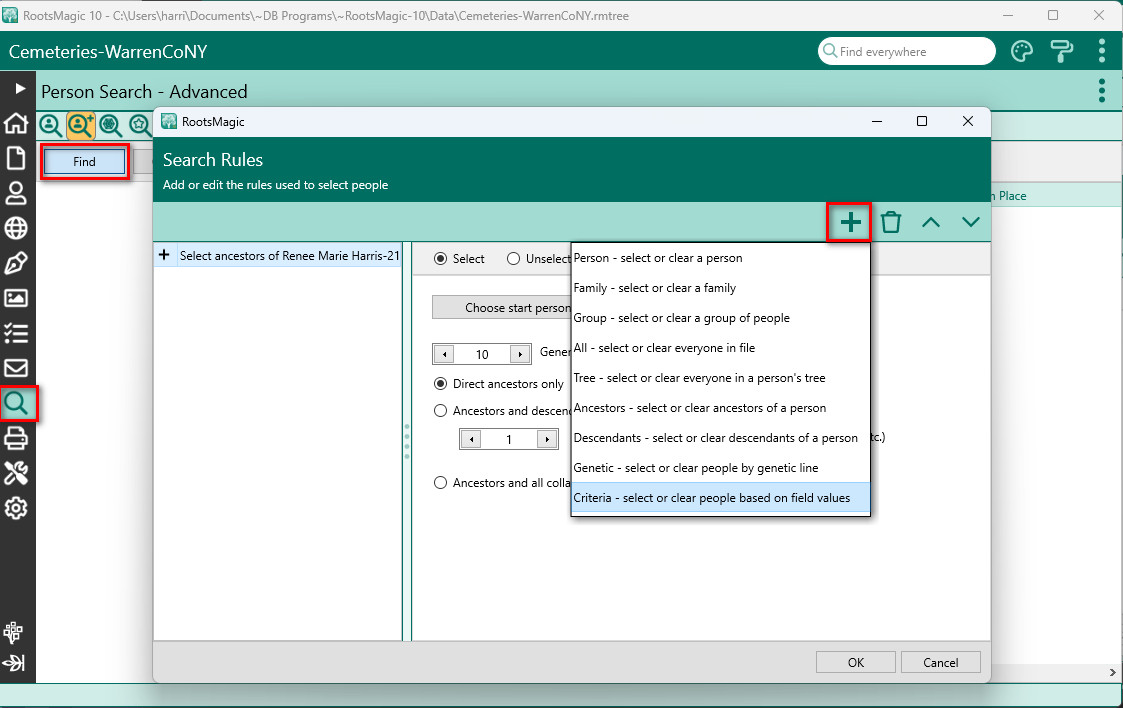
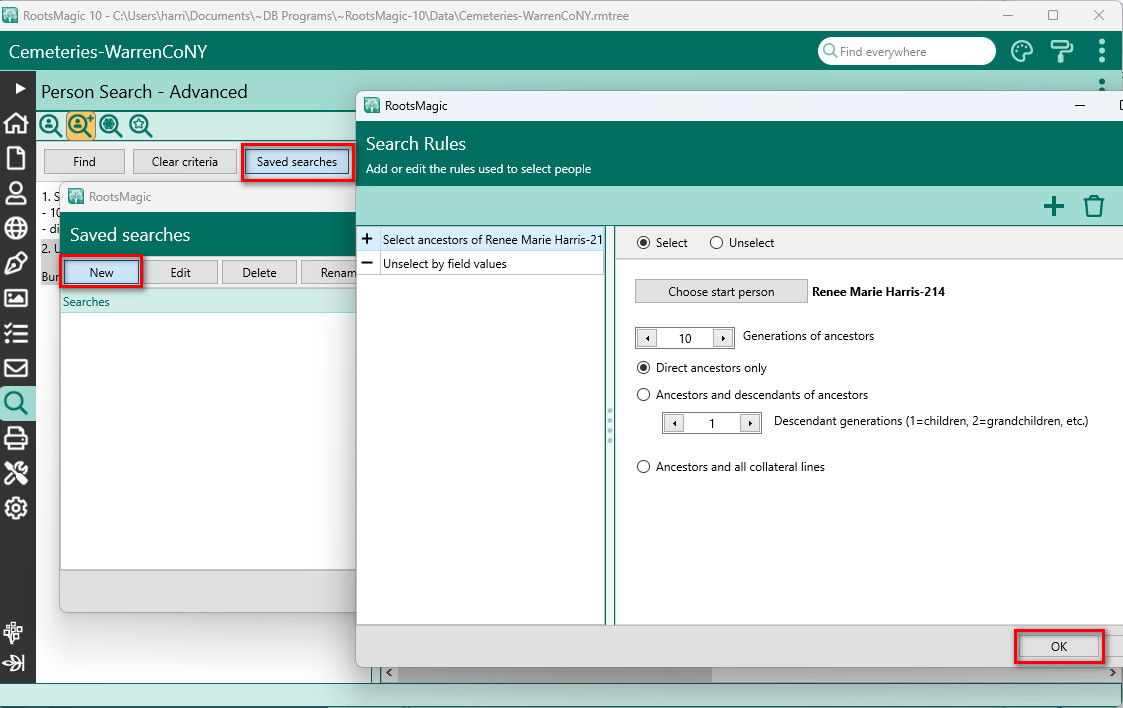
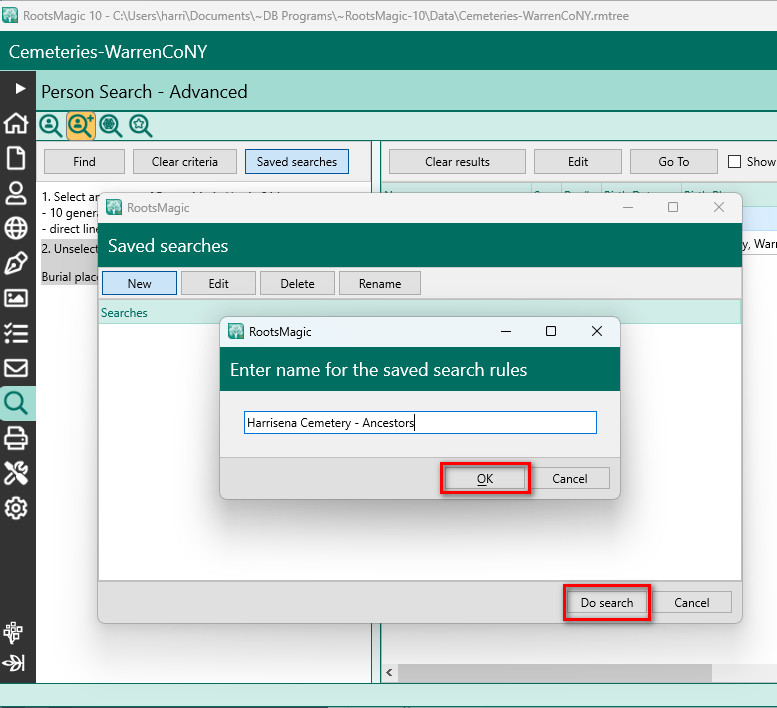
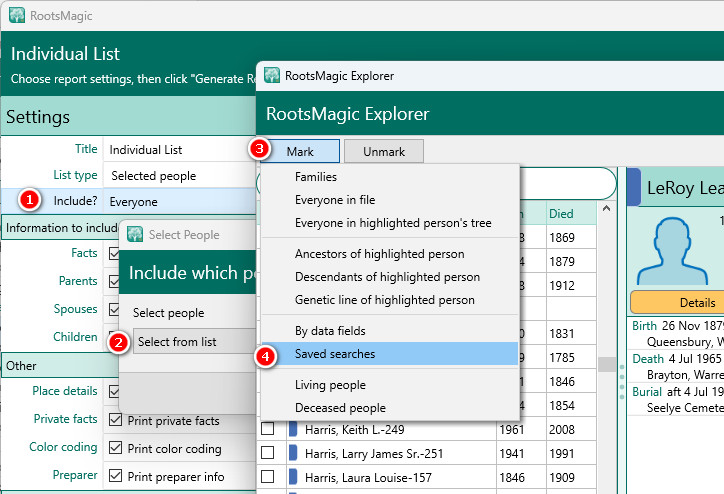
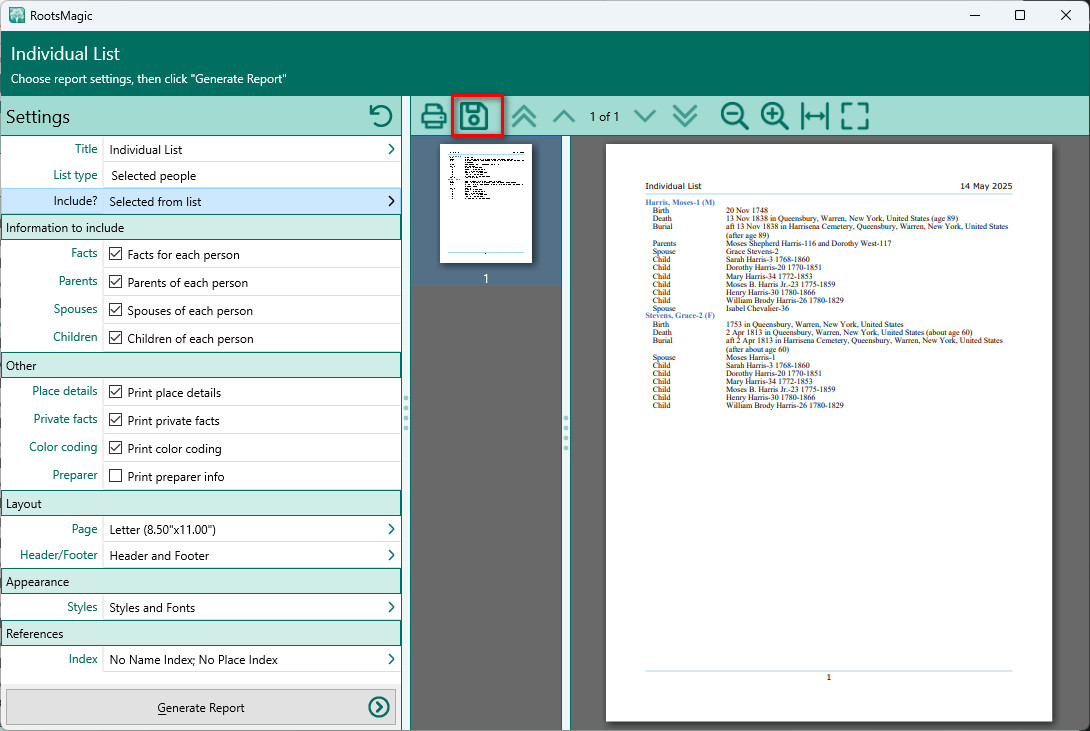
Leading up to Memorial Day, we published a special three-part blog series exploring how RootsMagic can help you prepare for cemetery visits and honor your ancestors. Renee Zamora walked us through her personal project on researching family cemeteries, demonstrating how to use saved searches to find ancestors buried in specific locations, how to identify individuals with memorial markers in multiple cemeteries, and how to organize your research using groups, color-coding, and reference numbers.
These articles resonated with many of you. As Renee beautifully put it, the people resting in those cemeteries are more than data; they’re family. Their stories shape our stories, and we’re honored to help you preserve and share those connections.
Introducing RootsMagic 11

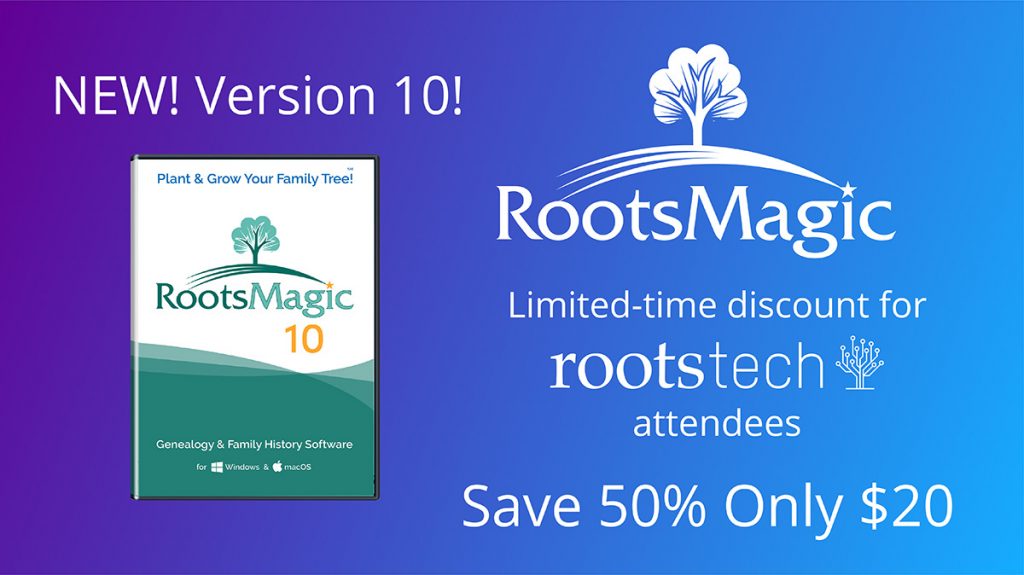
September brought our biggest news of the year: the release of RootsMagic 11.
This wasn’t just another update; it was a labor of love shaped by your feedback. We listened carefully to your requests, and RootsMagic 11 reflects what you told us mattered most: a clearer interface, better editing tools, and smarter ways to work with your research.
Here are just a few highlights:
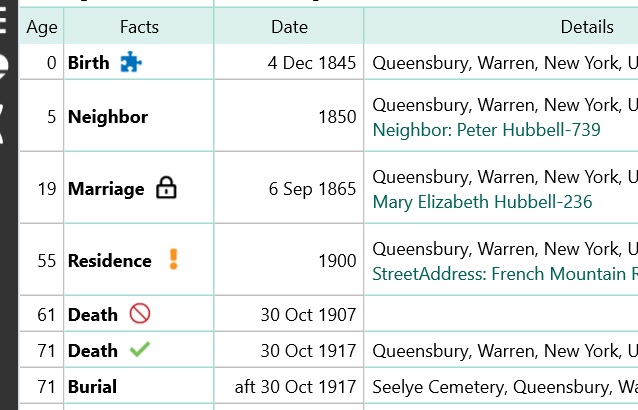
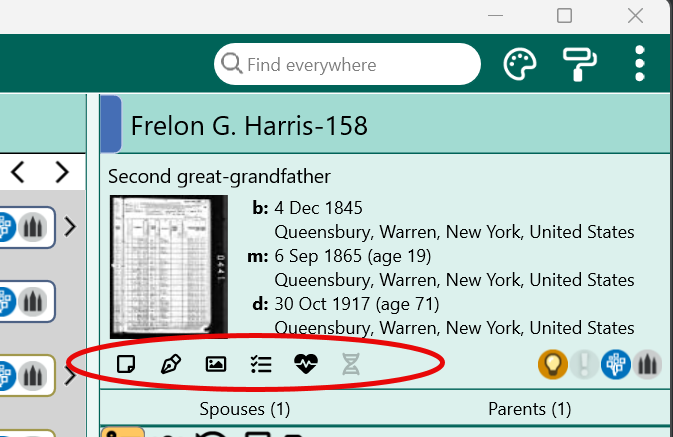
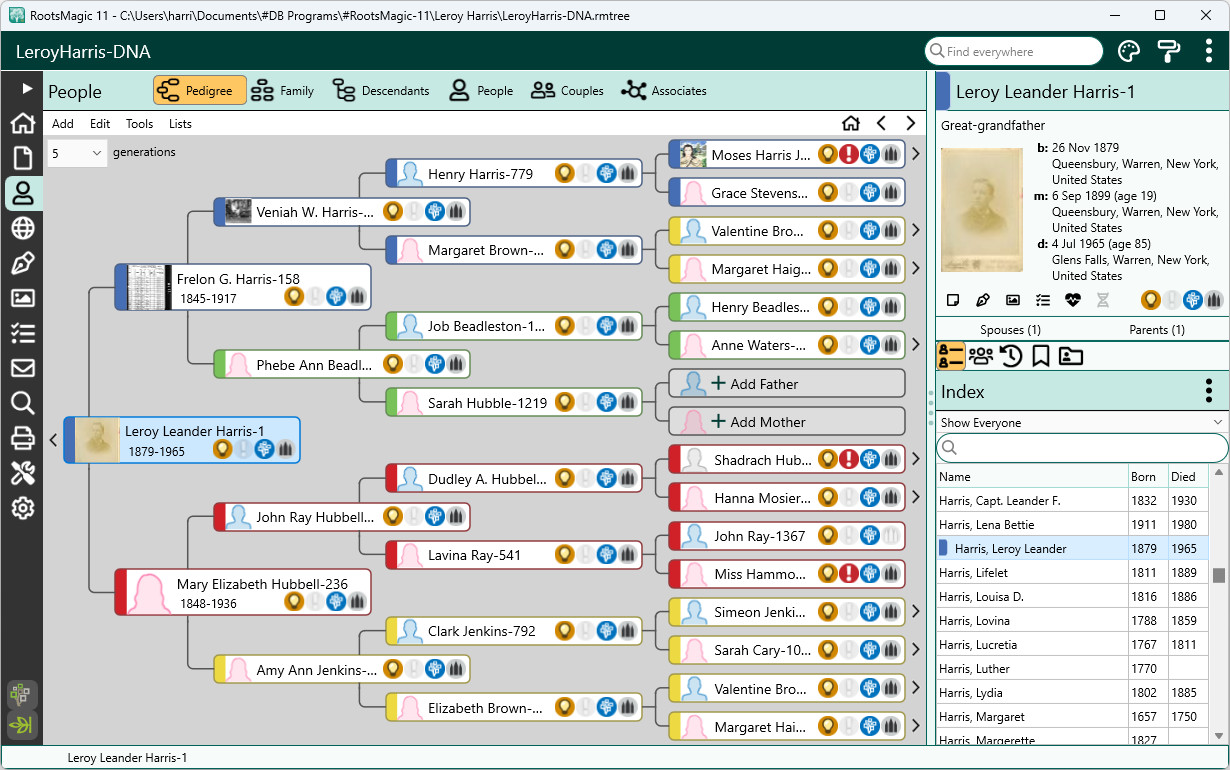
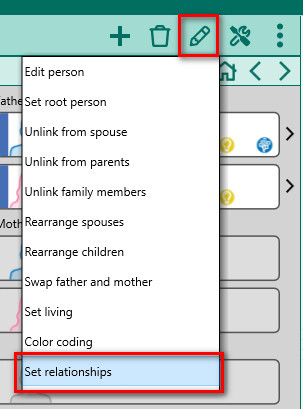
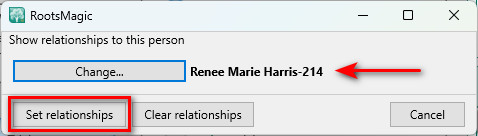
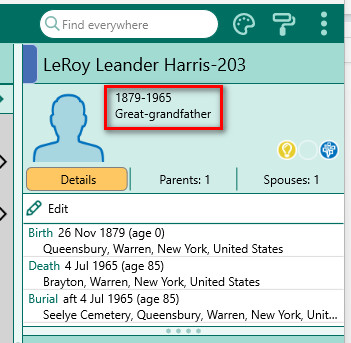
A more comfortable workspace. Views like Pedigree and Family are now clearly labeled, and cryptic icons have been replaced with intuitive menus. The new side panel header shows key information about a person at a glance—names, vital events, relationships, and quick indicators for notes, sources, media, and DNA.
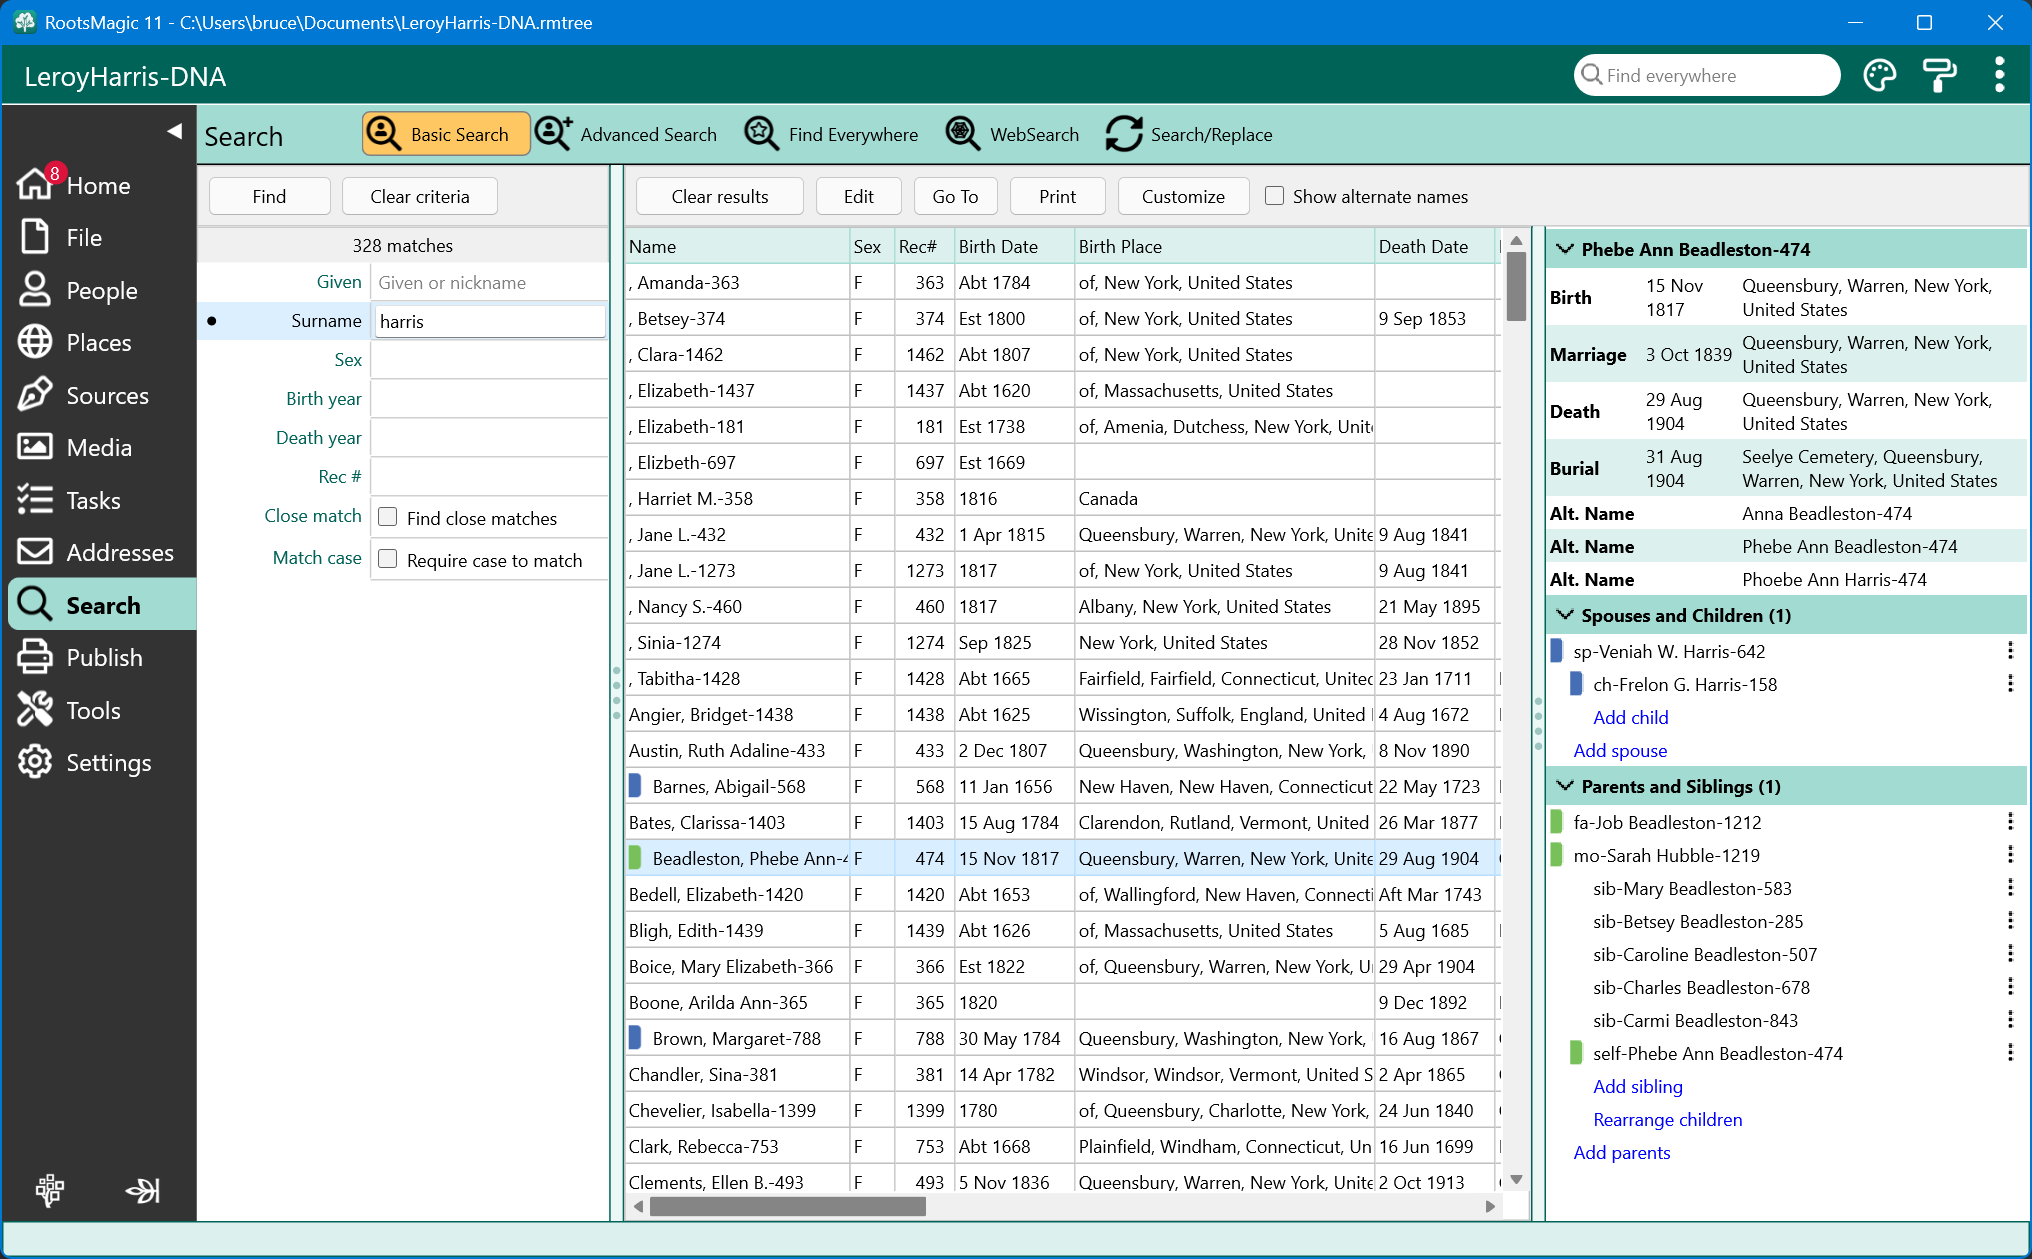
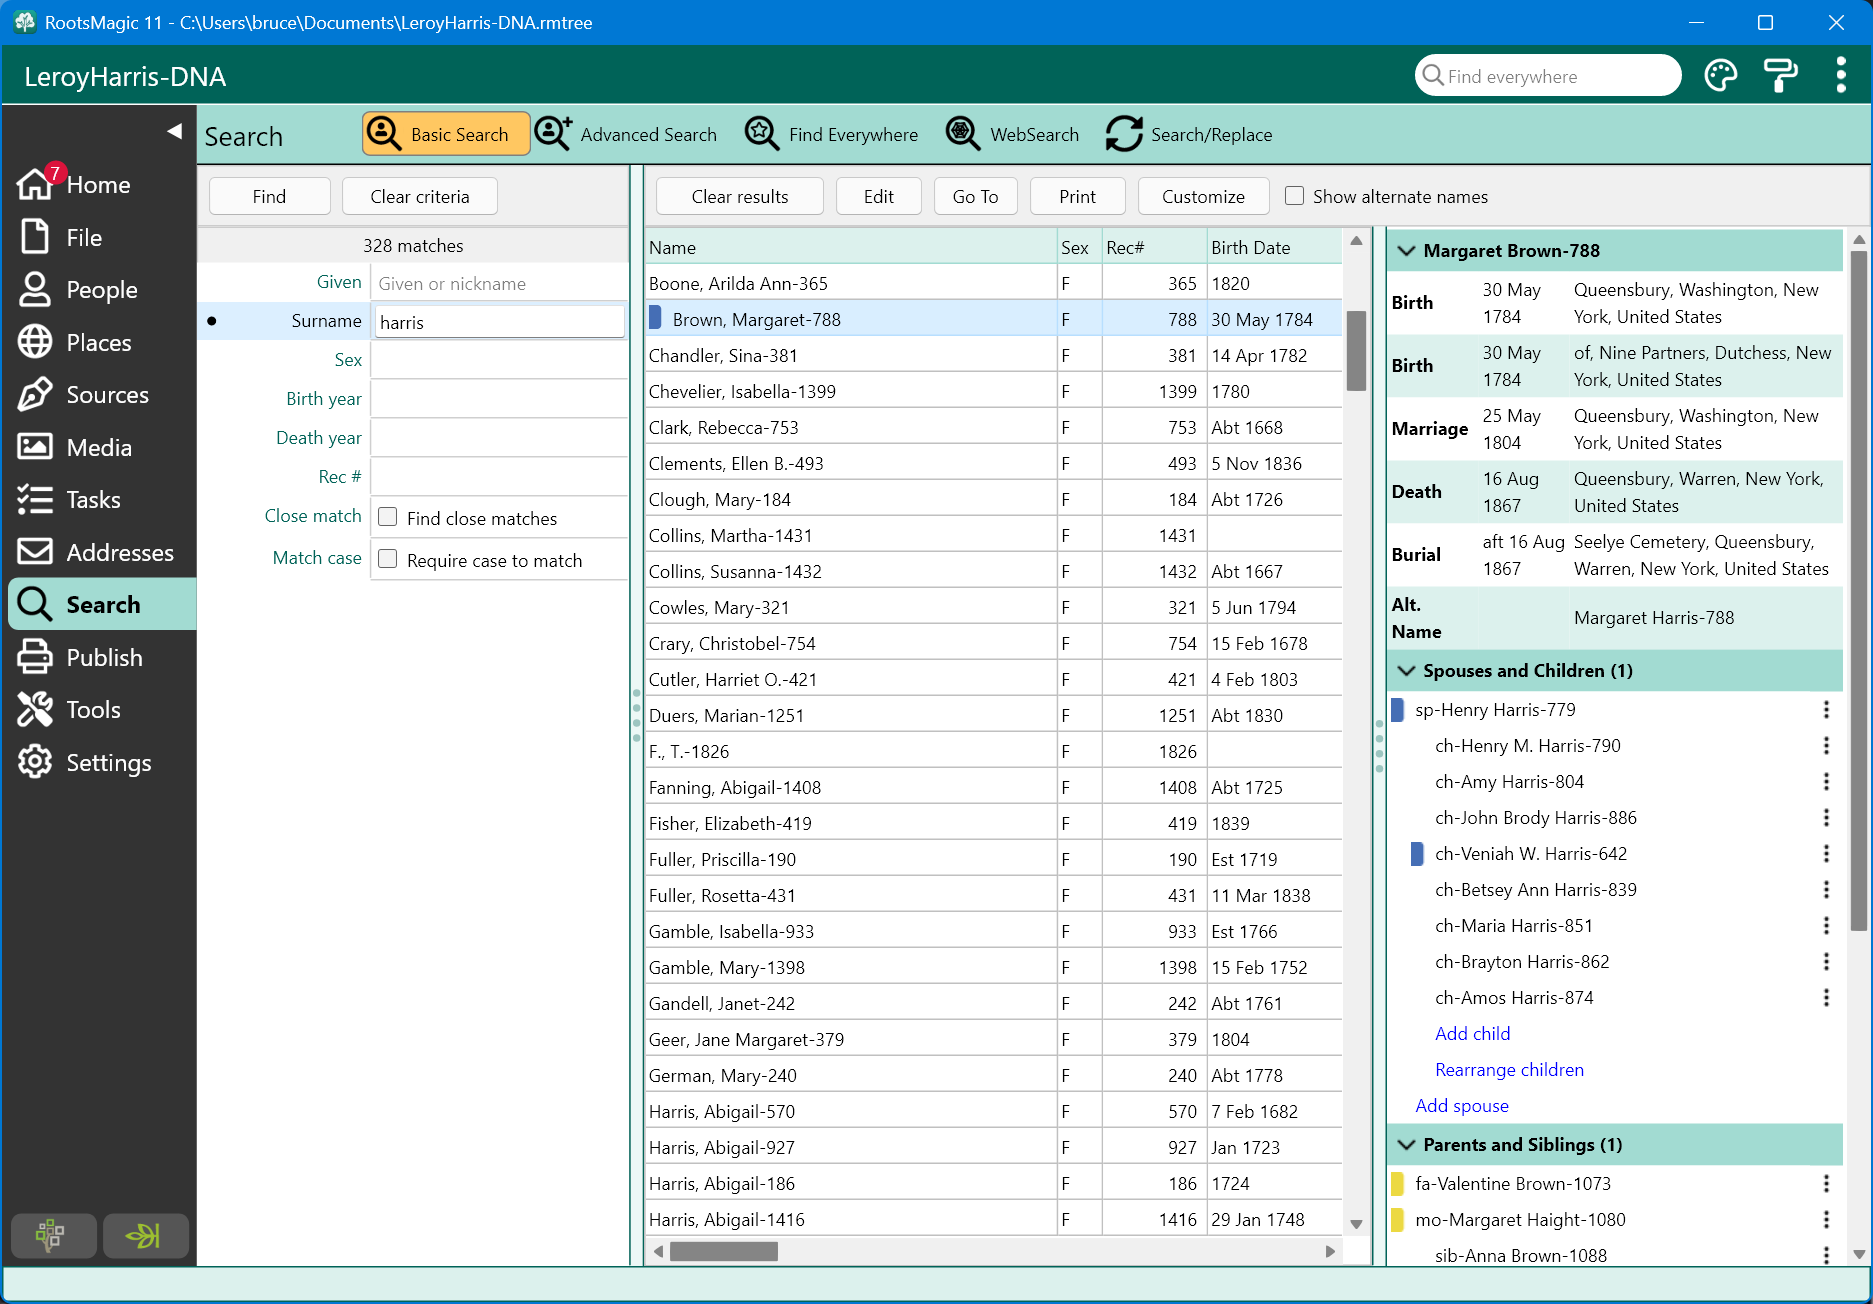
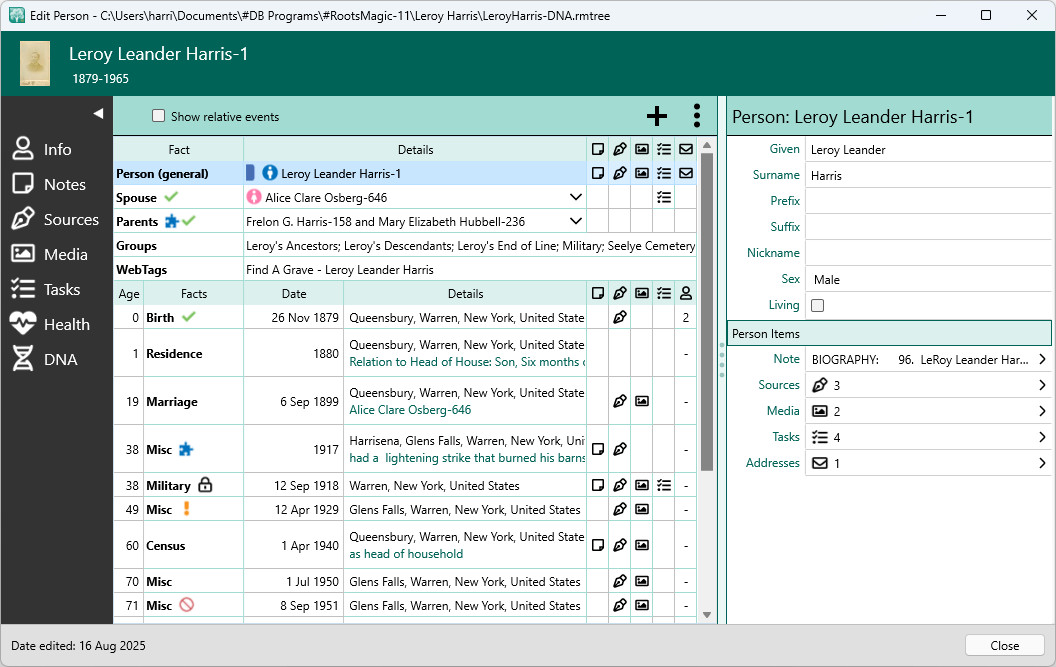
The Life Summary panel. Sometimes you just want to see someone’s whole story in one place. The Life Summary gives you exactly that—a complete snapshot of life events, spouses and children, parents and siblings—all in one view. You can expand, collapse, add relatives, or rearrange with simple drag-and-drop.
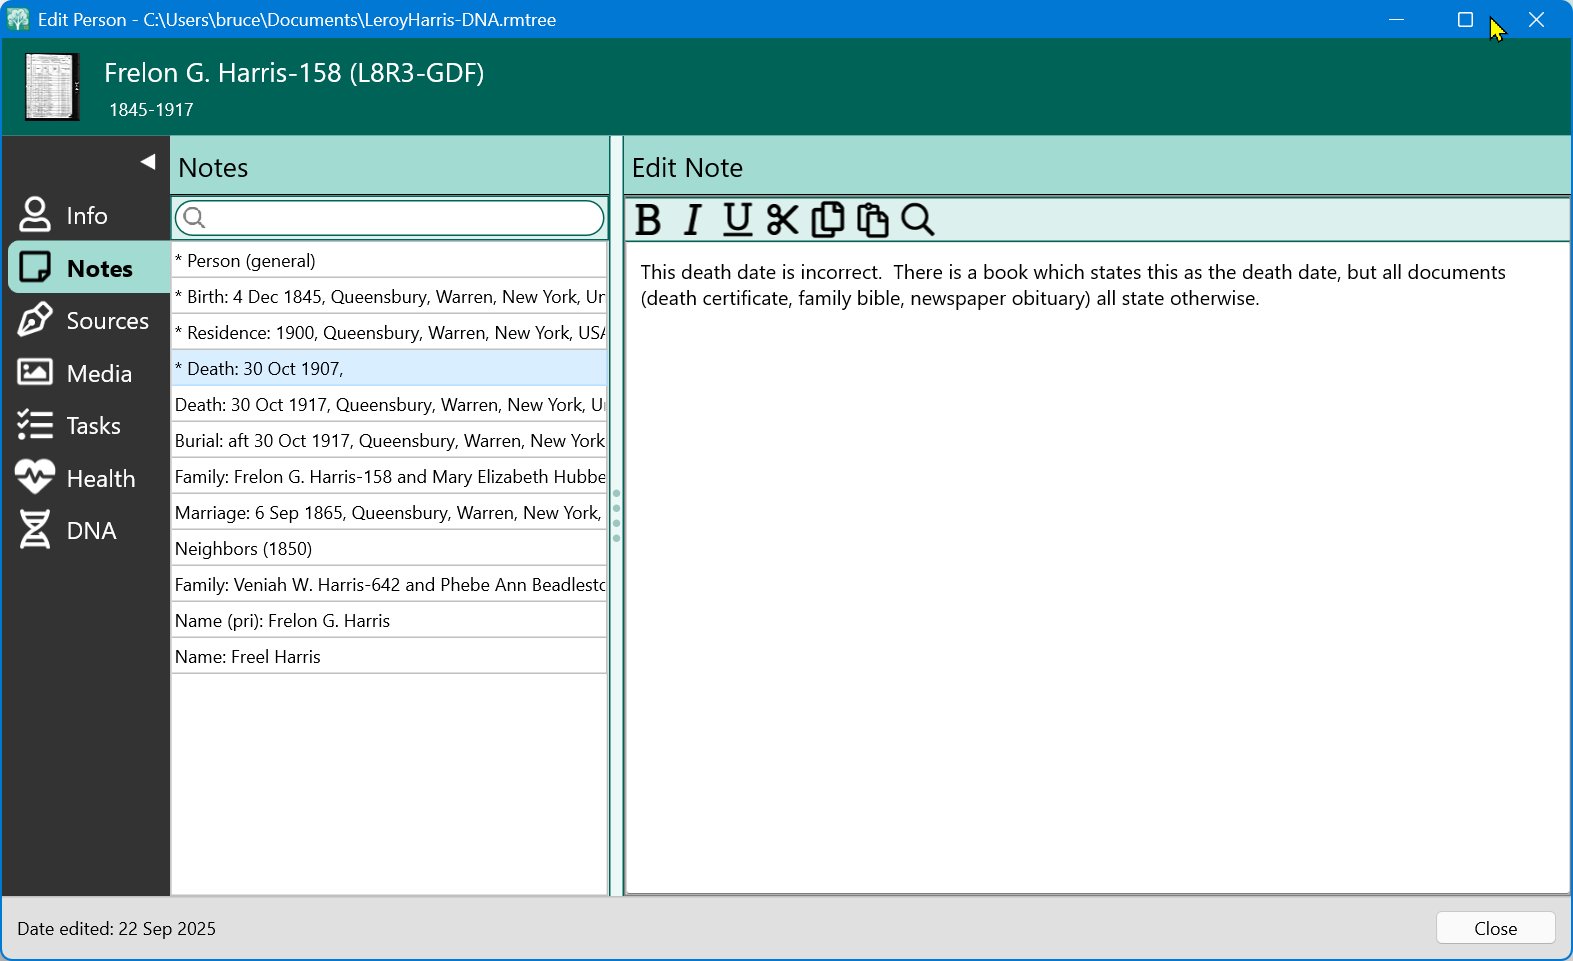
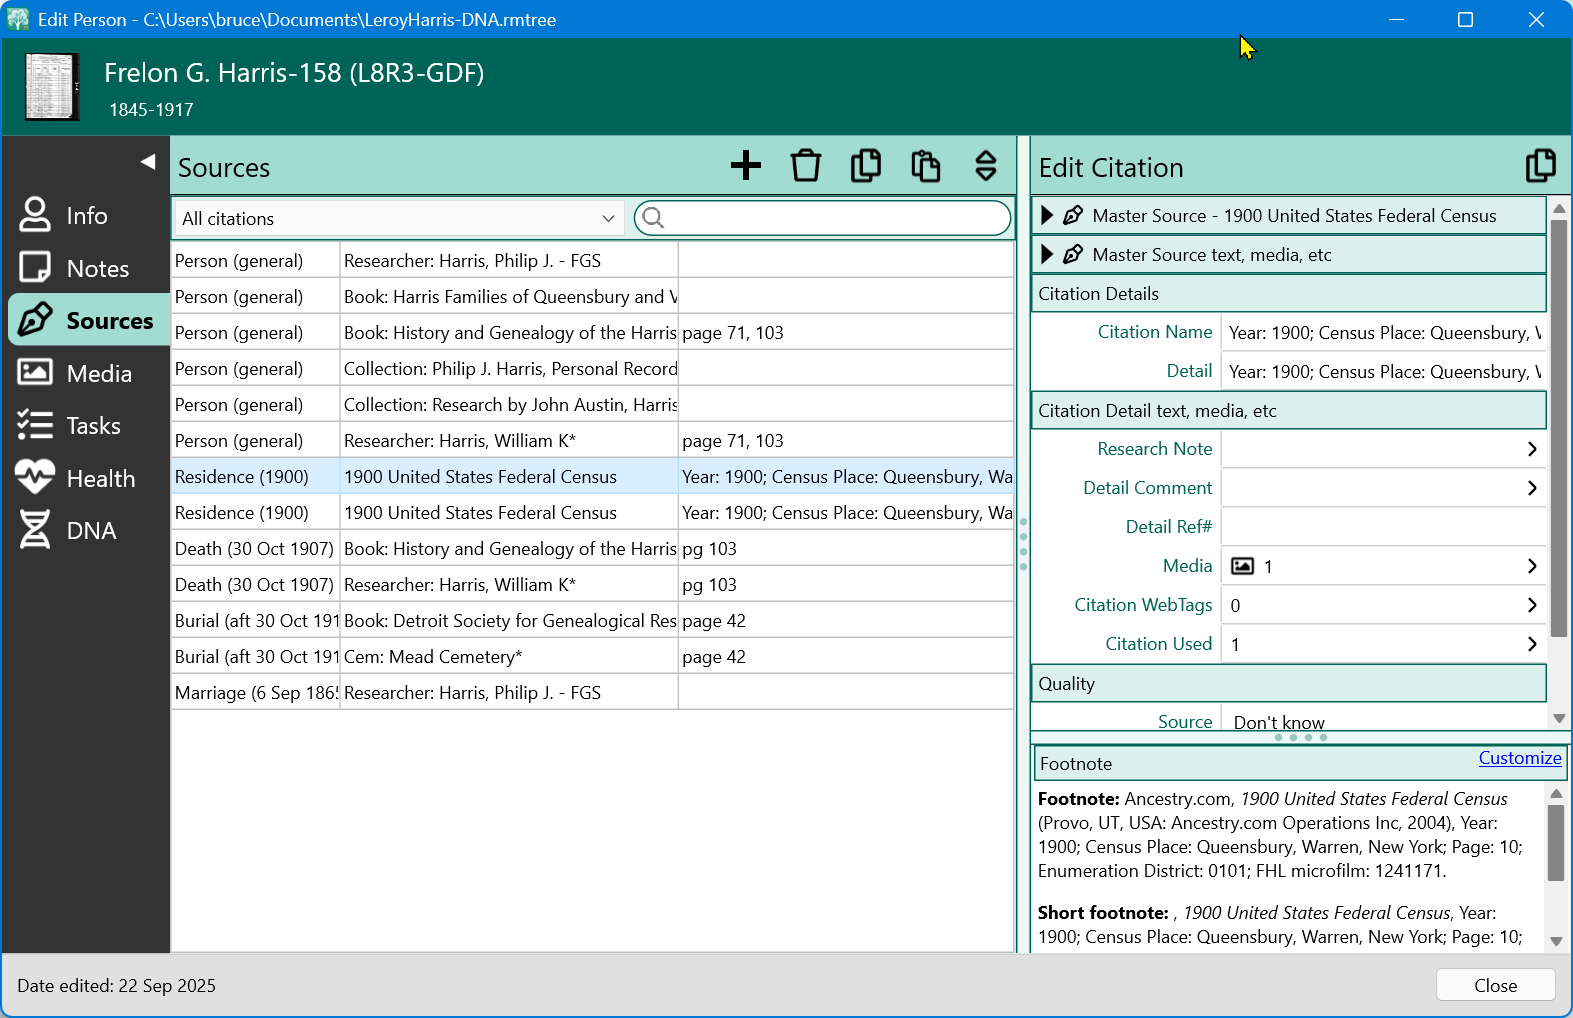
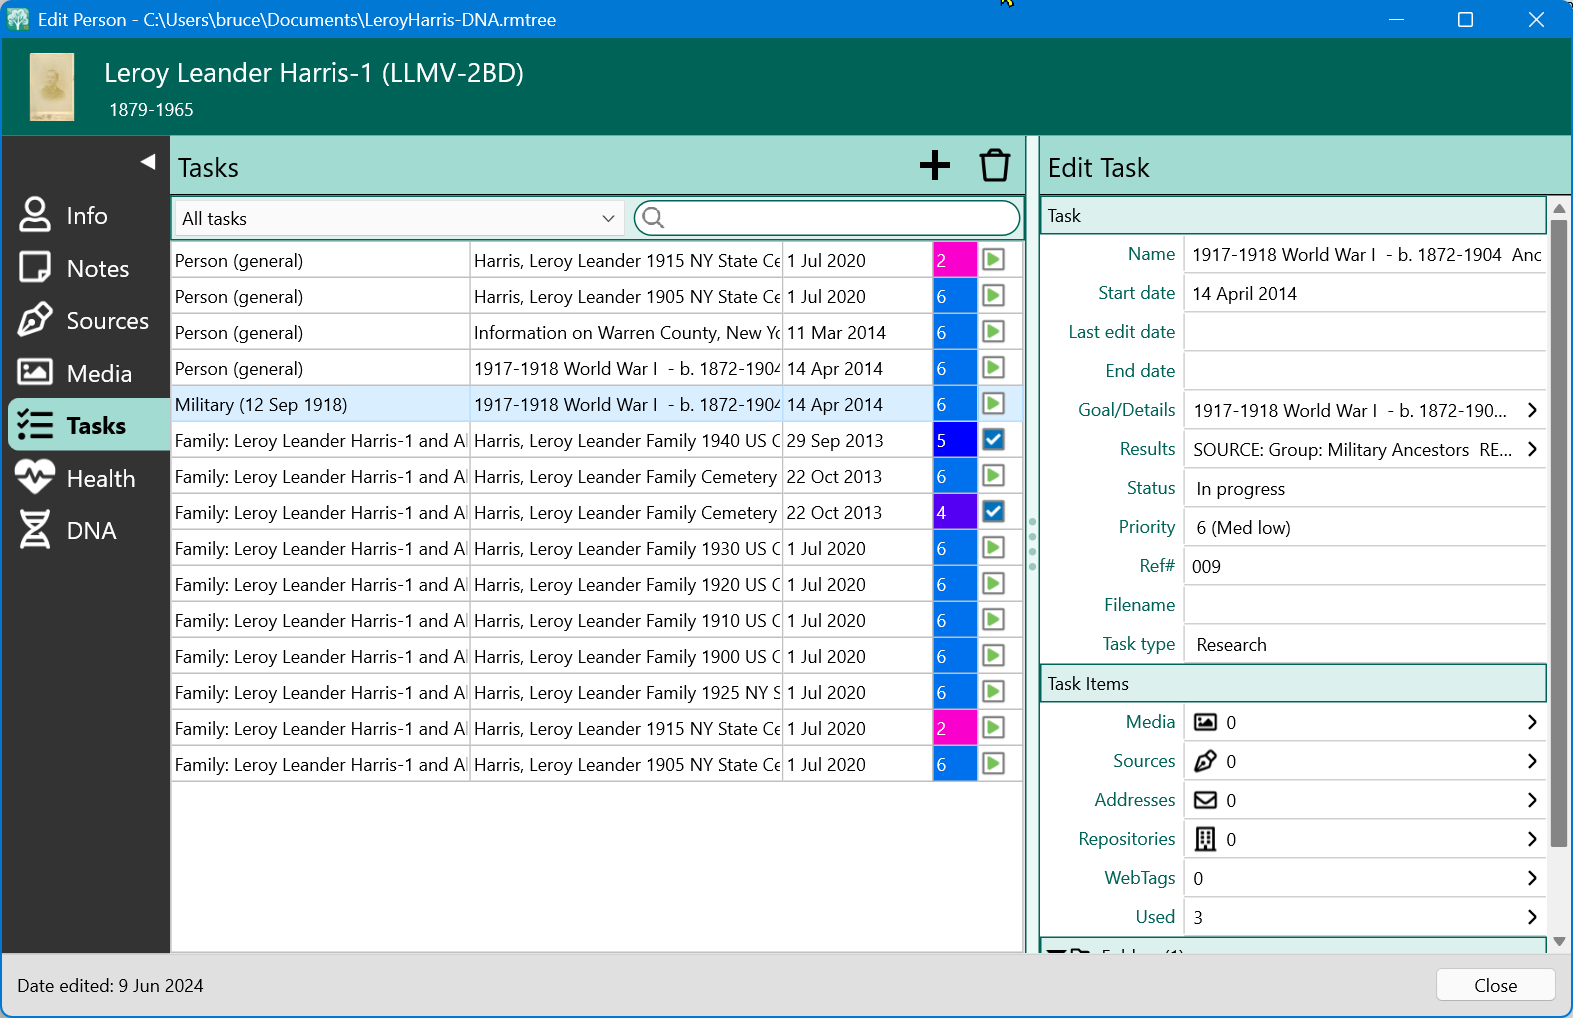
Better editing across the board. The new Sources view displays all citations for a person on a single screen, so you don’t have to hunt through multiple windows. Notes and tasks work the same way, with clear indicators showing where information already exists.
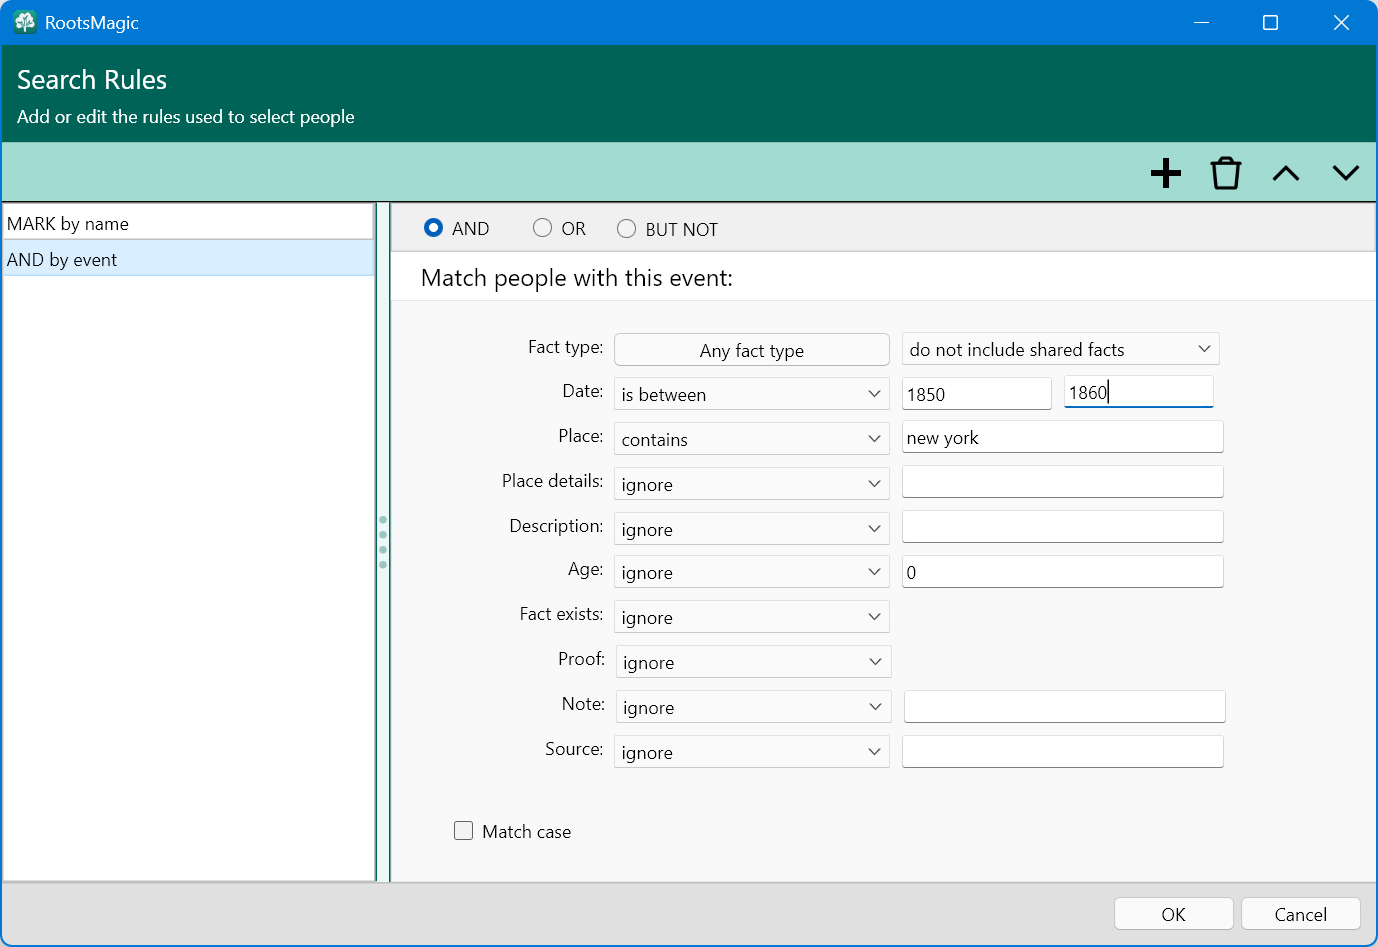
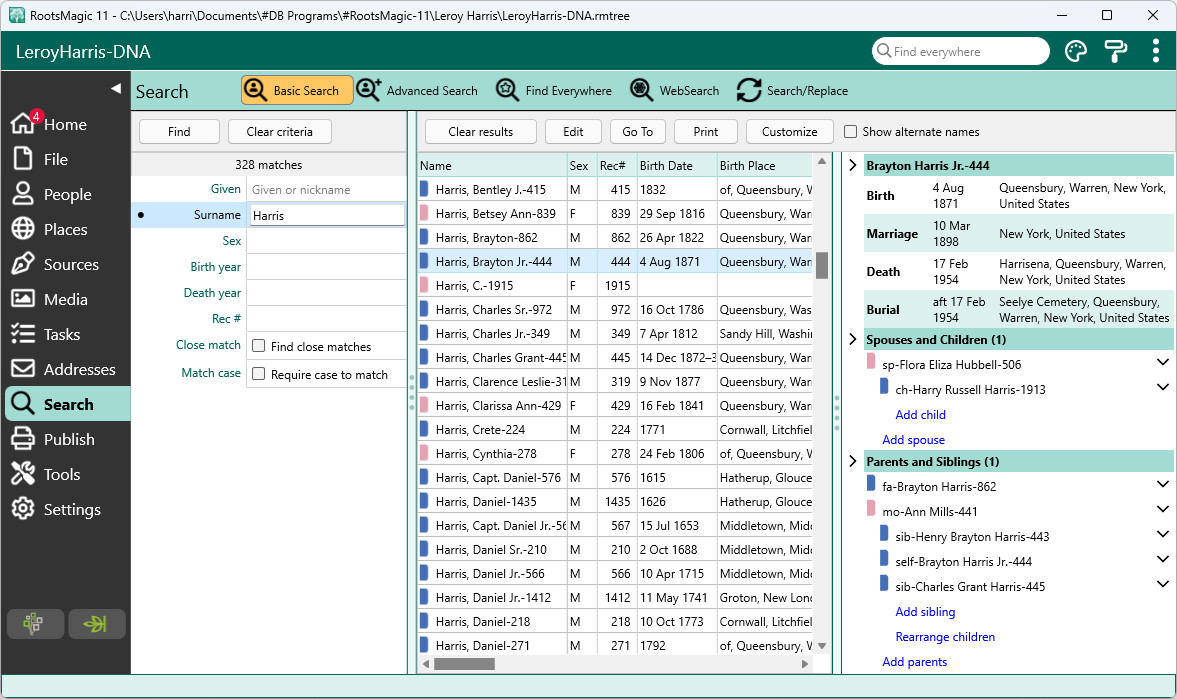
Powerful new search tools. The redesigned Advanced Search lets you combine rules with AND, OR, and BUT NOT logic, search by multiple event fields, and find people without sources or those not yet linked into your tree.
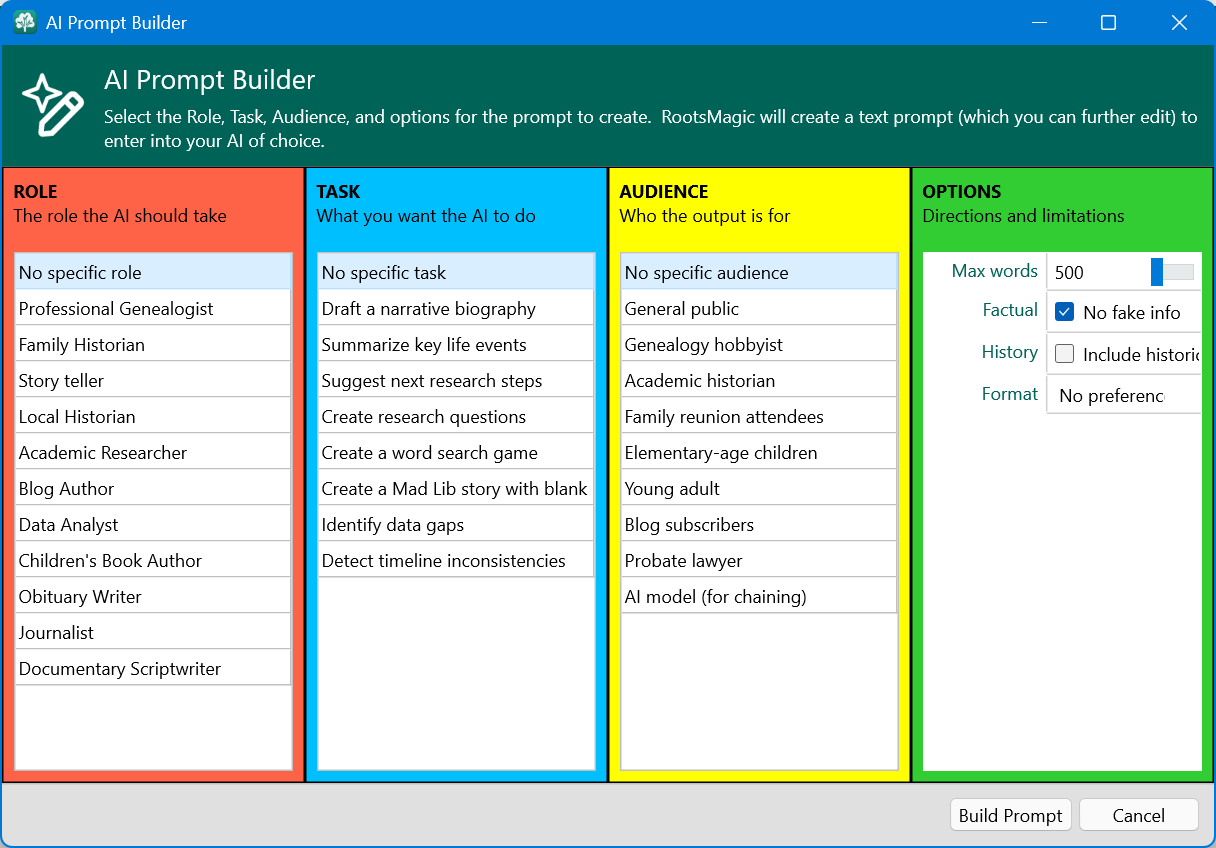
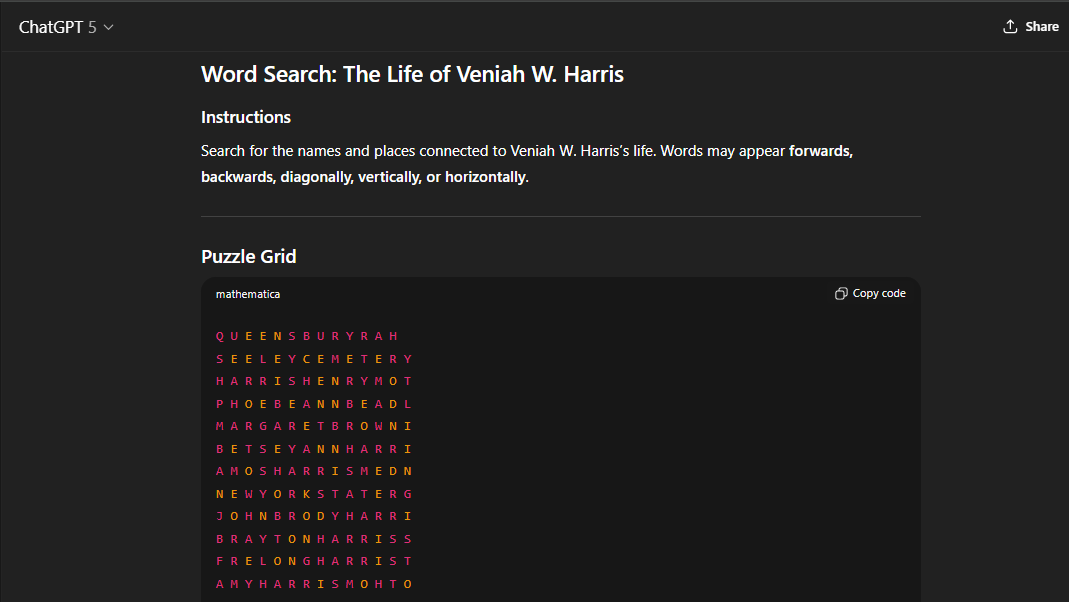
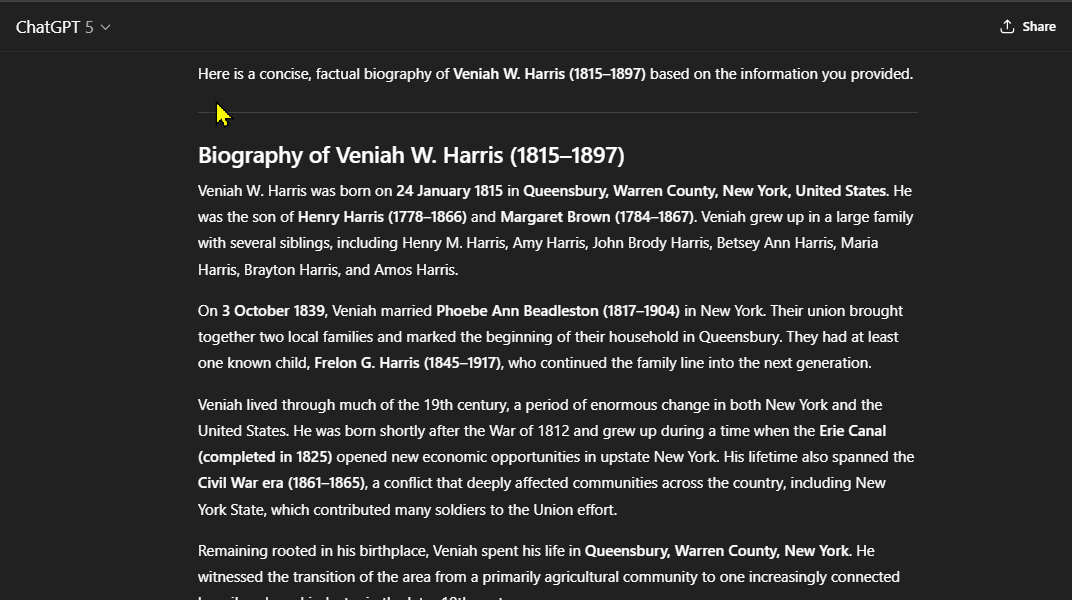
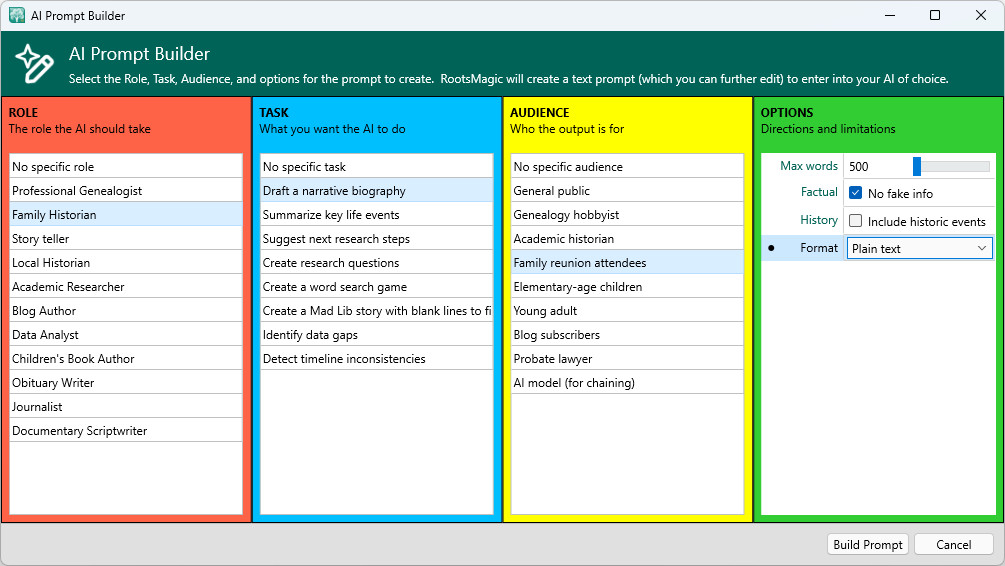
The AI Prompt Builder. A first in genealogy software, this tool helps you create clear, structured prompts for your preferred AI assistant. Whether you want to draft a life sketch, write an obituary, or explore historical context, the AI Prompt Builder pulls the details you need from your database while giving you control over the output.
The response from our community has been heartwarming. We’ve heard from many of you that these improvements have made your research more enjoyable and efficient. That feedback means everything to us.
A Fresh Look for RootsMagic.com
Just in time for the launch of RootsMagic 11, we also refreshed our website with a cleaner, more streamlined design. Our goal was simple: make it easier for you to find what you need, whether you’re learning about our products, accessing support, or downloading updates.
Looking Ahead to 2026
As we turn the page to a new year, we’re excited about what’s ahead.
RootsTech 2026. We’ll be back in Salt Lake City, March 5–7, 2026, and we’d love to see you there. Stop by our booth to say hello, watch demonstrations, and take advantage of special conference pricing. If you can’t make it in person, remember that RootsTech also offers free online participation.
New features and enhancements. Our development team has been hard at work on updates shaped by your requests, along with exciting new capabilities that leverage the latest technologies in the family history space. We can’t wait to share more details in the coming months.
Thank You for Being Part of Our Story
At RootsMagic, we know that genealogy is more than a hobby. It’s a calling. It’s the late nights spent deciphering old records, the thrill of a breakthrough after months of searching, and the quiet satisfaction of preserving a story that might otherwise be lost.
We’re honored to be part of your journey, and we don’t take that trust lightly. Every feature we build, every update we release, and every support question we answer is guided by our commitment to helping you discover and tell your family story.
Thank you for a wonderful 2025. Here’s to new discoveries, cherished connections, and another year of bringing family history to life.
Happy New Year from all of us at RootsMagic!

Did you wake up Christmas morning hoping to find RootsMagic in your stocking… only to discover Santa didn’t quite get your genealogy wish list right?
Good news! You’re getting a second chance.
Due to popular demand, we’re extending our Holiday Special Sale on RootsMagic through midnight January 2. That gives you a little extra time to treat yourself to the tools you need to discover, organize, and share your family history.
No elves required. No waiting until next Christmas.
Get RootsMagic at the holiday price before the clock runs out.