Welcome to 2016! With the new year, we in the RootsMagic underground labs like to take a little break and reflect on all that has happened this past year. It’s been an eventful year for us full of loss and growth. Join us for this look back at what has happened in the RootsMagic world during 2015.
Loss in the RootsMagic Family

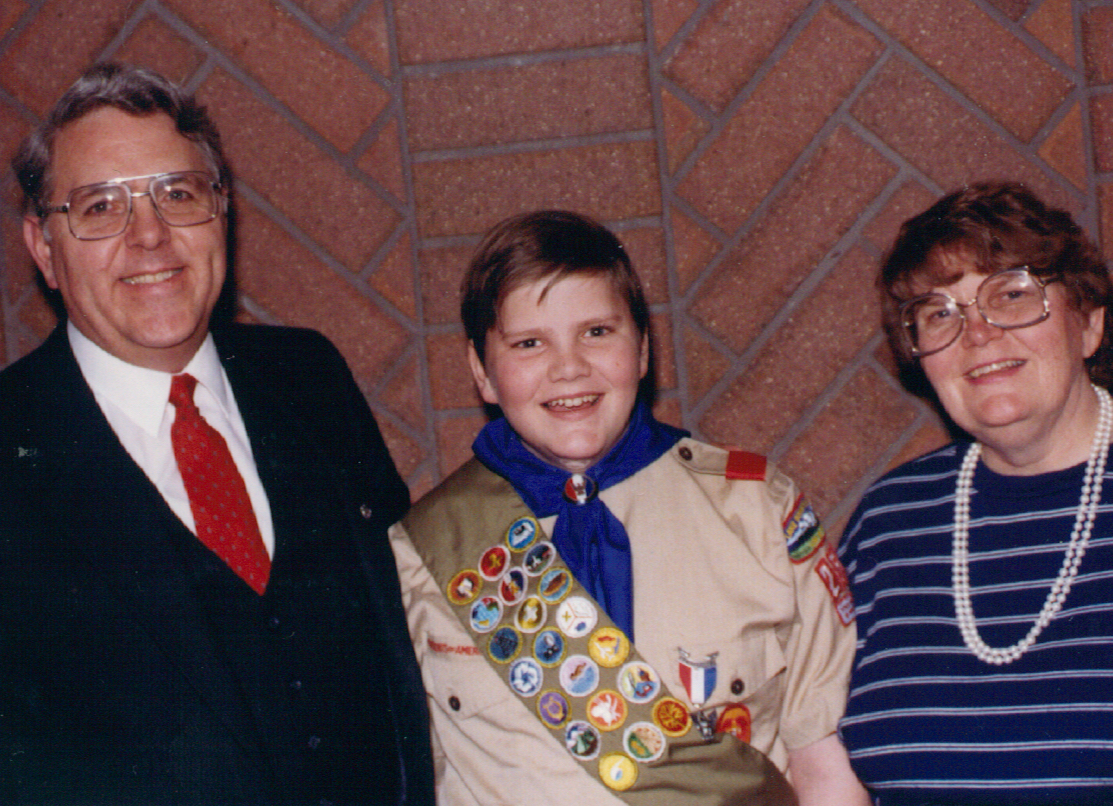
2015 started out on a sad note. Gordon Dixon Booth passed away on Tuesday, January 13, 2015. Gordon is the father of Michael Booth, our vice-president, and a valued member of the RootsMagic family. He was passionate about family history, loved talking to people about our software, and was one of our best salespersons! He also became a popular presenter at conferences teaching classes on British research, photography, and personal histories. You can learn more about Gordon and his contributions in this tribute article.
Conferences and Classes
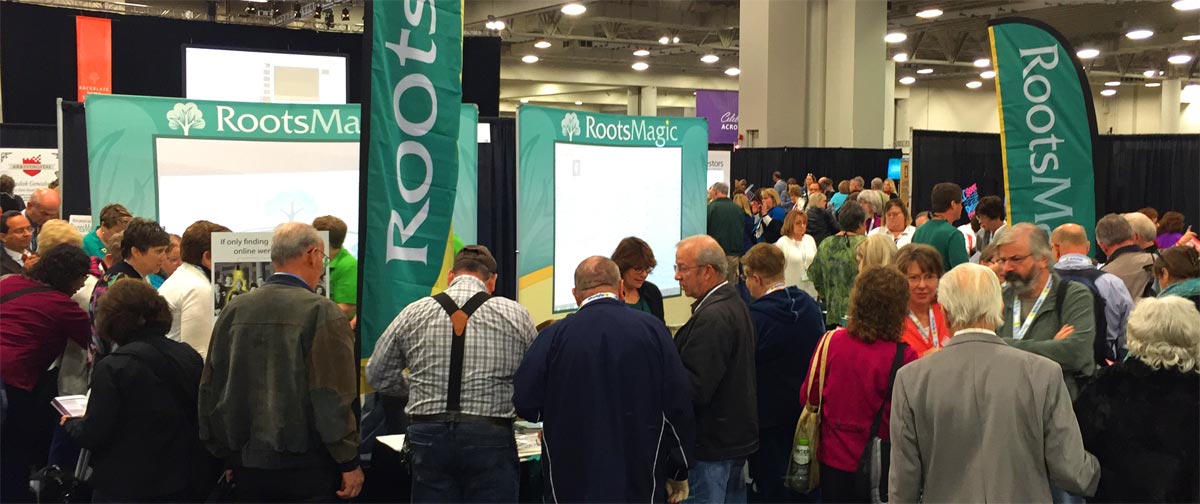
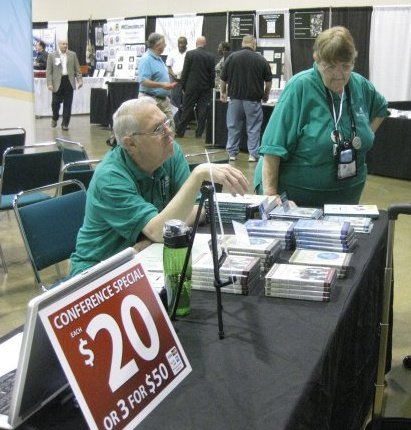
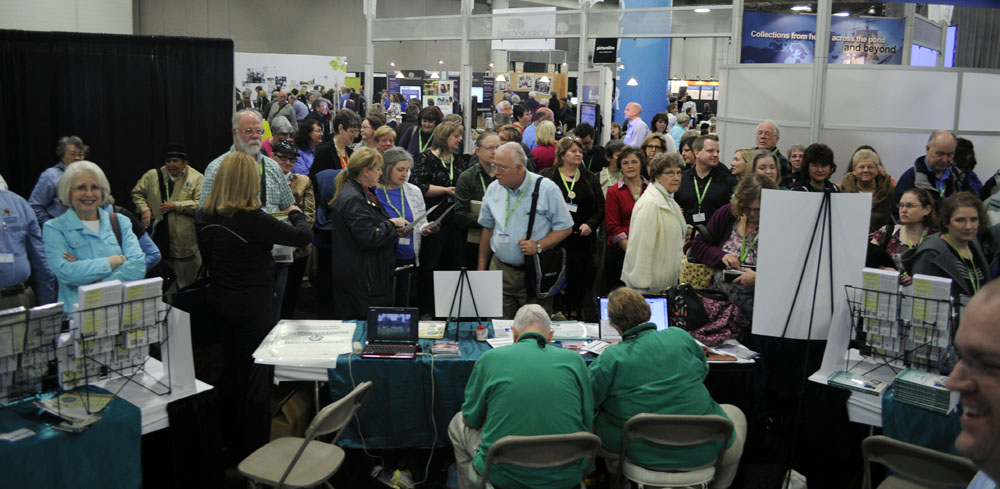
In 2015, we attended many genealogical events. The first and the biggest was RootsTech. At RootsTech, we introduced badge ribbons and gave away prizes through our Prize Patrol.

We also attended conferences across the country where we taught classes, answered questions, and met face-to-face with fellow users.
User Groups and Magic Guides
We know that one of the reasons our loyal users love RootsMagic so much is that no other genealogy software provides the level of support and training that we do. Over the past four years, we have pioneered the use of “webinars“, tutorial videos, and weekly tip articles.
![]()
Different people learn in different ways. We’ve had many requests for written tutorials in addition to our videos. In 2015, we’ve added free “Magic Guides” to our many sources of support. Magic Guides are free, downloadable and printable handouts that cover a variety of topics.
In 2015, we also created an online RootsMagic User Group and a Personal Historian User Group on Facebook. These groups are where you can connect with other RootsMagic users to ask questions, share ideas, and discuss how to use the software.
Since their creation, over 7000 people have joined these groups, and they have taken on lives of their own where users support each other.
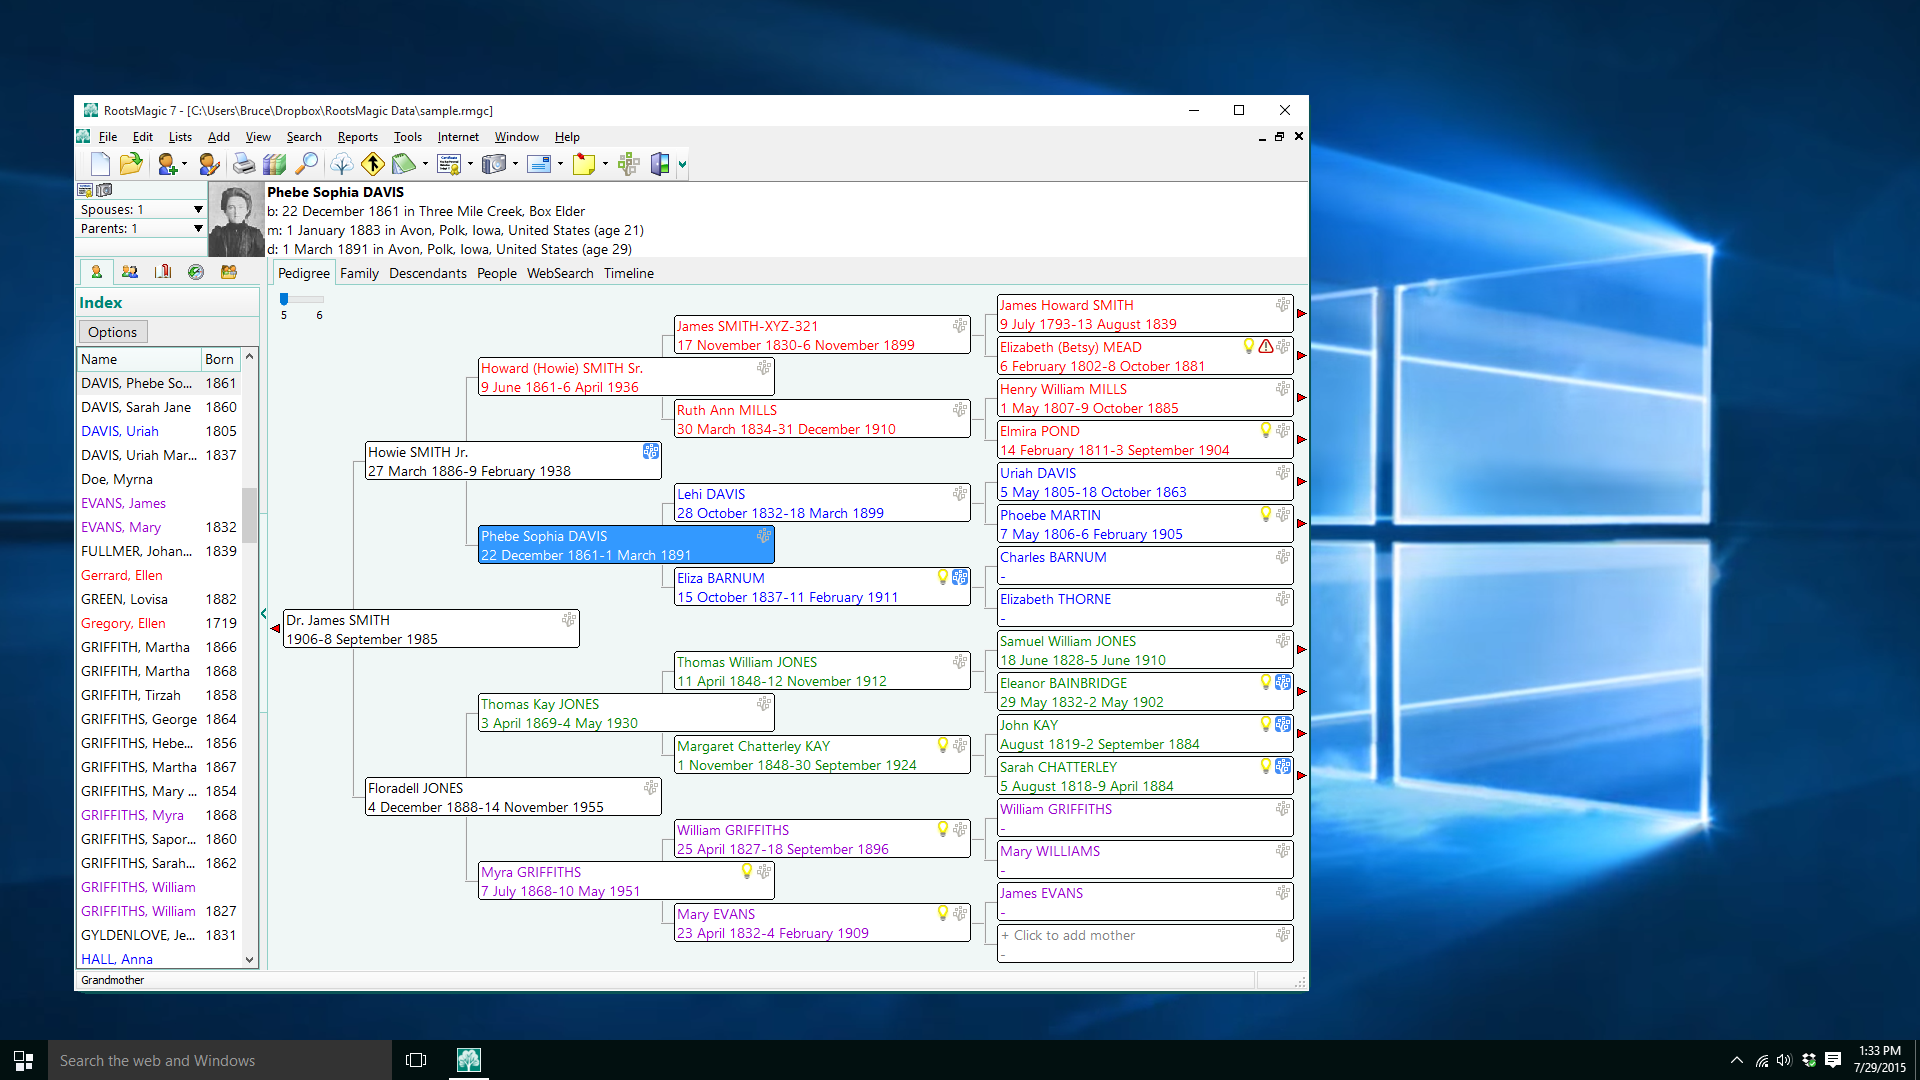
Windows 10
One of the biggest stories in the technology world was Microsoft’s release of Windows 10. Since it was a free update to most users of Windows 7 or higher, many people took the leap and upgraded. With some planning and testing on our part, all our products were prepared for Windows 10 on its day of release. In spite of a last-minute change on Microsoft’s part that caused a few headaches, the upgrade went smoothly for most of our customers. No small feat considering the size and scope of the changes in Windows 10.
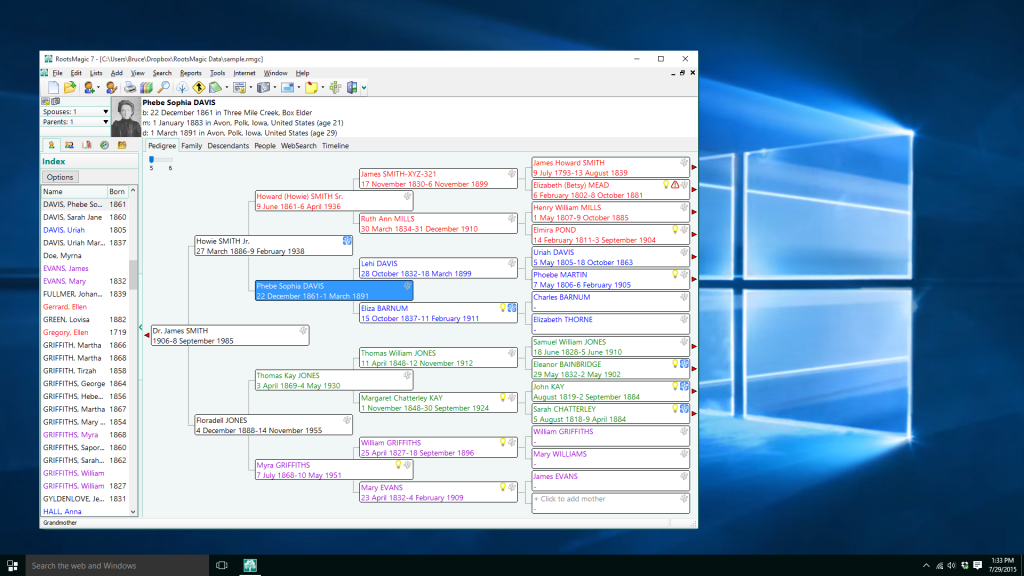
RootsMagic and Personal Historian for Mac
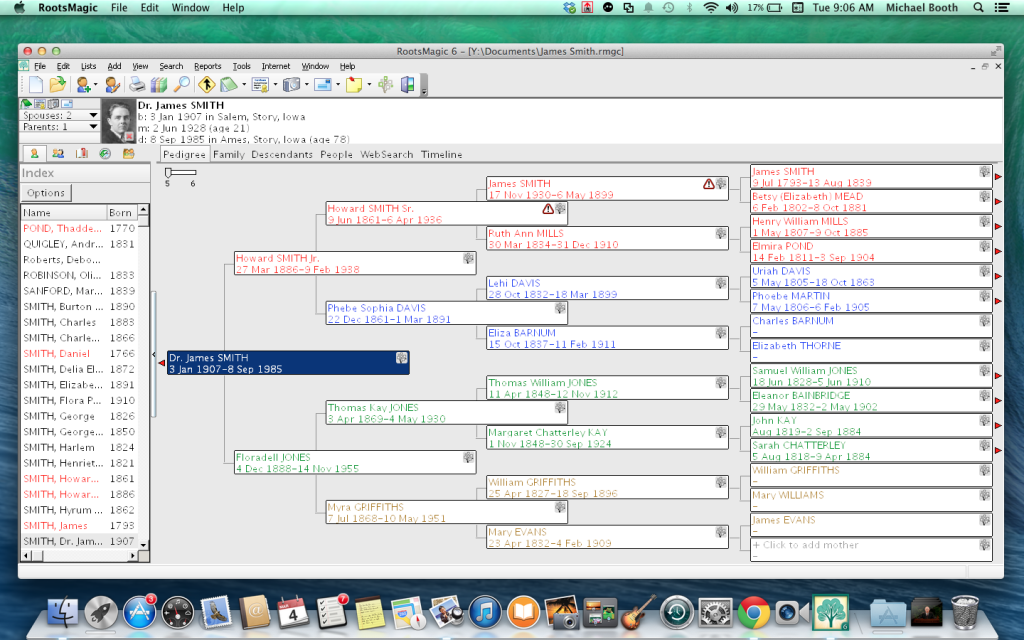
In 2014, we announced “MacBridge”, an add-on purchase that allowed you to run RootsMagic on your Mac without Windows. In 2015, we did away with the separate purchase and consolidated it into “RootsMagic 7 for Mac“. So now, one purchase of RootsMagic lets you run it on either Windows or Mac, no additional purchases or licenses required. Even our free “RootsMagic Essentials” is now available for Mac.
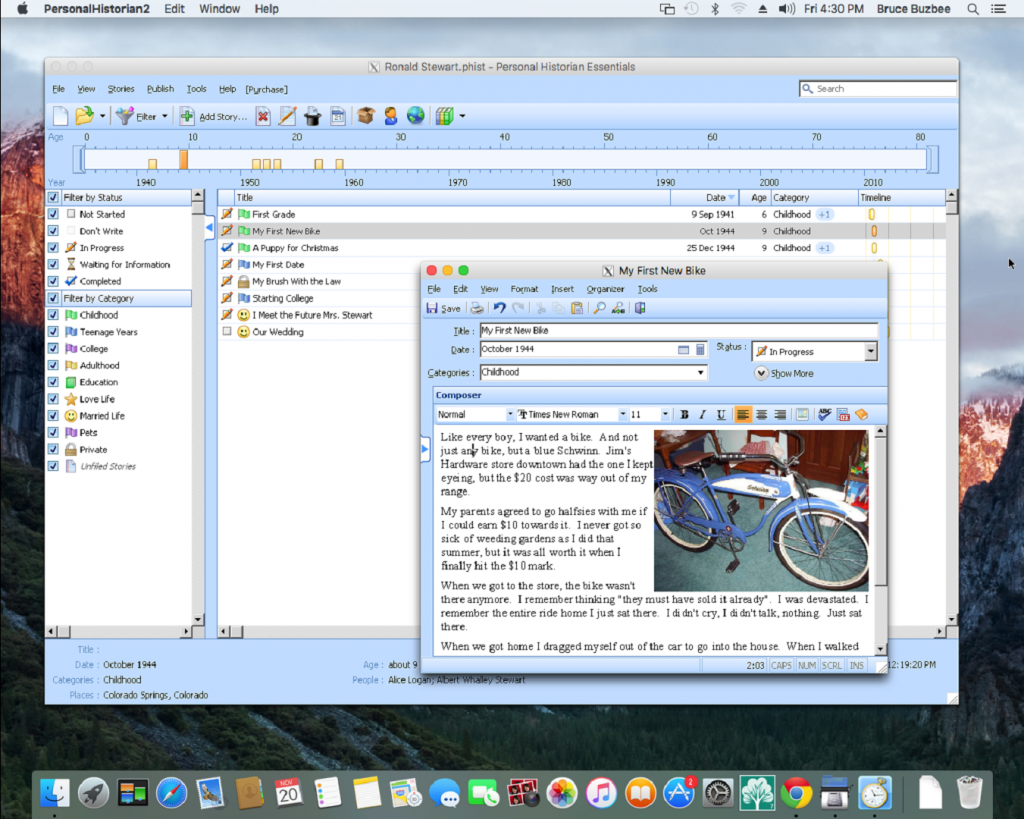
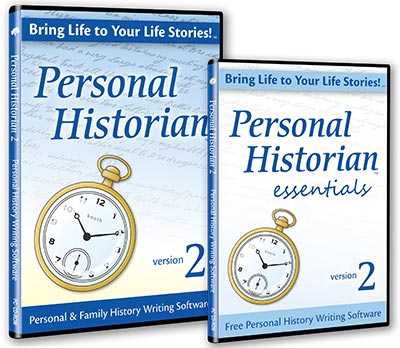
But we didn’t stop there. We also released “Personal Historian 2 for Mac“. Just like RootsMagic, one purchase of Personal Historian covers both Windows and Mac operating systems, as well as the free “Personal Historian Essentials”.
Personal Historian Book
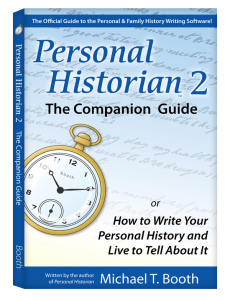
On November 24, we released the long-awaited companion book to our Personal Historian software. For years, we have been asked if there was a printed book to go along with our personal history writing software. We were excited to be finally able to say, “yes.” We’re especially pleased to see how well you all have received the book and how it is helping our you get the most out of the software.
Don’t forget, for a very limited time, the book is still available at the discounted price of only $7.95 (plus shipping). That’s nearly half-off its regular price of $14.95. Simply visit our website and add it to your cart to receive the discount.
A New Home for Family Tree Maker® Users
On December 8, Ancestry.com announced that they would be retiring their “Family Tree Maker®” (FTM) genealogy software. RootsMagic immediately welcomed Family Tree Maker users with a special upgrade offer as well as videos and written tutorials on how to make the transition. We’ve even released updates to RootsMagic to better support FTM’s unique GEDCOM files to make the transition ever smoother.
Since then, thousands of Family Tree Maker users have made the switch to RootsMagic. And the feedback has been tremendous.
“Every day I am finding new features in this software that makes me grateful Ancestry made their announcement that drove us all to seek alternatives to FTM. Have you even SEEN what DataClean can do? And here I was thinking I would have to manually fix all these things record by record…..and I didn’t even know about the website feature….feels like Christmas around here!” – Anni
“So far, in 1 weeks time, I have to say, Better service. Being with FTM since the 90’s, I NEVER remember users indicating an issue, and then an update to fix those issues being put out there in a matter of about 5 days.class than actually after gathering the issues. THATS service! I also don’t remember putting any kind of post, forums included, and having the top guys in the company reply usually in less than a couple hours That’s even Better service!” – Danielle
If you’re a Family Tree Maker refugee and still haven’t made the switch, be sure to take advantage of our special upgrade offer for FTM users.
Awards

With the end of each year come awards. We’re pleased to have won the GeneAward for “Best Genealogy Product of 2015” for the 7th year in a row. As the reviewer put it,
“I hate to say that RootsMagic is still the overall best genealogy application. I hate to say that, because I’d like to see some other vendors close the gap and give them some serious competition.”
UPDATE: We’ve also received the “Top Rated Genealogy Software” award from GenSoftReviews Users’ Choice Awards. This award is also one that we’ve received for the 7th year in a row. This award is based on reviews submitted by actual users of genealogy software. The glowing reviews on the page speak for themselves.
Thank You!
I know we say this every year, but we mean it when we say that none of this would have been possible without you and your support. We are grateful for the wonderful feedback, enthusiasm, and encouragement that we receive from our community. We hope that our work is deserving of your trust and support. 2015 has been an amazing year for us thanks to you, and we’re working hard to make 2016 even better!